
Proxmox Installation
This guide covers installing LiquidFiles on a
Proxmox Virtual Environment
host using the LiquidFiles ISO image. All steps are performed via the Proxmox shell using
the qm command-line tool.
Step 1 — Copy the ISO to your Proxmox host
Download the LiquidFiles ISO image and transfer it to the Proxmox ISO storage directory
using scp:
scp /source/path/iso/LiquidFiles-v4.x.x-x86_64.iso prox.domain.com:/var/lib/vz/template/iso/Replace prox.domain.com with the hostname or IP address of your Proxmox host,
and adjust the local path to match where you saved the ISO.
Step 2 — Create the VM
Log in to your Proxmox host's shell and run the following commands to create and configure the virtual machine:
# Step 1: Create the VM (ID 123, Linux settings, with 40GB disk)
qm create 109 --name liquidfiles --memory 2048 --sockets 1 --cores 2 \
  --net0 virtio,bridge=vmbr0 --ostype l26 --scsi0 local-lvm:40

# Step 2: Attach the ISO as a bootable CD-ROM
qm set 109 --ide1 local:iso/LiquidFiles-v4.x.x-x86_64.iso,media=cdrom

# Step 3: Set boot order (disk first — falls through to CD-ROM on first boot)
qm set 109 --boot order='scsi0;ide1'
Adjust the VM ID (109), ISO filename, and storage/bridge names to match your
environment before running these commands.
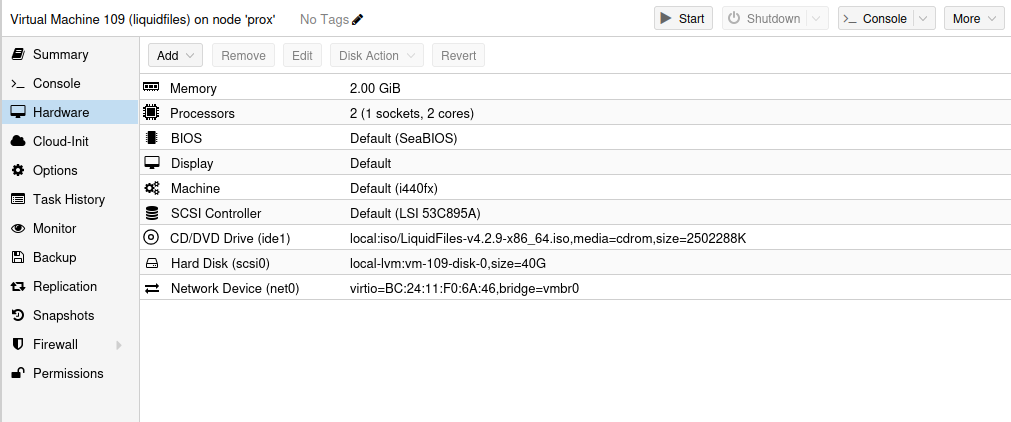
Once created, the VM hardware summary in the Proxmox UI should look similar to this, with the LiquidFiles ISO attached as a CD/DVD drive and a 40 GB SCSI hard disk:
Parameter Reference
The table below explains each parameter used in the commands above:
| Parameter | Value | Purpose |
|---|---|---|
109 |
VM ID | Unique identifier for the VM — change to any unused ID in your environment |
--name liquidfiles |
VM name | Descriptive name shown in the Proxmox UI |
--memory 2048 |
RAM in MB | 2 GB of RAM — increase to 4096 or more for better performance |
--sockets 1 --cores 2 |
CPU | 1 socket with 2 vCPU cores |
--ostype l26 |
OS type | Linux 2.6+ kernel (correct setting for LiquidFiles) |
--scsi0 local-lvm:40 |
Storage | 40 GB SCSI disk on the local-lvm storage — increase the size if needed |
--ide1 local:iso/... |
Boot media | ISO image attached as CD-ROM for installation |
--boot order='scsi0;ide1' |
Boot order | Disk first — falls through to the CD-ROM on the first boot since the disk is empty. After installation the disk boots directly with no changes needed. |
Step 3 — Install LiquidFiles
Start the VM from the Proxmox UI or with qm start 109, then open the console.
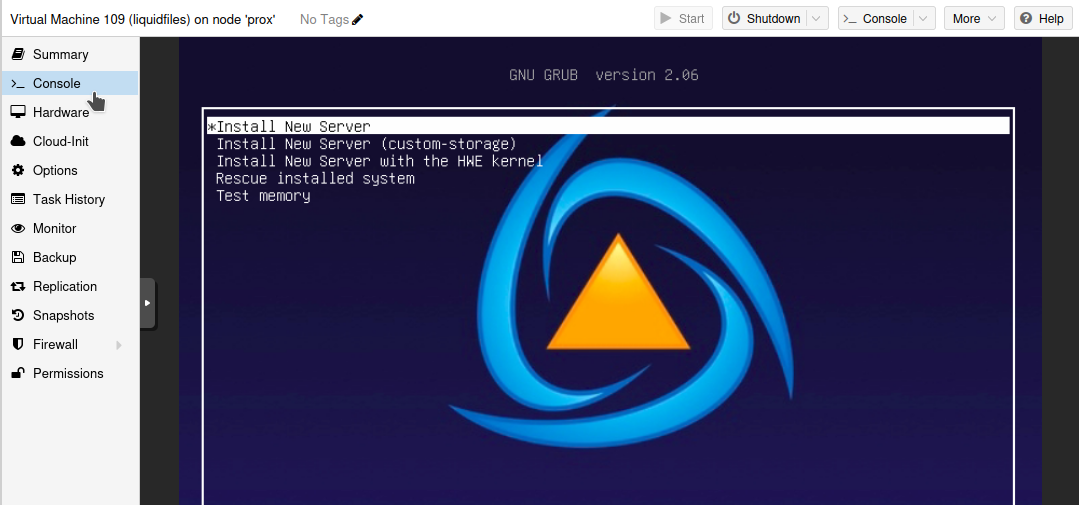
You will be presented with the LiquidFiles boot screen. Select
Install New Server and press Enter.
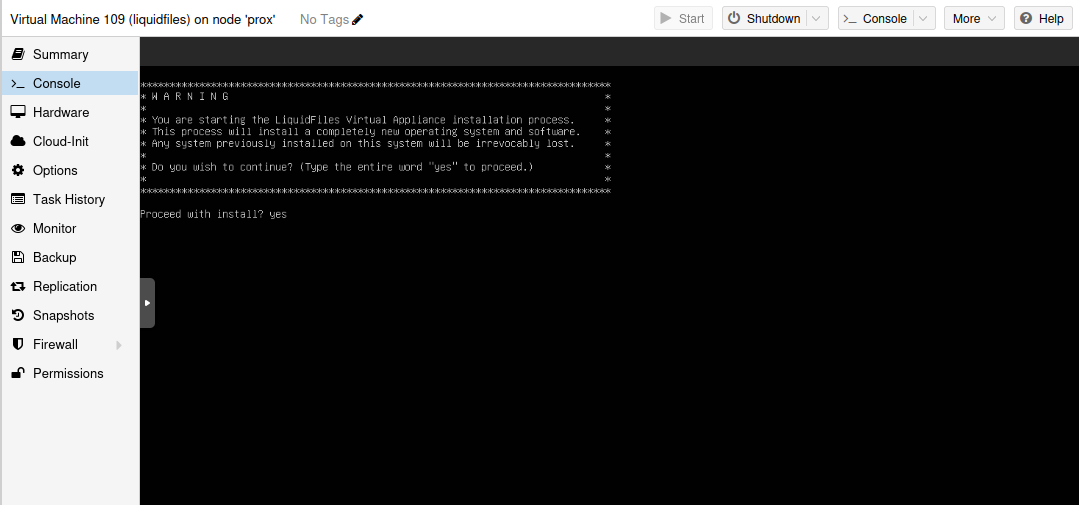
A warning screen will confirm that the installation will overwrite all existing data on the
disk. Type yes and press Enter to proceed.
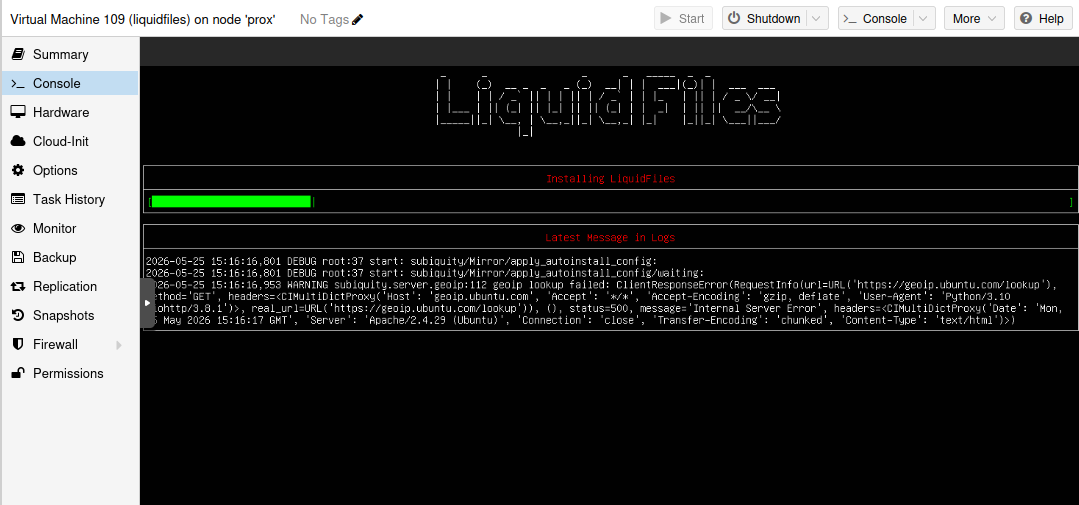
The installer will run and display a progress bar along with live log output. The process takes a few minutes depending on disk speed.
When the installation is complete the system will reboot and display the LiquidFiles console screen, showing the assigned IP address. Point your browser to that address to begin the initial configuration.
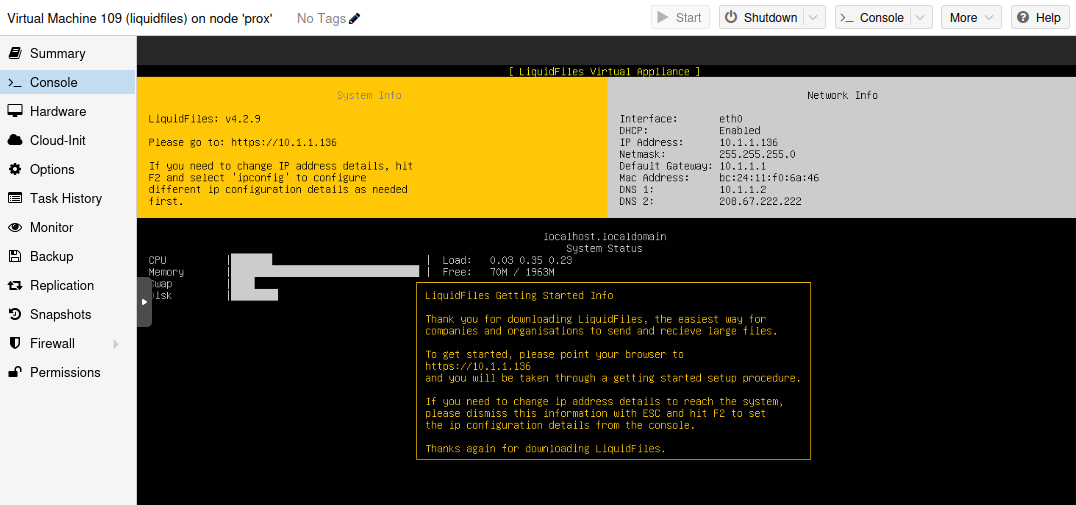
After the installation the system will reboot and boot directly from the disk. For a cleaner setup you can remove the CD-ROM drive entirely once the installation is done:
qm set 109 --delete ide1LiquidFiles is now installed. Proceed with the Getting Started configuration.