Citrix Xen Installation
LiquidFiles v3.x.x can be also installed on Citrix Xen Servers. Compare to installation steps on another most popular hypervisors like VmWare or Hyper-V in this case it is necessary to choice Custom installation from the ISO boot menu. It is because virtual hw which Xen uses has different disk mappings.
The following installation goes through the step by step procedure when installing LiquidFiles on Citrix Xen Server.
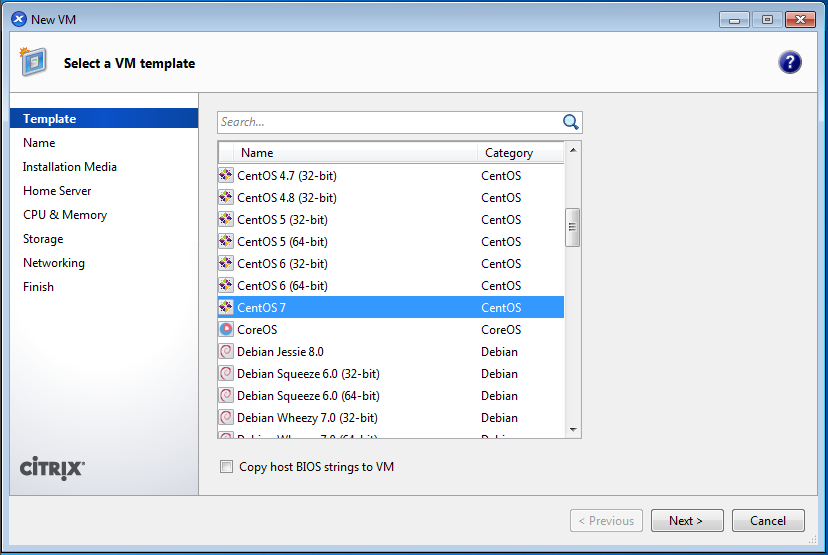
First, select to create a new virtual system. Please make sure that you select Ubuntu template.
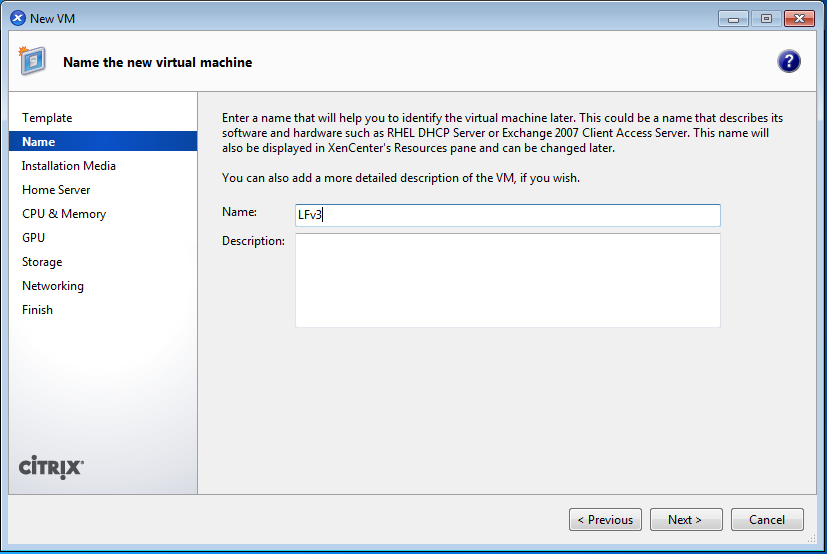
Give a meaningful name.
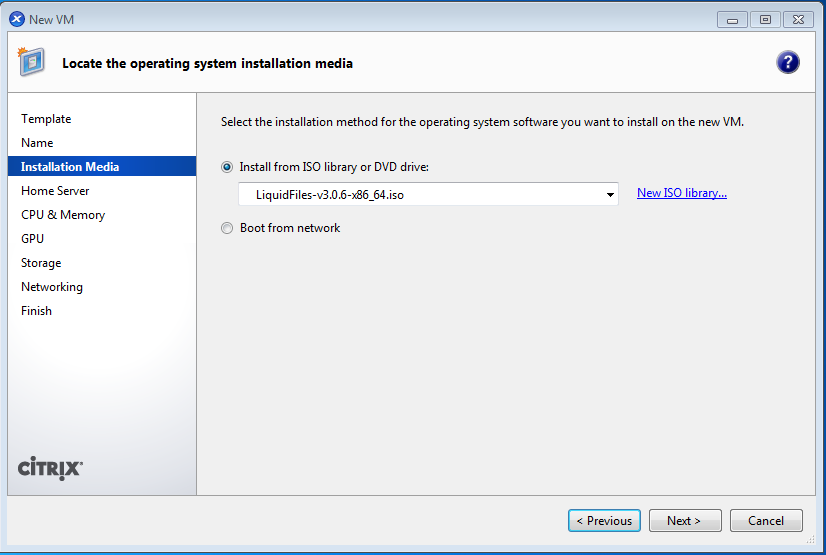
Select the ISO image to install from.
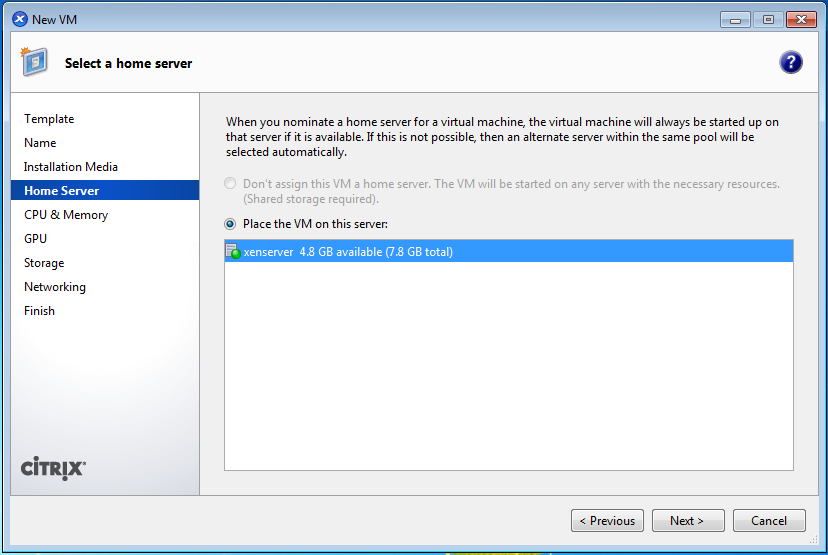
Select the Home Server to install on.
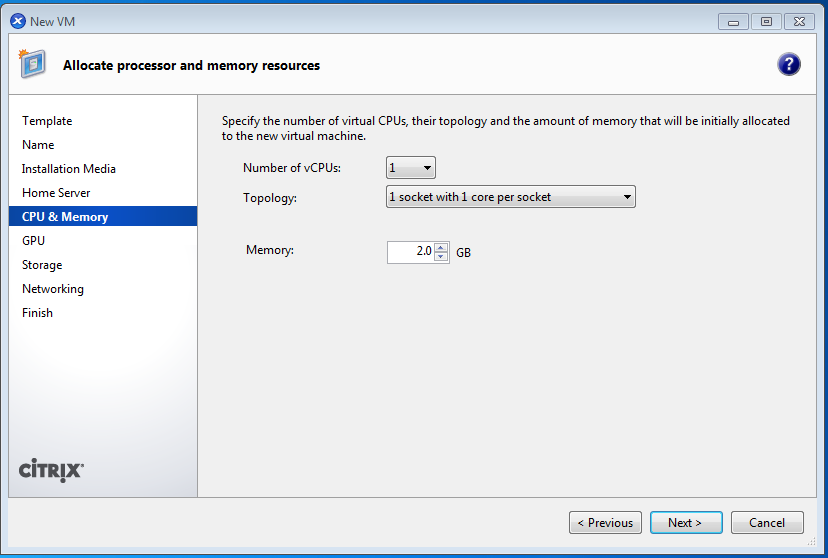
CPU and Memory configuration (Note: more than 2 GB of RAM is not really necessary).
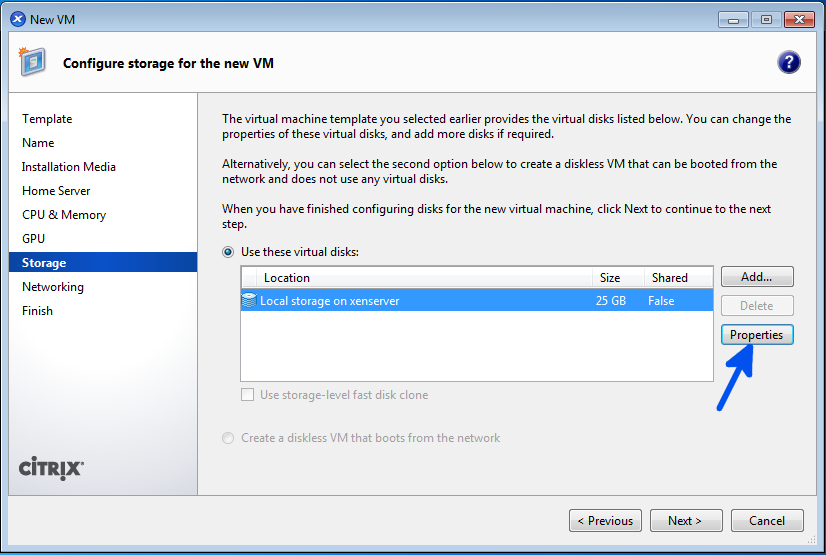
Add Storage.
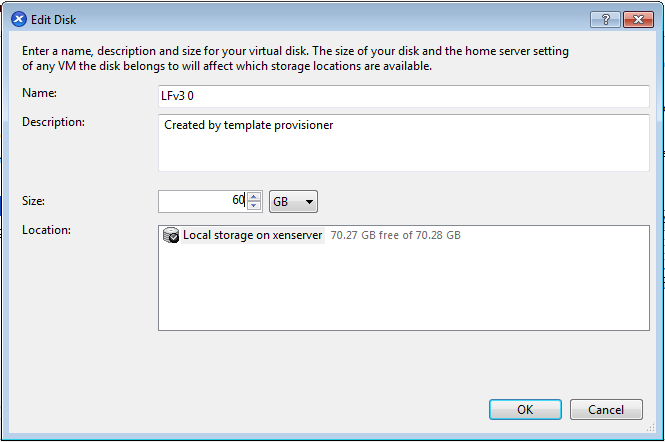
Create the virtual disk.
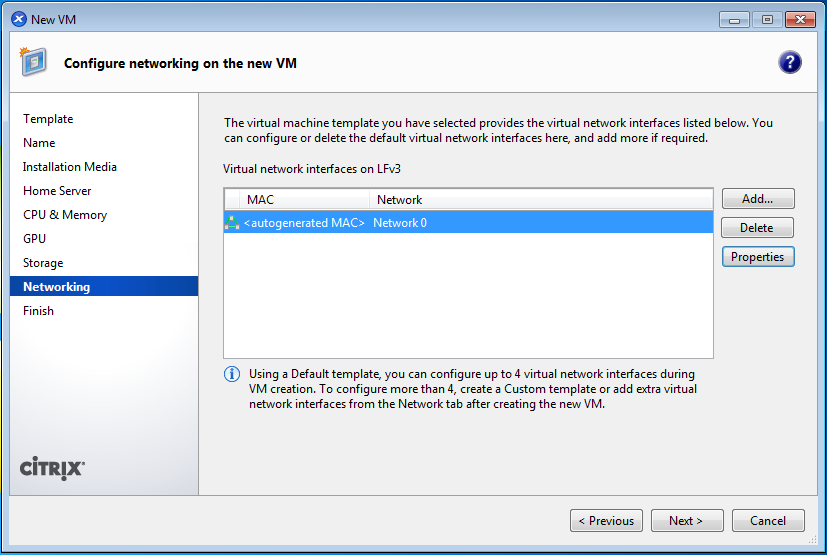
Network configuration.
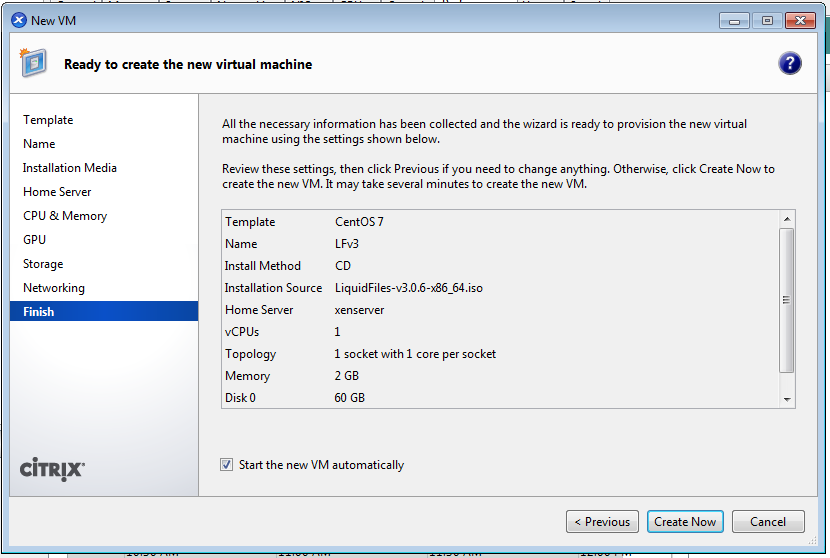
Ready to start the VM:
ISO Installation
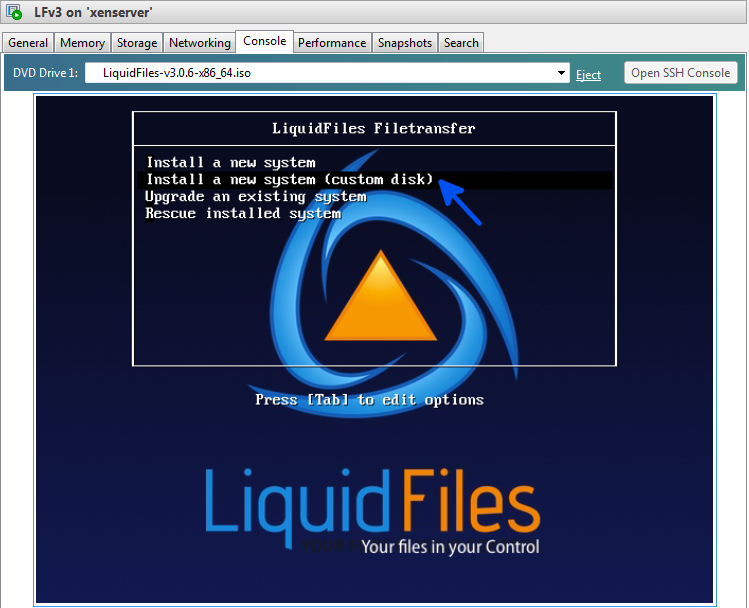
Please click on the Console, you will see this boot screen. Choice Install a new system (custom disk)
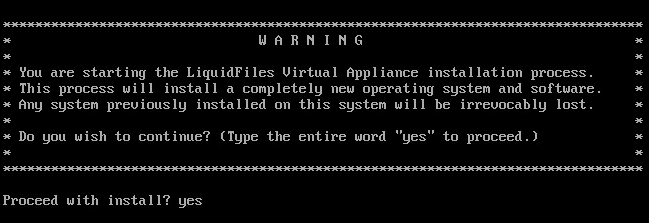
The next step is to acknowledge the warning that the disk will be erased.
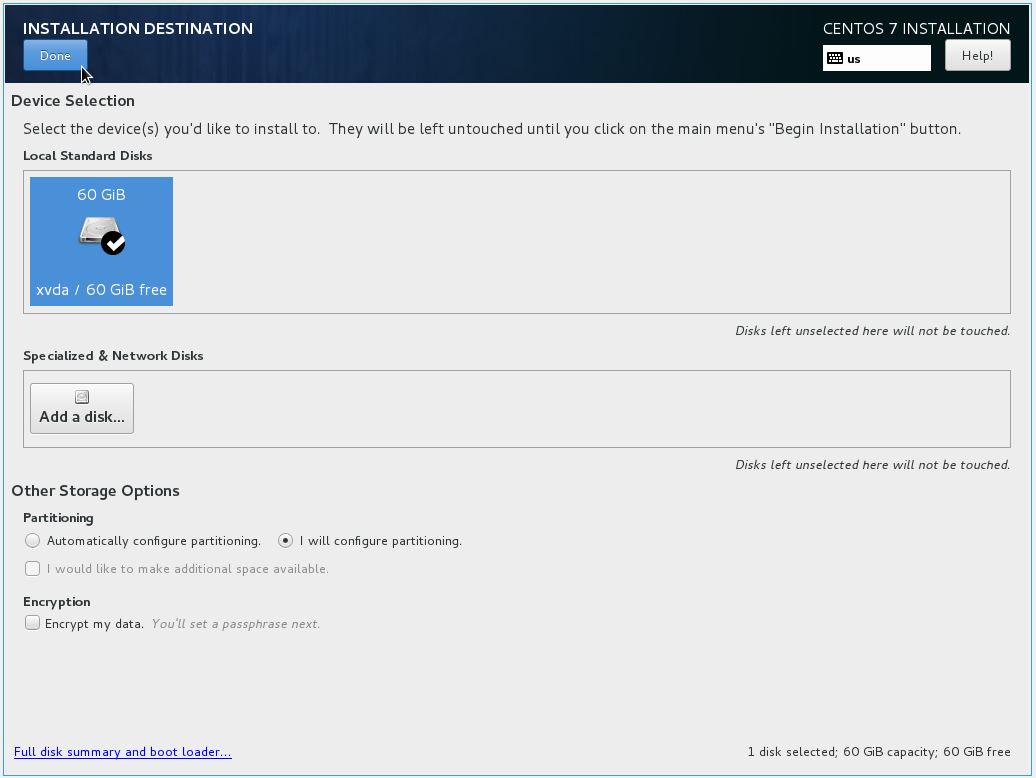
In the Installation Summary it is necessary to choice the virtual drive and manually configure partitions. The drive is mapped as /dev/xvda.
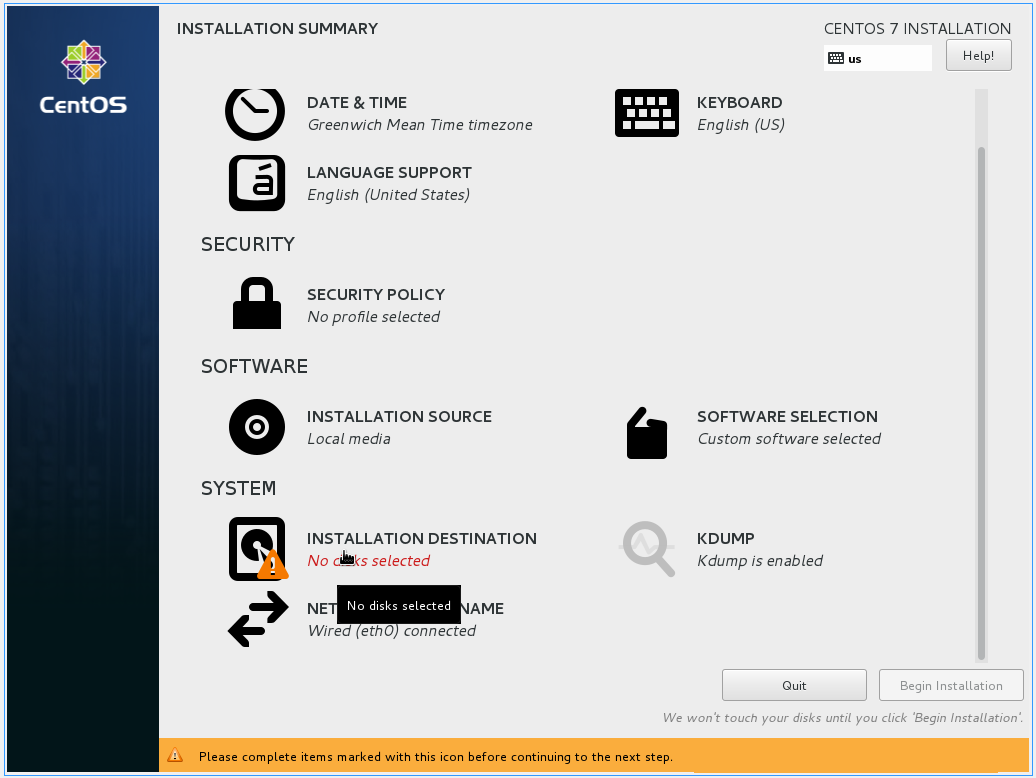
The drive is mapped usually as /dev/xvda. Tick-up the drive and choice "I will configure partitioning" ratio button. Finally click "Done" button.
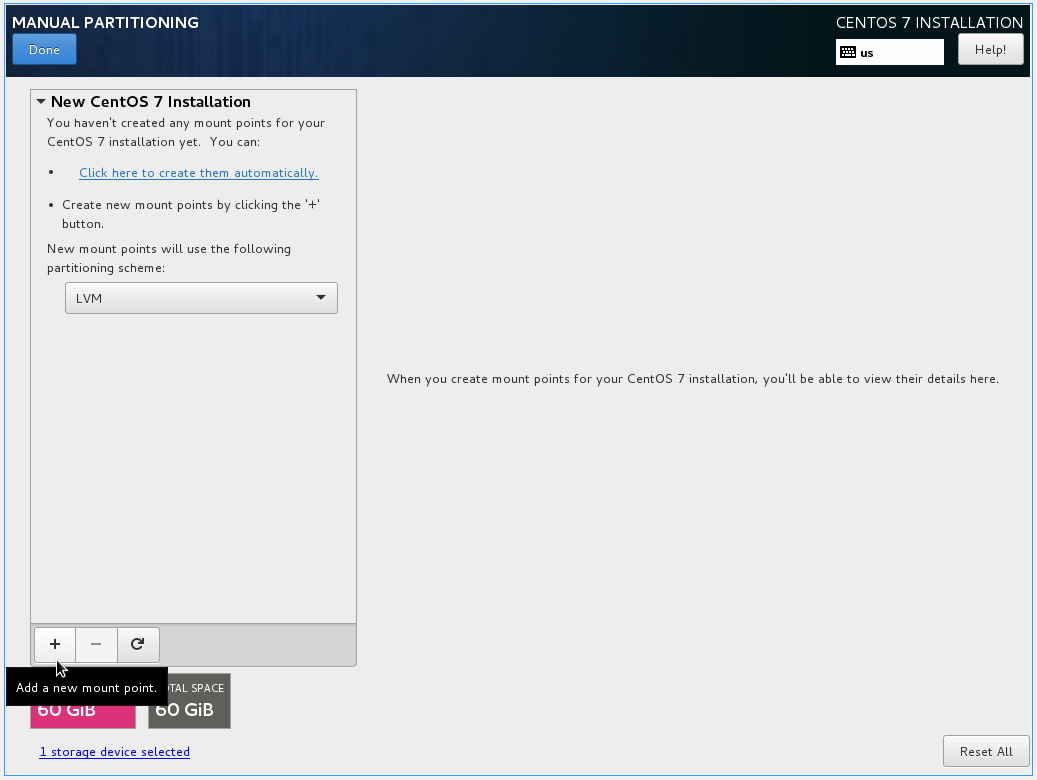
By pressing "+" create a very basic partitions schema:
- /boot: 500MB /dev/xvda1
- / (root): for root partition use LVM and XFS file system(take all available size minus 2GB for swap)
- /swap: 2GB /dev/xvda3
Finall layout could looks like this:
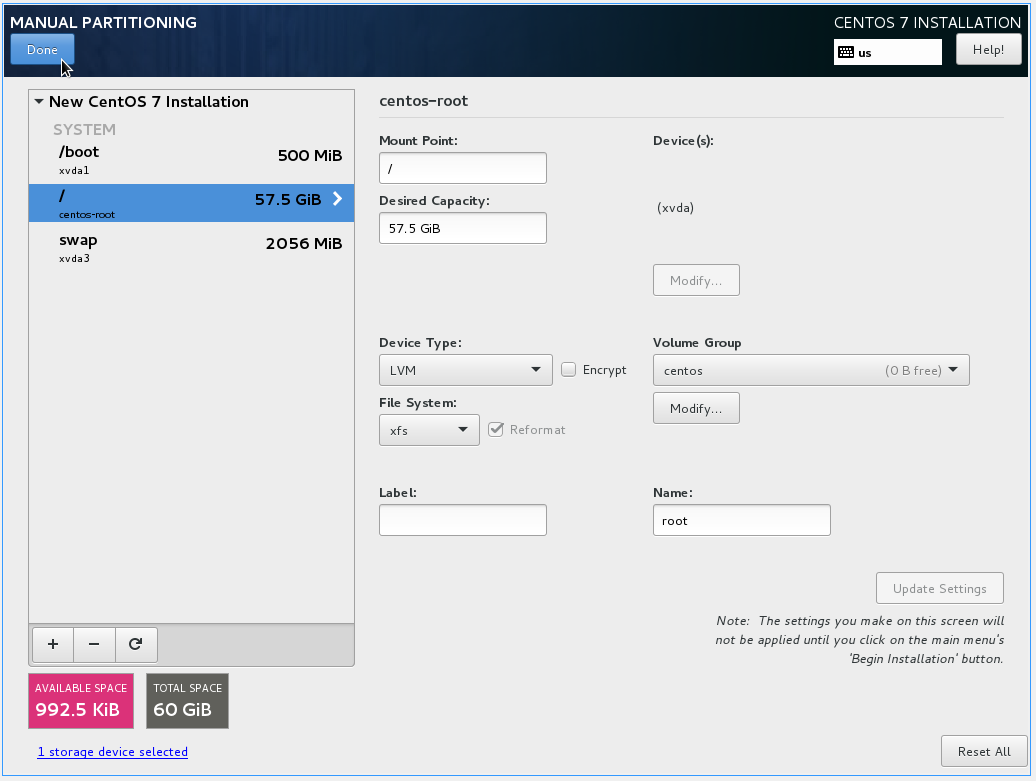
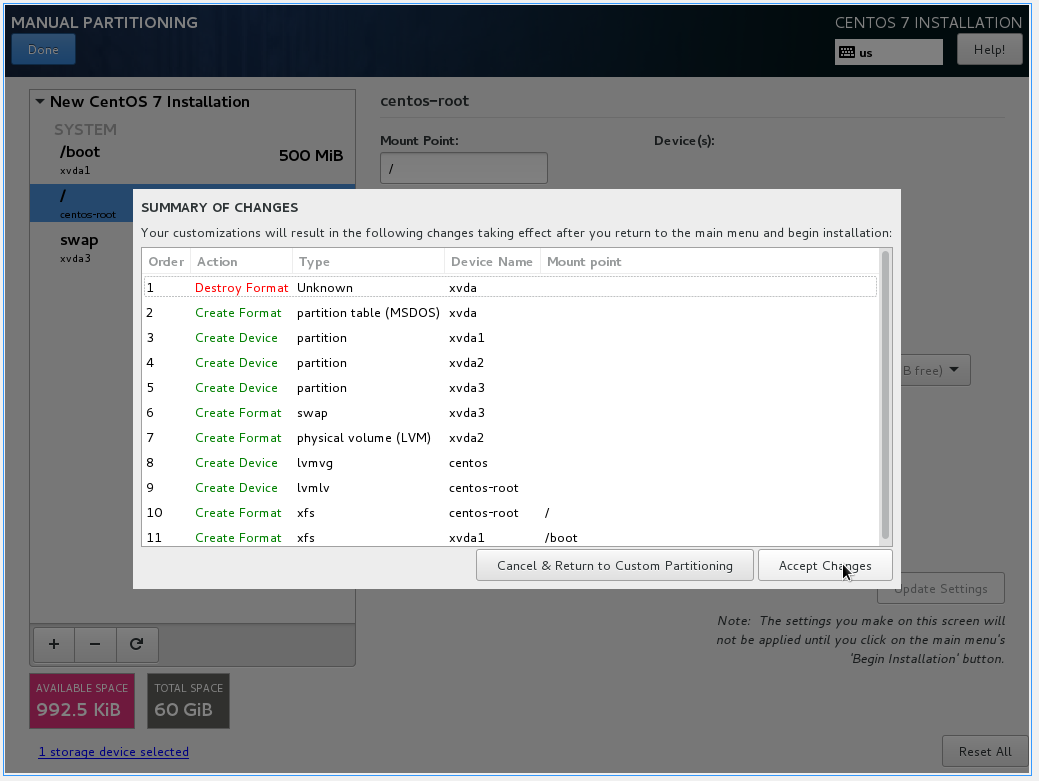
Finall layout could looks like following screenshot. Press "Done" and "Accept Changes" buttons.
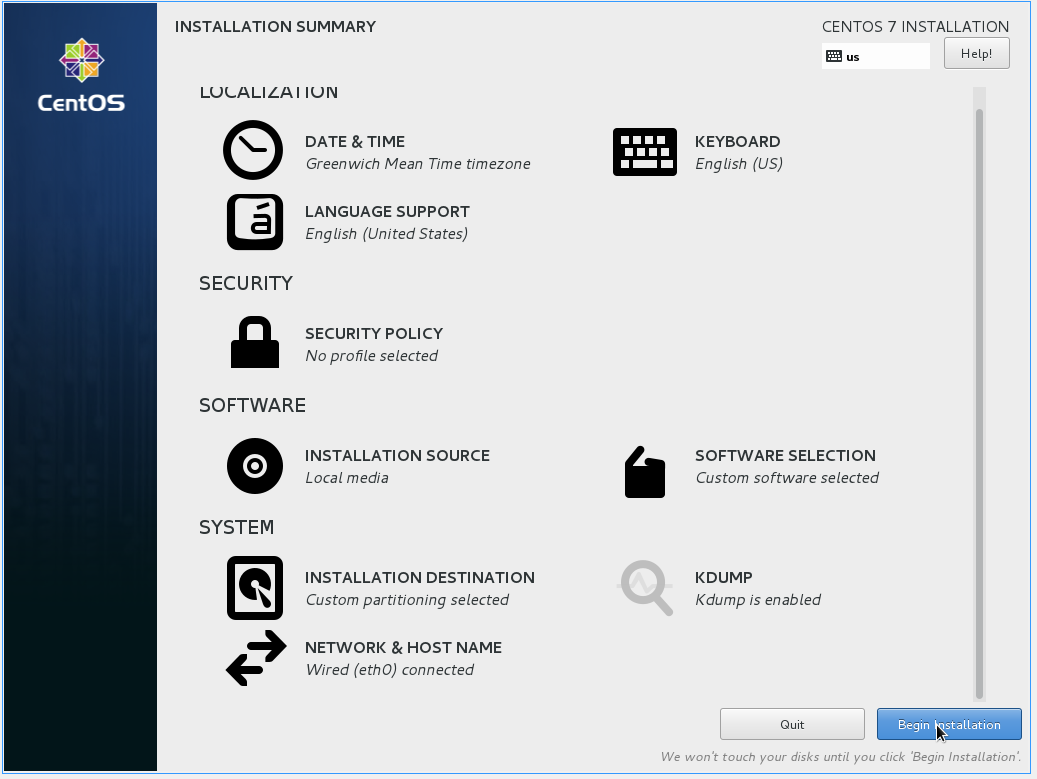
Begin Installation.
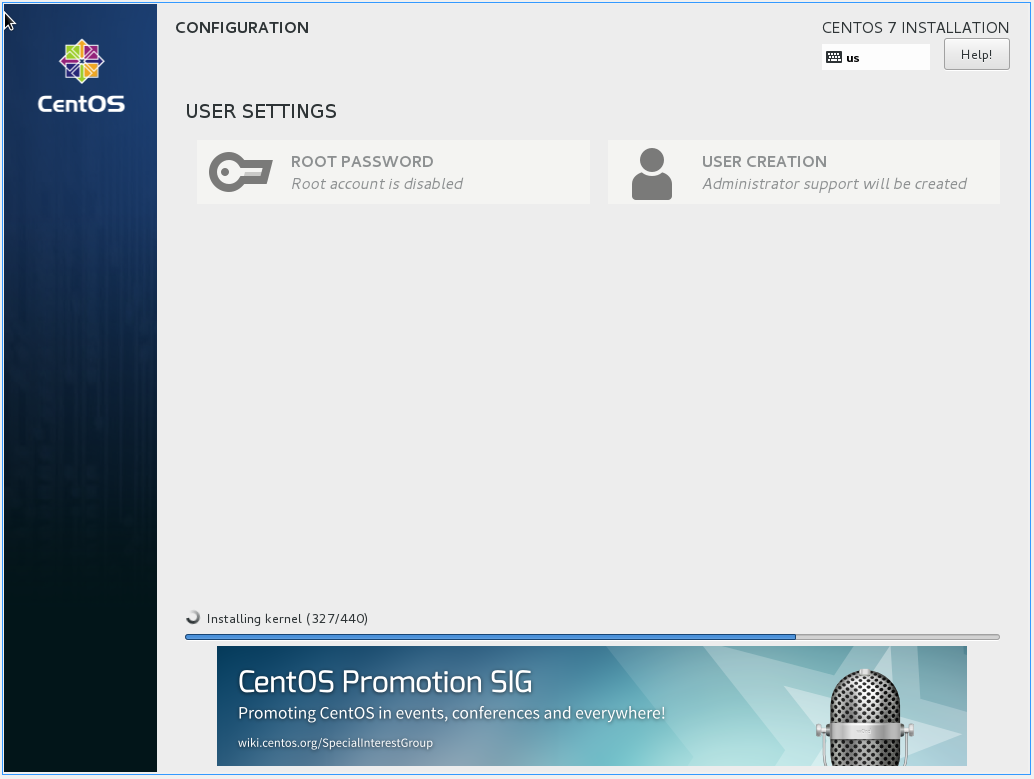
The installation will then commence and take a couple of minutes, depending on system speed. It will automatically reboot when finished.
When the system has been installed, you will see something like this on the console.
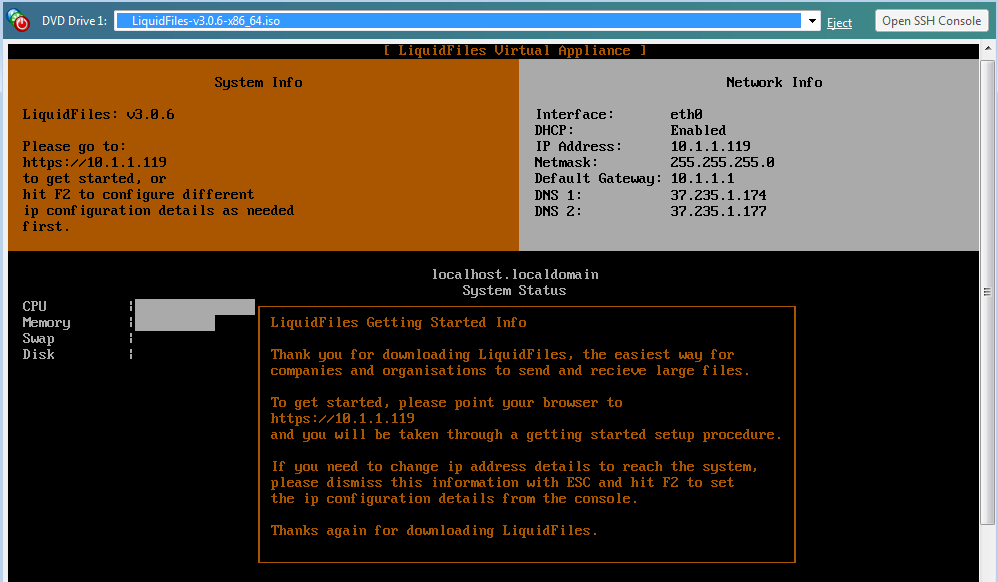
LiquidFiles is now installed and you can point your browser to the ip address listed on the screen to continue with the getting started configuration.
Please continue on the Getting Started page.