Full Disk Encryption
This article outlines how to encrypt the filesystem on Ubuntu based LF v4.x appliance. The setup utilizes LVM and LUKS to facilitate the secure encryption of your hard drive. The encryption used by Ubuntu is employing the Advanced Encryption Standard (AES) with a 256-bit key, a standard that is widely recognized for its strength and resilience against brute-force attacks. Before you start though, please beware of a couple of important caveats:
- It will most likely cause noticeable performance degradation. Depending on what you use LiquidFiles for, network speed, system load and how critical transfer speeds are, this may or may not be a problem.
- You will need to type a long random password on the console every time the machine boots, or reboots. There’s no way around this while still maintaining security.
- It will prevent things like filesystem expansion. If you want to change the disk size, you will have to re-install the system and migrate the data across.
How to configure disk encryption
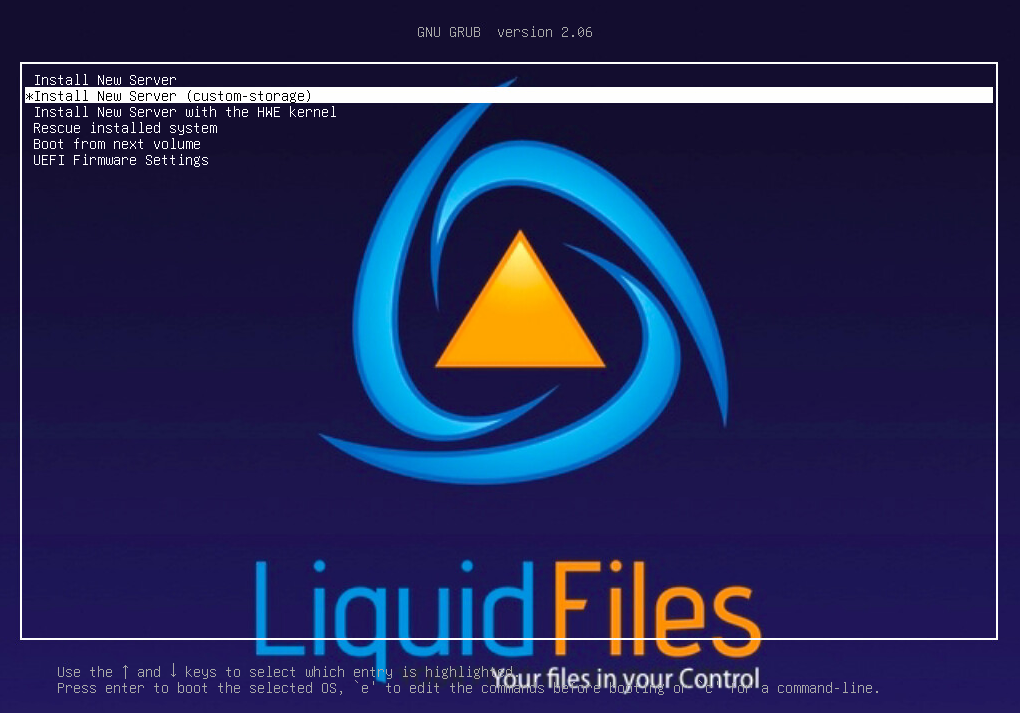
When installing LiquidFiles, please select to use the custom storage option as showed in the boot menu.
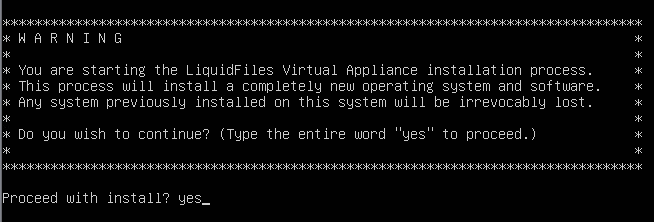
Proceed with Install
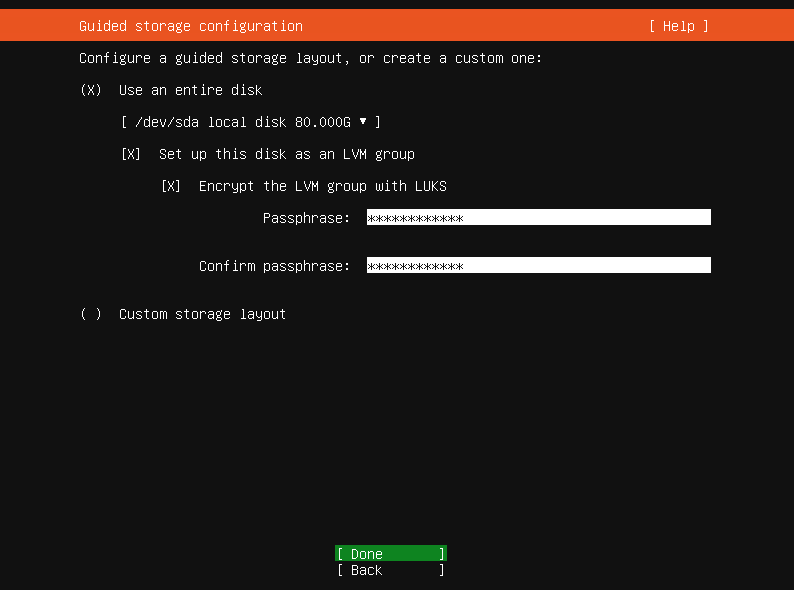
In the Guided storage configuration select "Encrypt the LVM group with LUKS" option and enters your passphrase. Please make sure that it's a good random phrase.
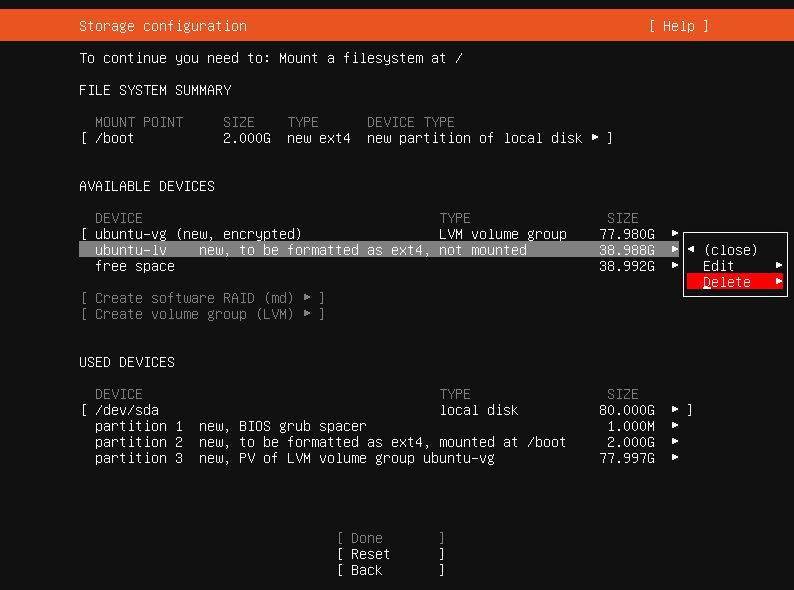
Next you will be directed to the partitioning page with a pre-populated LVM partition. If check, you will see that there is a default LVM mounted which is not encrypted (ubuntu-lv). We need to unmount and delete it.
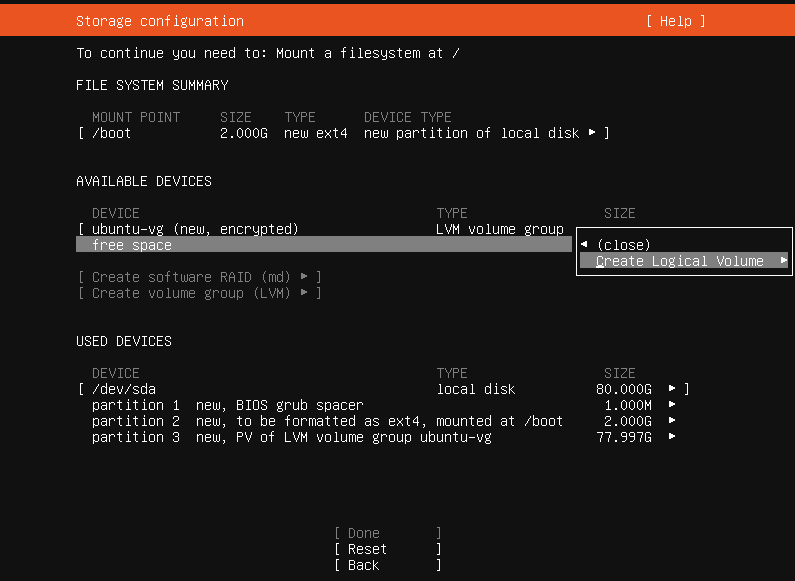
After we have deleted the ubuntu-lv we are ready to create the new encrypted Logical Volume.

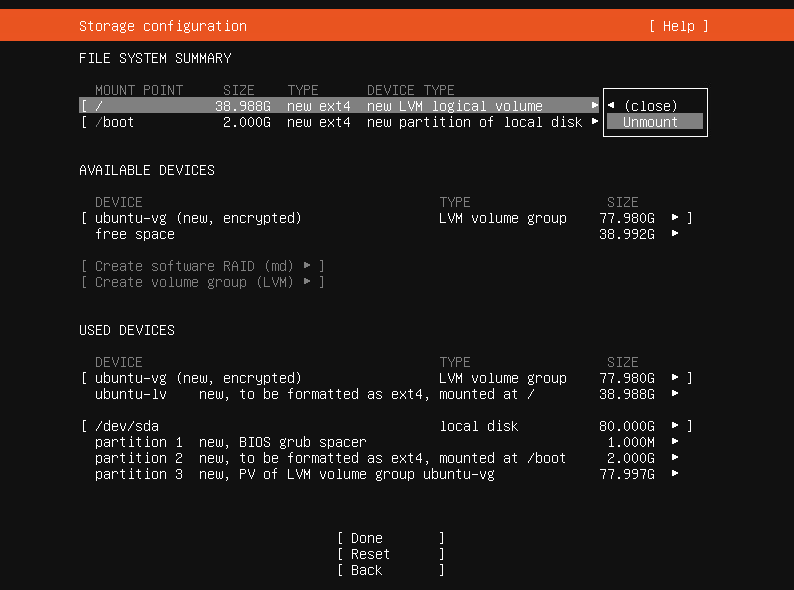
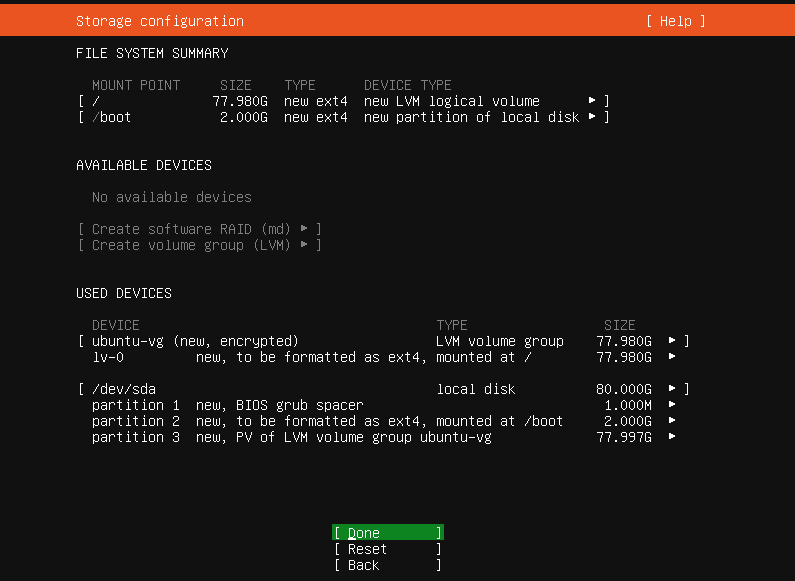
After all, your partitions should look like that.
When you're finished, please click Done and confirm we can start with the installation.
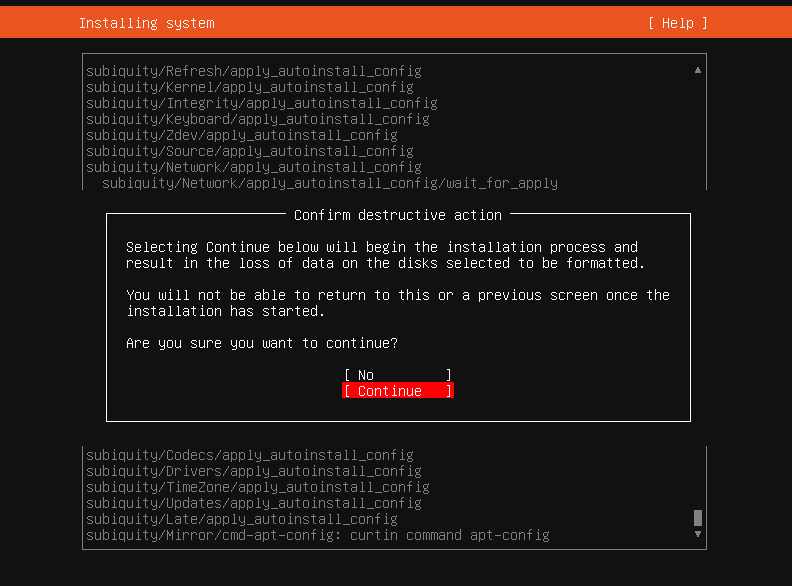
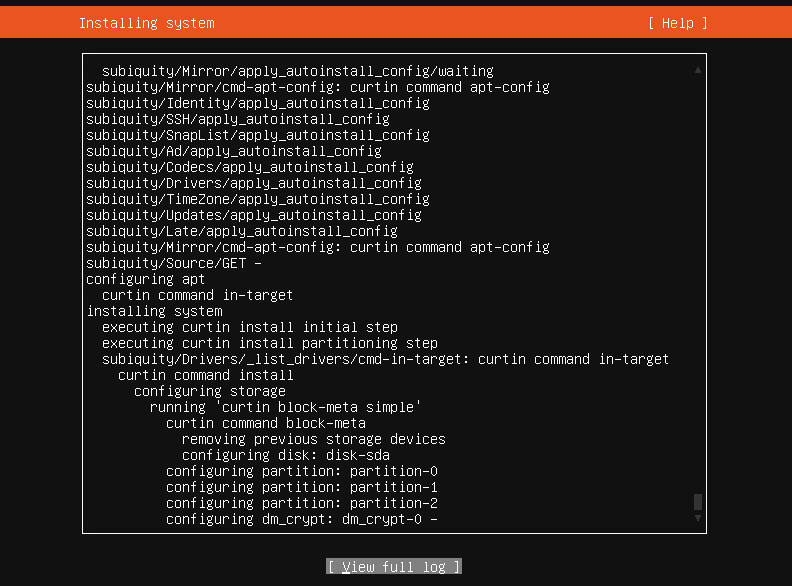
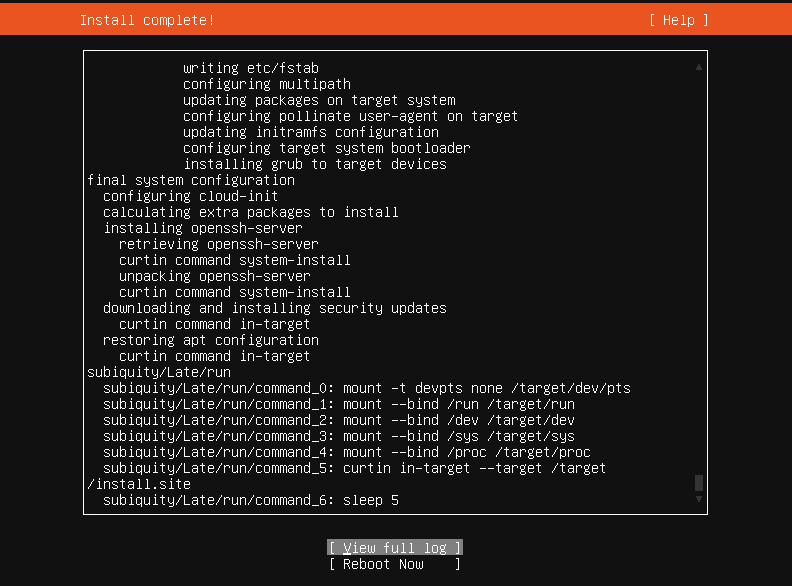
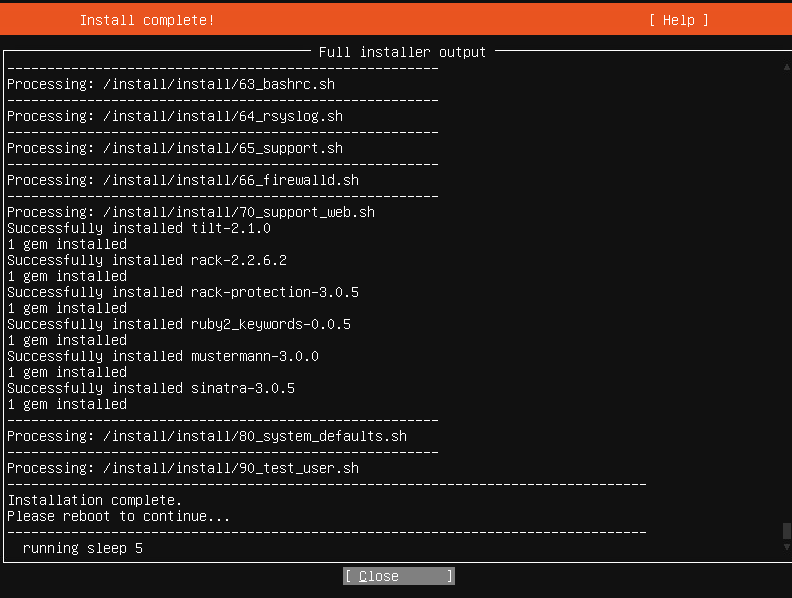
The installation will take some time. When the installation is completed you can optionally check full log and then reboot the server.

When the server will start from now on, every time the disk boots, you will be prompted to enter the passphrase.

There’s no way of recovering the encryption key, if you loose it, you will loose your data.
There’s no way of automating the boot, you have to enter the encryption key on the console every time.
Also, please note that you won't be able to expand the disk after it's been encrypted. If you want to expand the disk, you will have to re-install the system and migrate the data over.