Outlook Web Plugin Installation
Introduction
The Outlook plugin will enable you to send files from Microsoft 365 web Outlook.
Requirements
- LiquidFiles virtual appliance v4.1 or later (latest version recommended).
- Microsoft 365 subscription.
Installation
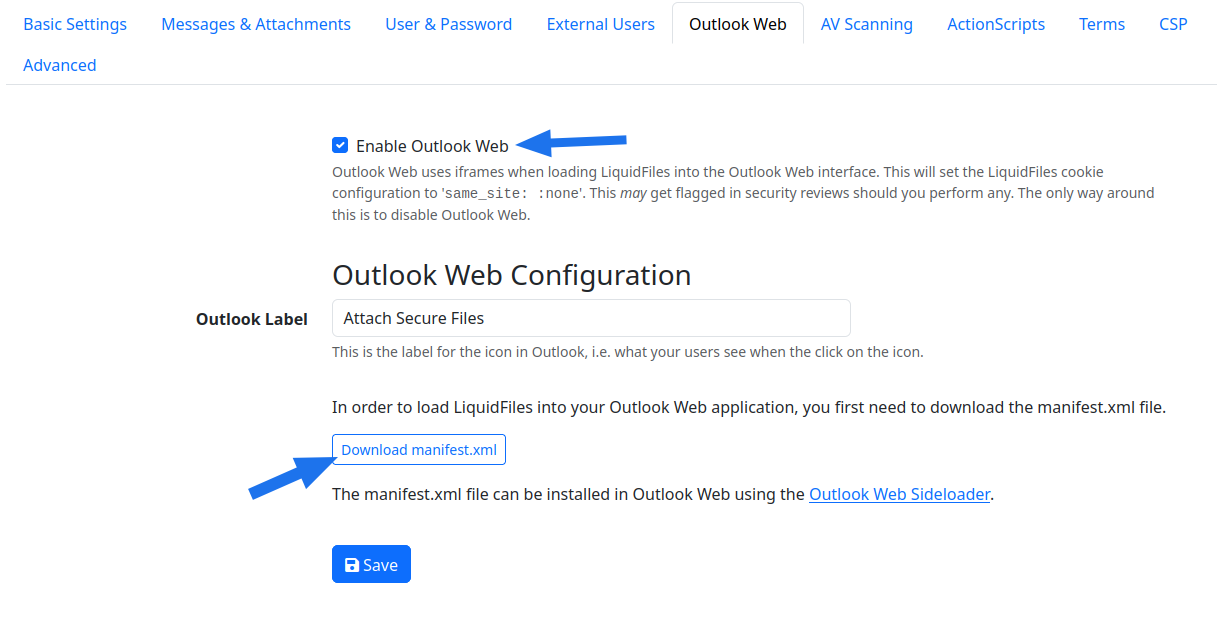
At first on your LF server please click on Admin → Configuration → Settings → Outlook Web tab and enable the "Enable Outlook Web" checkbox. Optionally change the "Outlook label".
Download the manifest.xml file which is needed to load LiquidFiles into your Outlook web application.
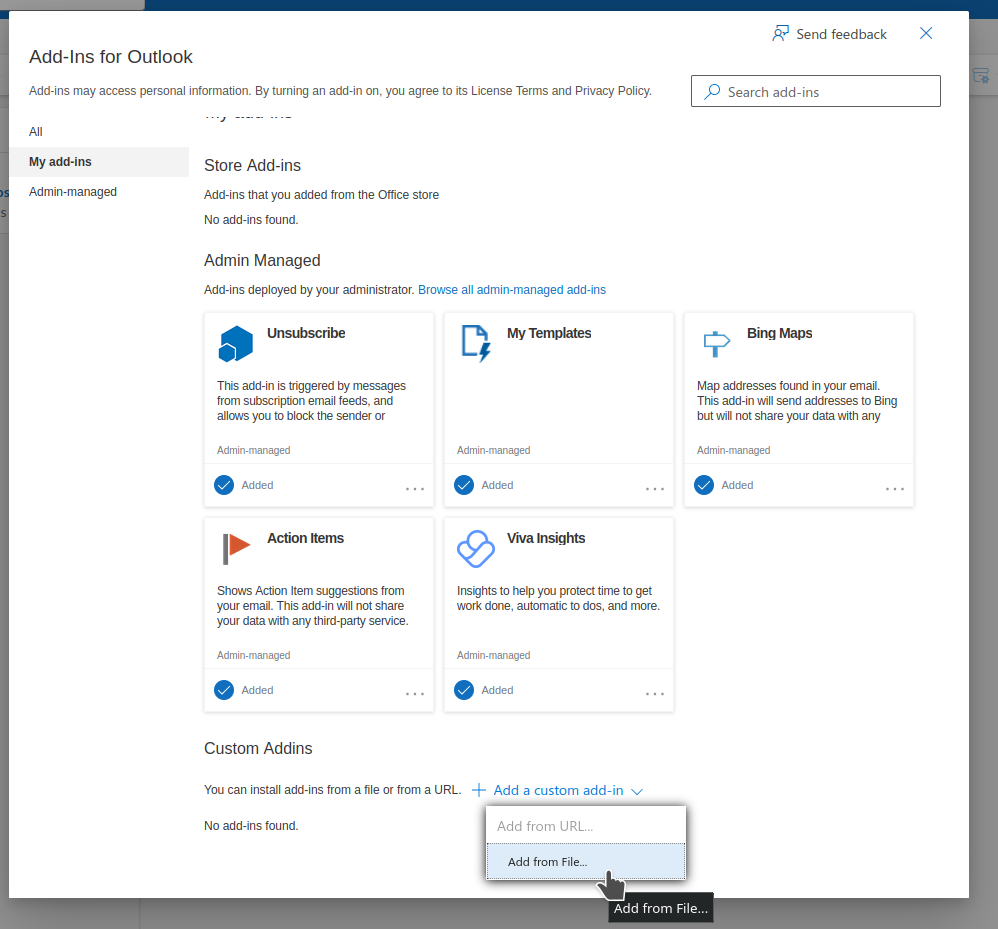
Navigate to the Microsoft 365 on the Add-Ins for Outlook page: https://outlook.office365.com/owa/?path=/options/manageapps and click on My add-ins and click on "My add-ins".
In Custom Add-ins click on "Add a custom add-in" option and upload the manifest.xml file.
Confirm the Installation.
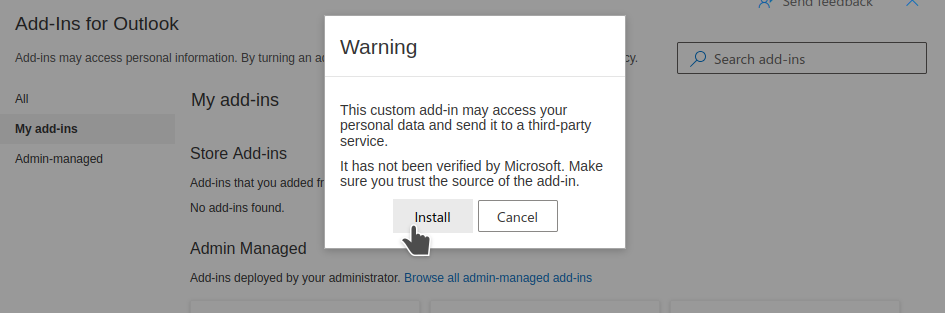
After a little while the plugin will be installed.
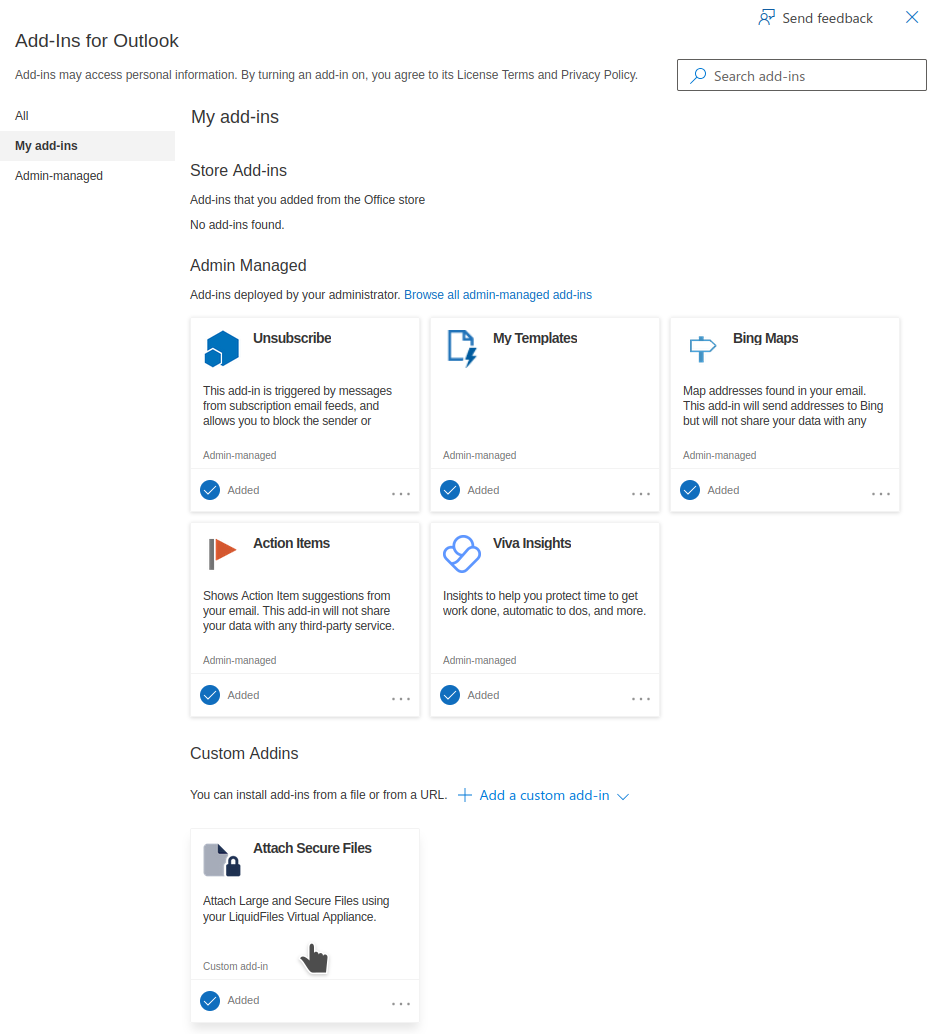
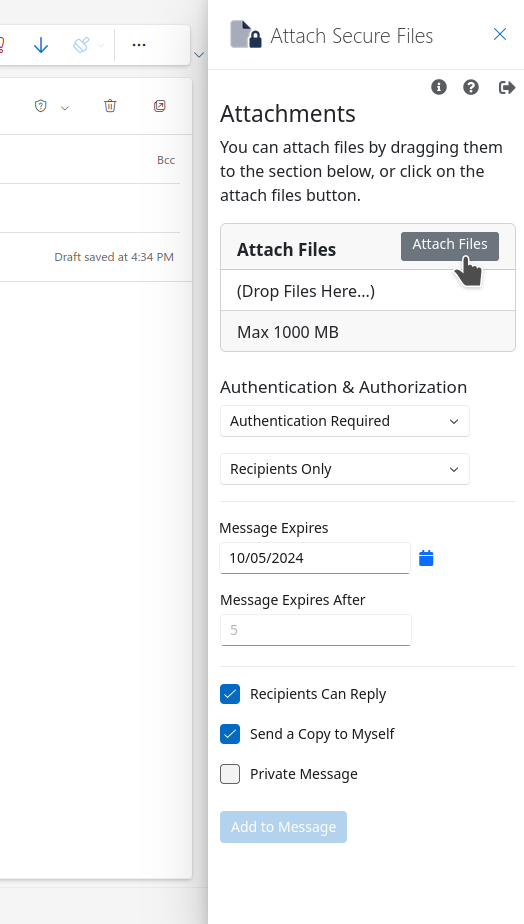
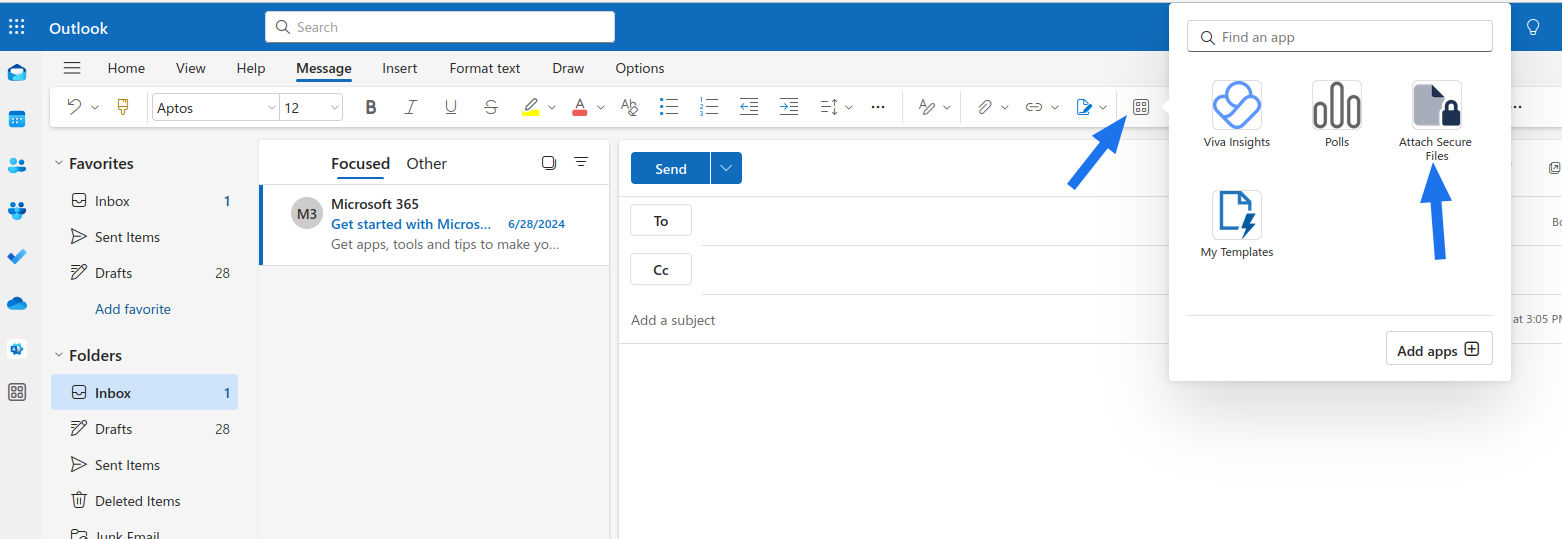
When the plugin is installed, you'll see it in the list of the installed apps in the Web Outlook when you compose a new email.
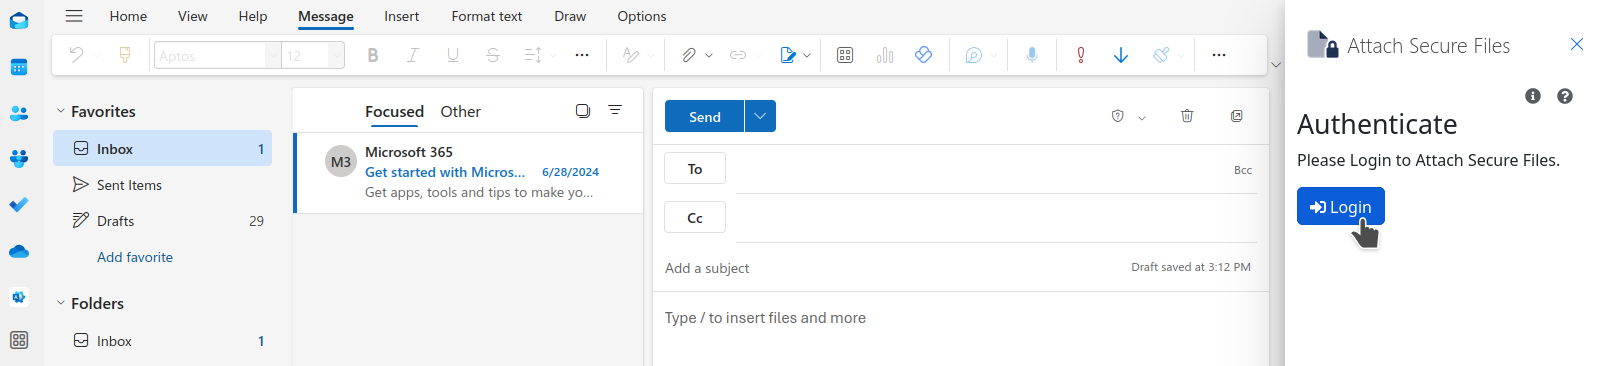
When you click on the "Attachment Upload" for the first time it's needed to login to the server.
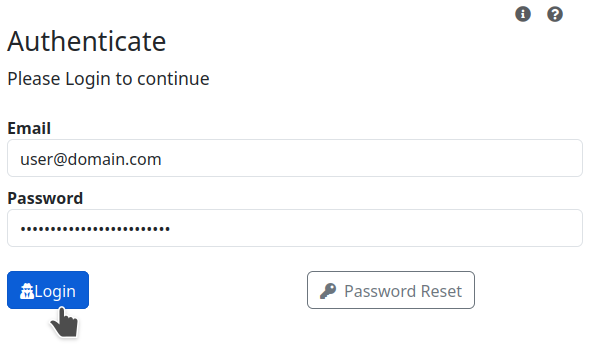
After the successful authentication the Attach Secure Files panel is showed and you can send a Secure message.