Installing Let's Encrypt Certificates
LiquidFiles has built-in support to use Let's Encrypt certificates as an alternative to traditional CA signed certificates.
In order to use Let's Encrypt certificates, there are a couple of things that are required:
- You need to be able to configure DNS to point a DNS name to your LiquidFiles instance.
- You need to use the standard ports for http: TCP/80 and https: TCP/443, or Let's Encrypt won't be able to verify the domain. Using ports like 8080 and 8443 doesn't work.
- You need to permit both port 80 and 443 in your firewall to LiquidFiles. You can still configure LiquidFiles to only use https TCP/443 in Admin → System → Network, but http TCP/80 is required by Let's Encrypt to validate the domain.
Configure DNS
The first step you need to do is to configure your DNS server with a friendly name to the LiquidFiles system. This is going to look a bit different depending on your DNS server or service. Please consult the DNS administrator if you struggle with this.
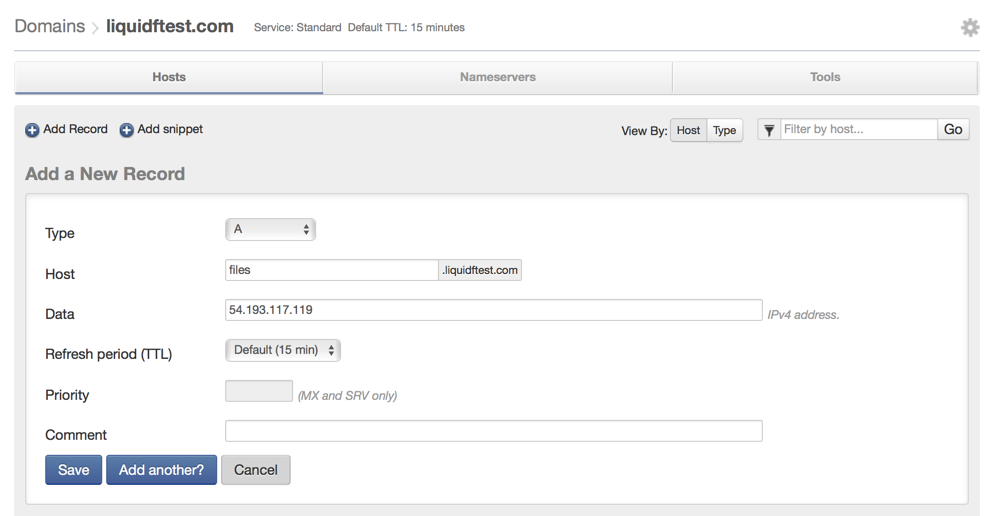
In this example we are configuring files.liquidftest.com as the LiquidFiles system name.
Enabling Let's Encrypt
If you have configured DNS correctly, you should be able to connect to your name, files.liquidftest.com in our example. Please also note that at this point you will still get a certificate warning.
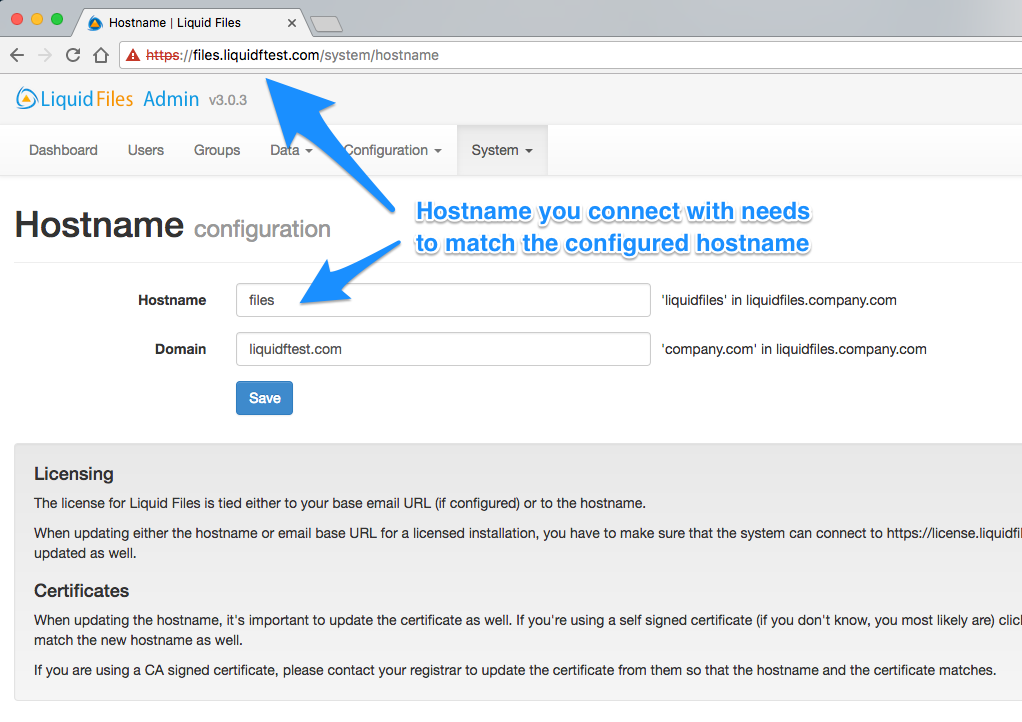
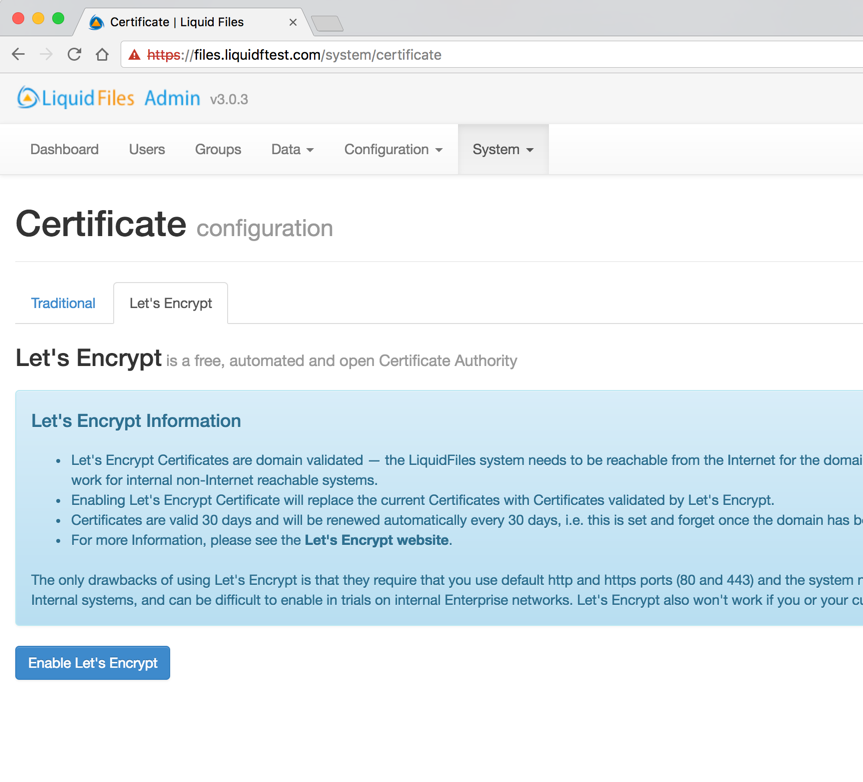
You are now ready to configure Let's Encrypt. Please go to Admin → System → Certificate. Please click on the Let's Encrypt tab and you should see something similar to:
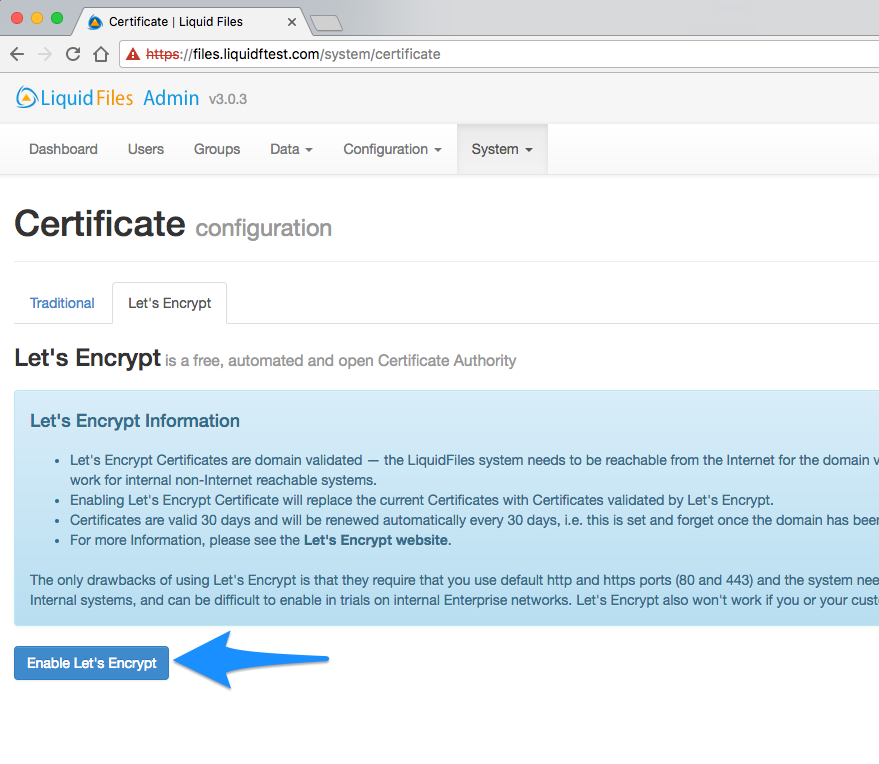
Please click on Enable Let's Encrypt to enable Let's Encrypt.
That's all you need to do, you should now see a "green" symobol in the browser certificate check, and certificate details similar to the following screenshot.
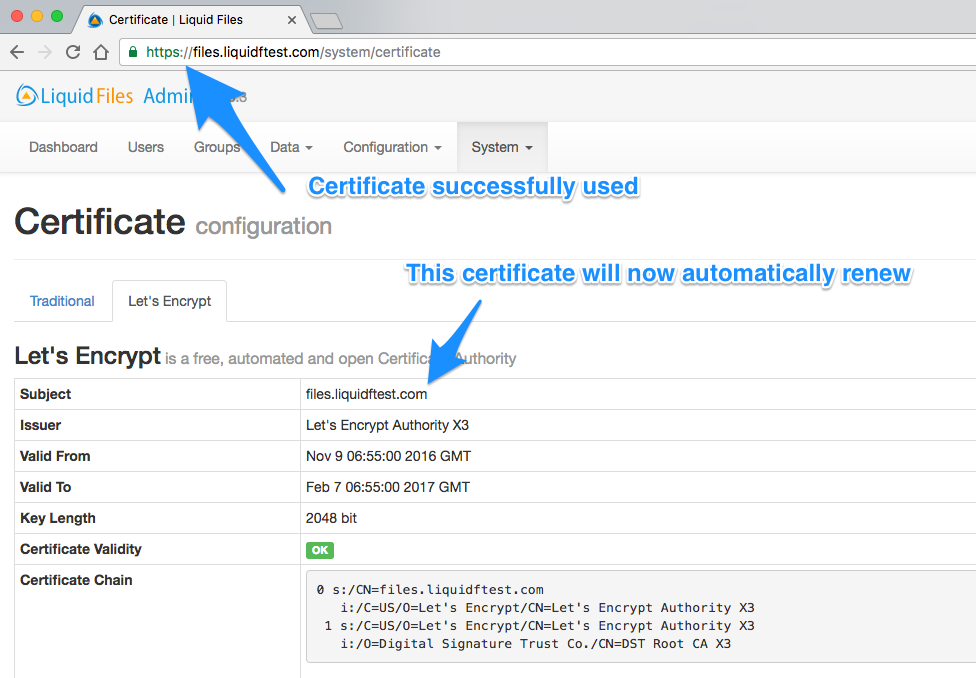
Also, please note that there's no further action needed in the future either. The certificate will automatically renew when it's about to expire.
