Migrating to a New Server — Migration Options
This guide highlights the migration options you have to migrate the data, users, groups, configuration, to a new LiquidFiles system. For an overview of how the Migration works on a conceptual level, please see the Migration Overview.
There are four main Migration options to migrate data from a source to a new LiquidFiles destination system:
1: Web Based Migration
This is the method we recommend, unless you have a good reason to select another option.
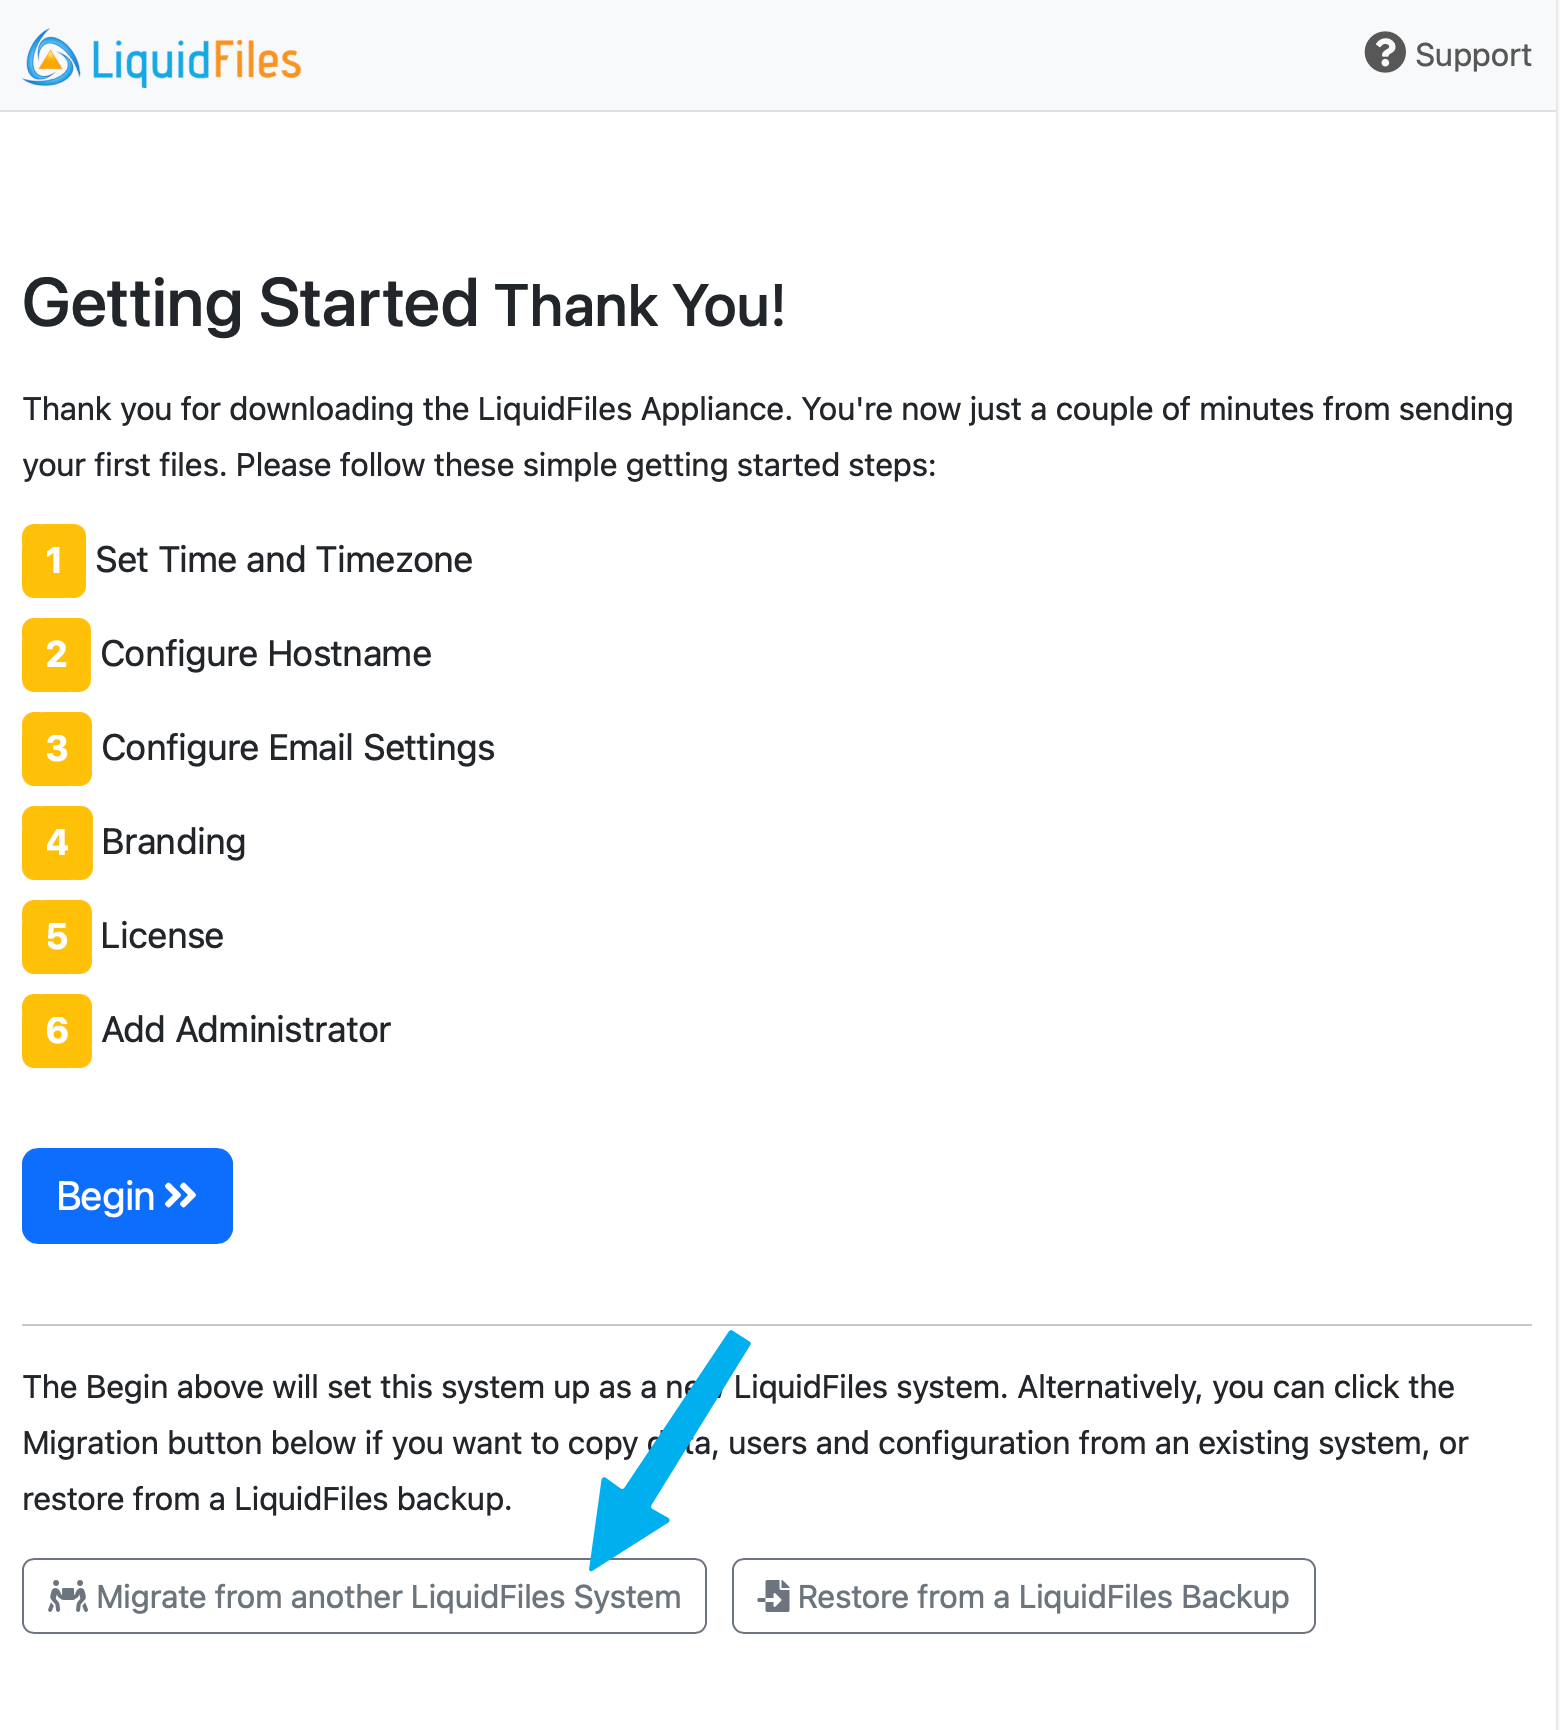
When you've installed a new LiquidFiles system, or started a new AWS or Azure instance, the first web page you'll see is a Getting Started page. From this page you have the option to start the Migration from another LiquidFiles system.

For further details on using this Migration method, please see the Web Based Migration Guide.
2: Console Based Migration
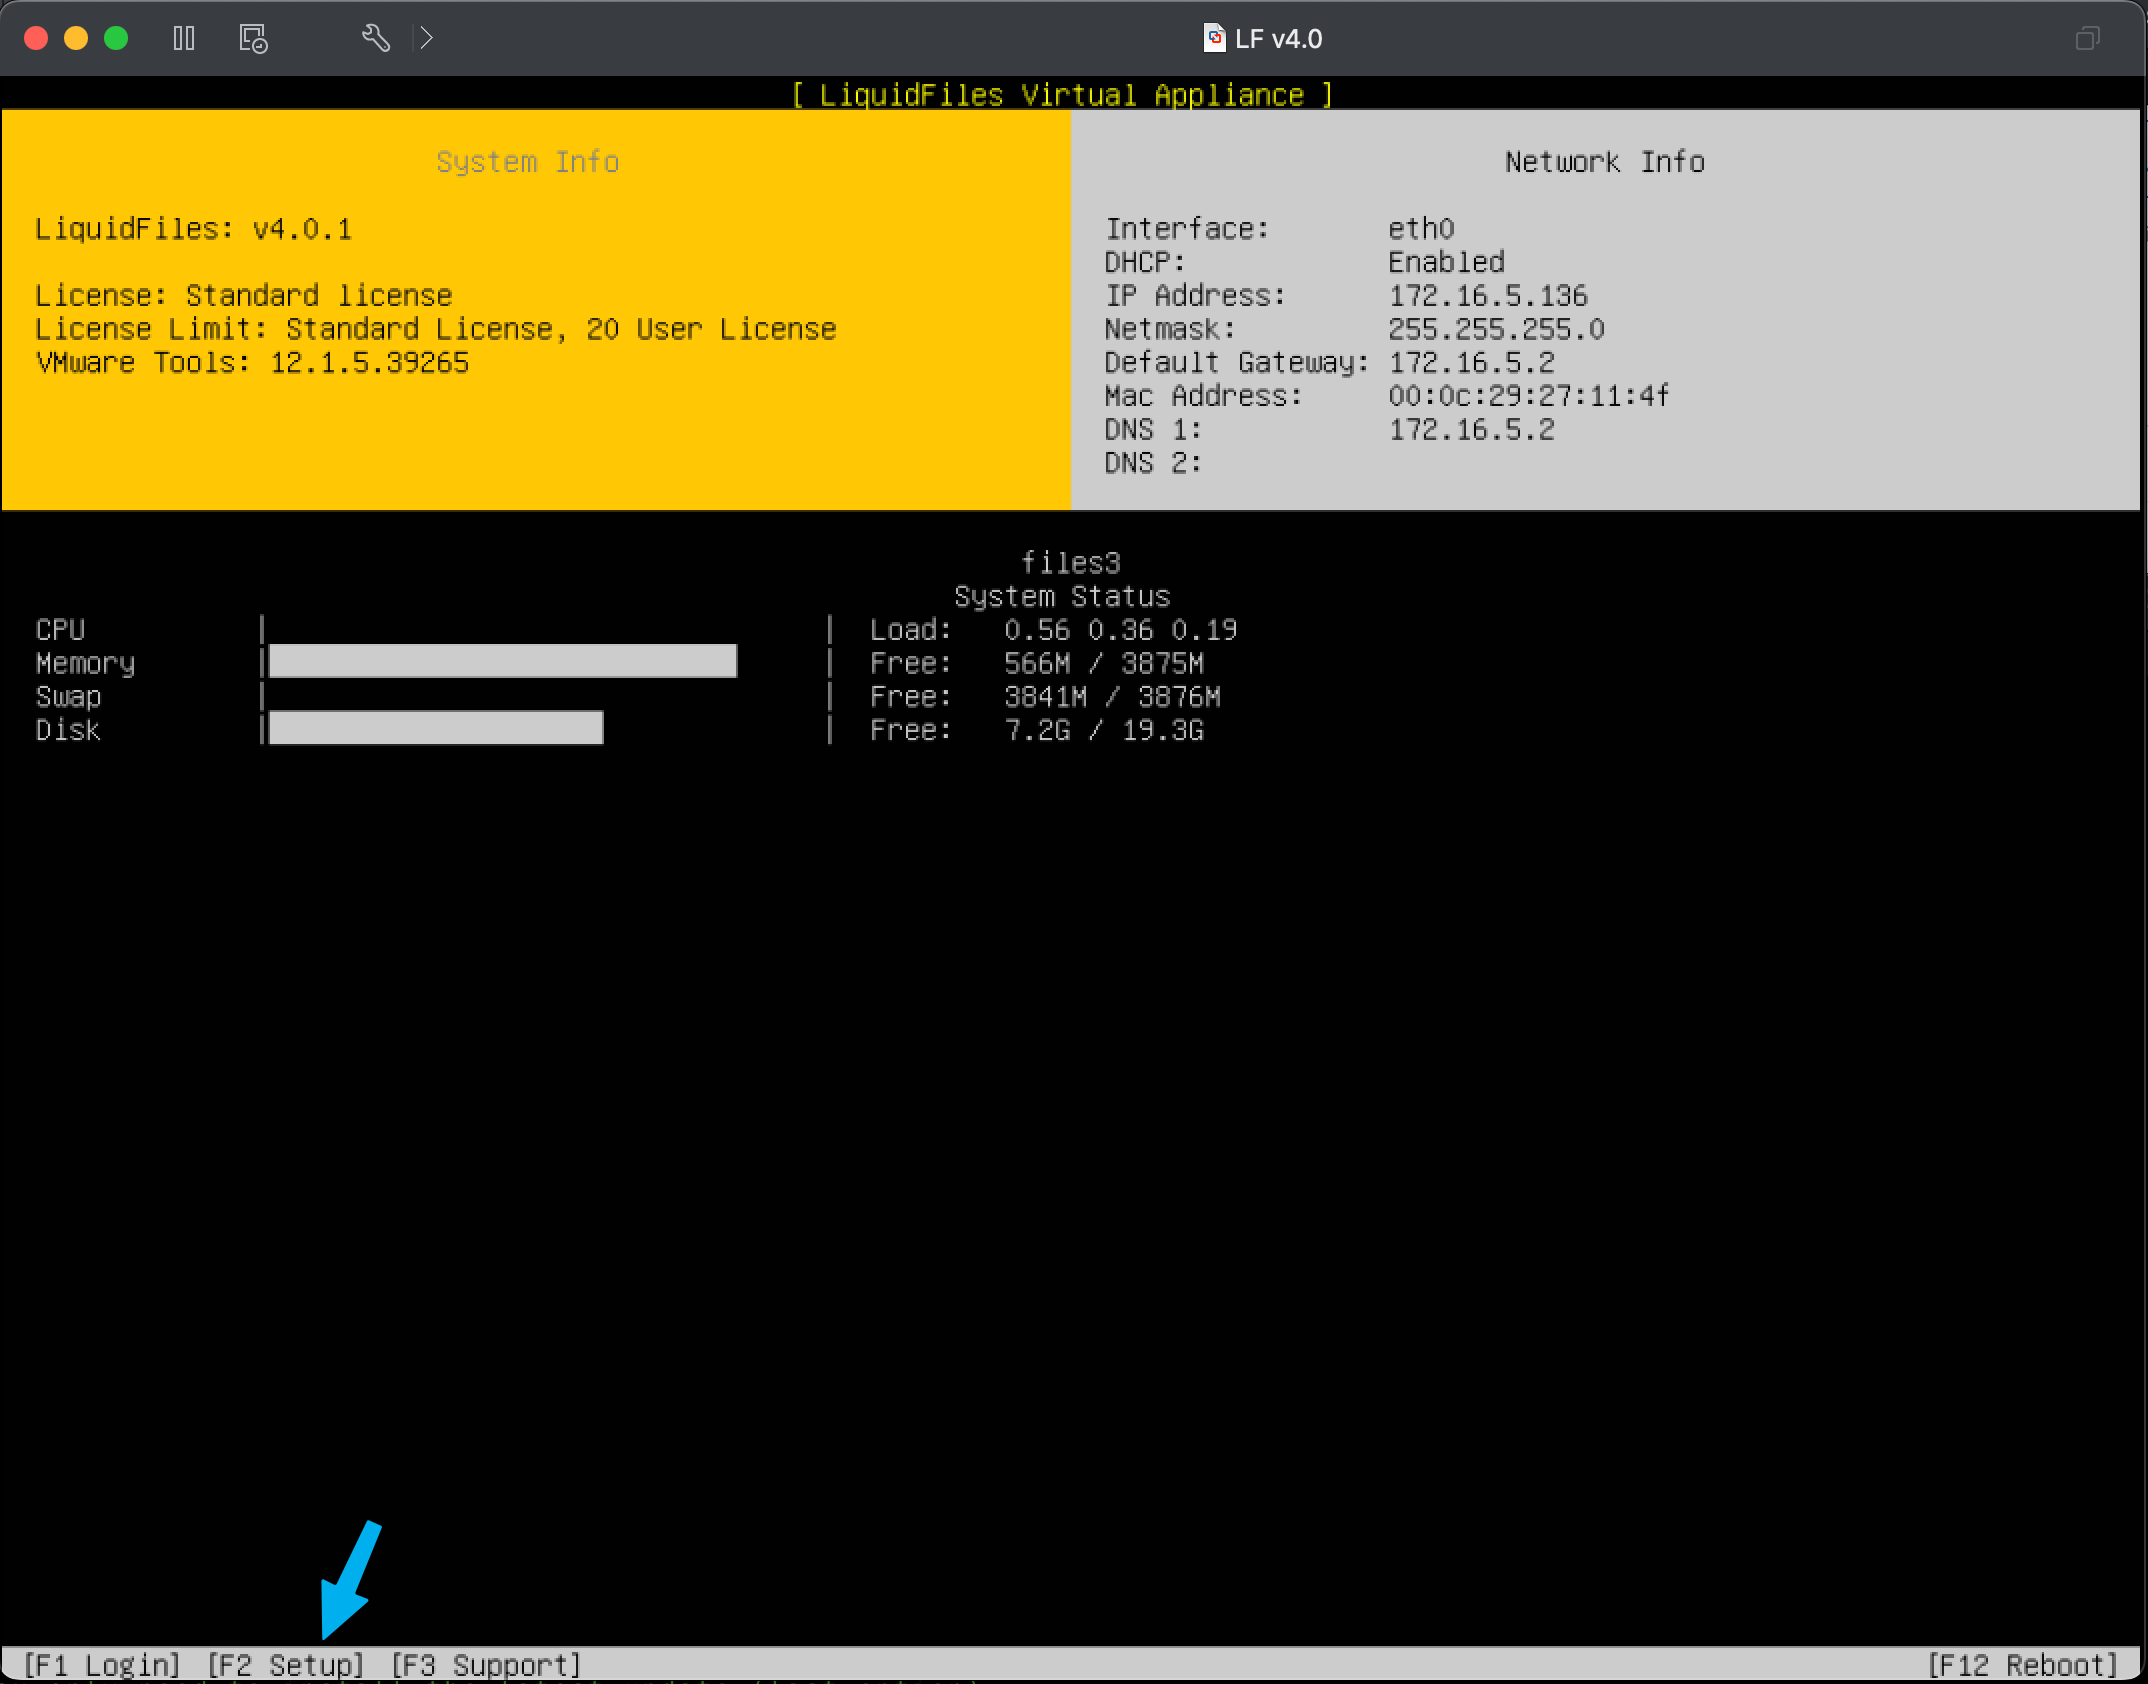
This is similar to the Web Based Migration above, except it runs on the console instead of in the web interface. If you have deployed LiquidFiles using a cloud platform like Amazon AWS or Microsoft Azure, you don't have access to the console and this method is not available (if you can't see the console in the screenshot below, you cannot use this method).

For further details on using this Migration method, please see the Console Based Migration Guide.
3: Installation First Migration
In some cases, like if you want to use an NFS server for data storage, or want to use a custom disk layout, you'll have to install the system first and then start the migration.
Please see the Installation First Based Migration Guide for further instructions how to use this migration method.
4: Restore from backup
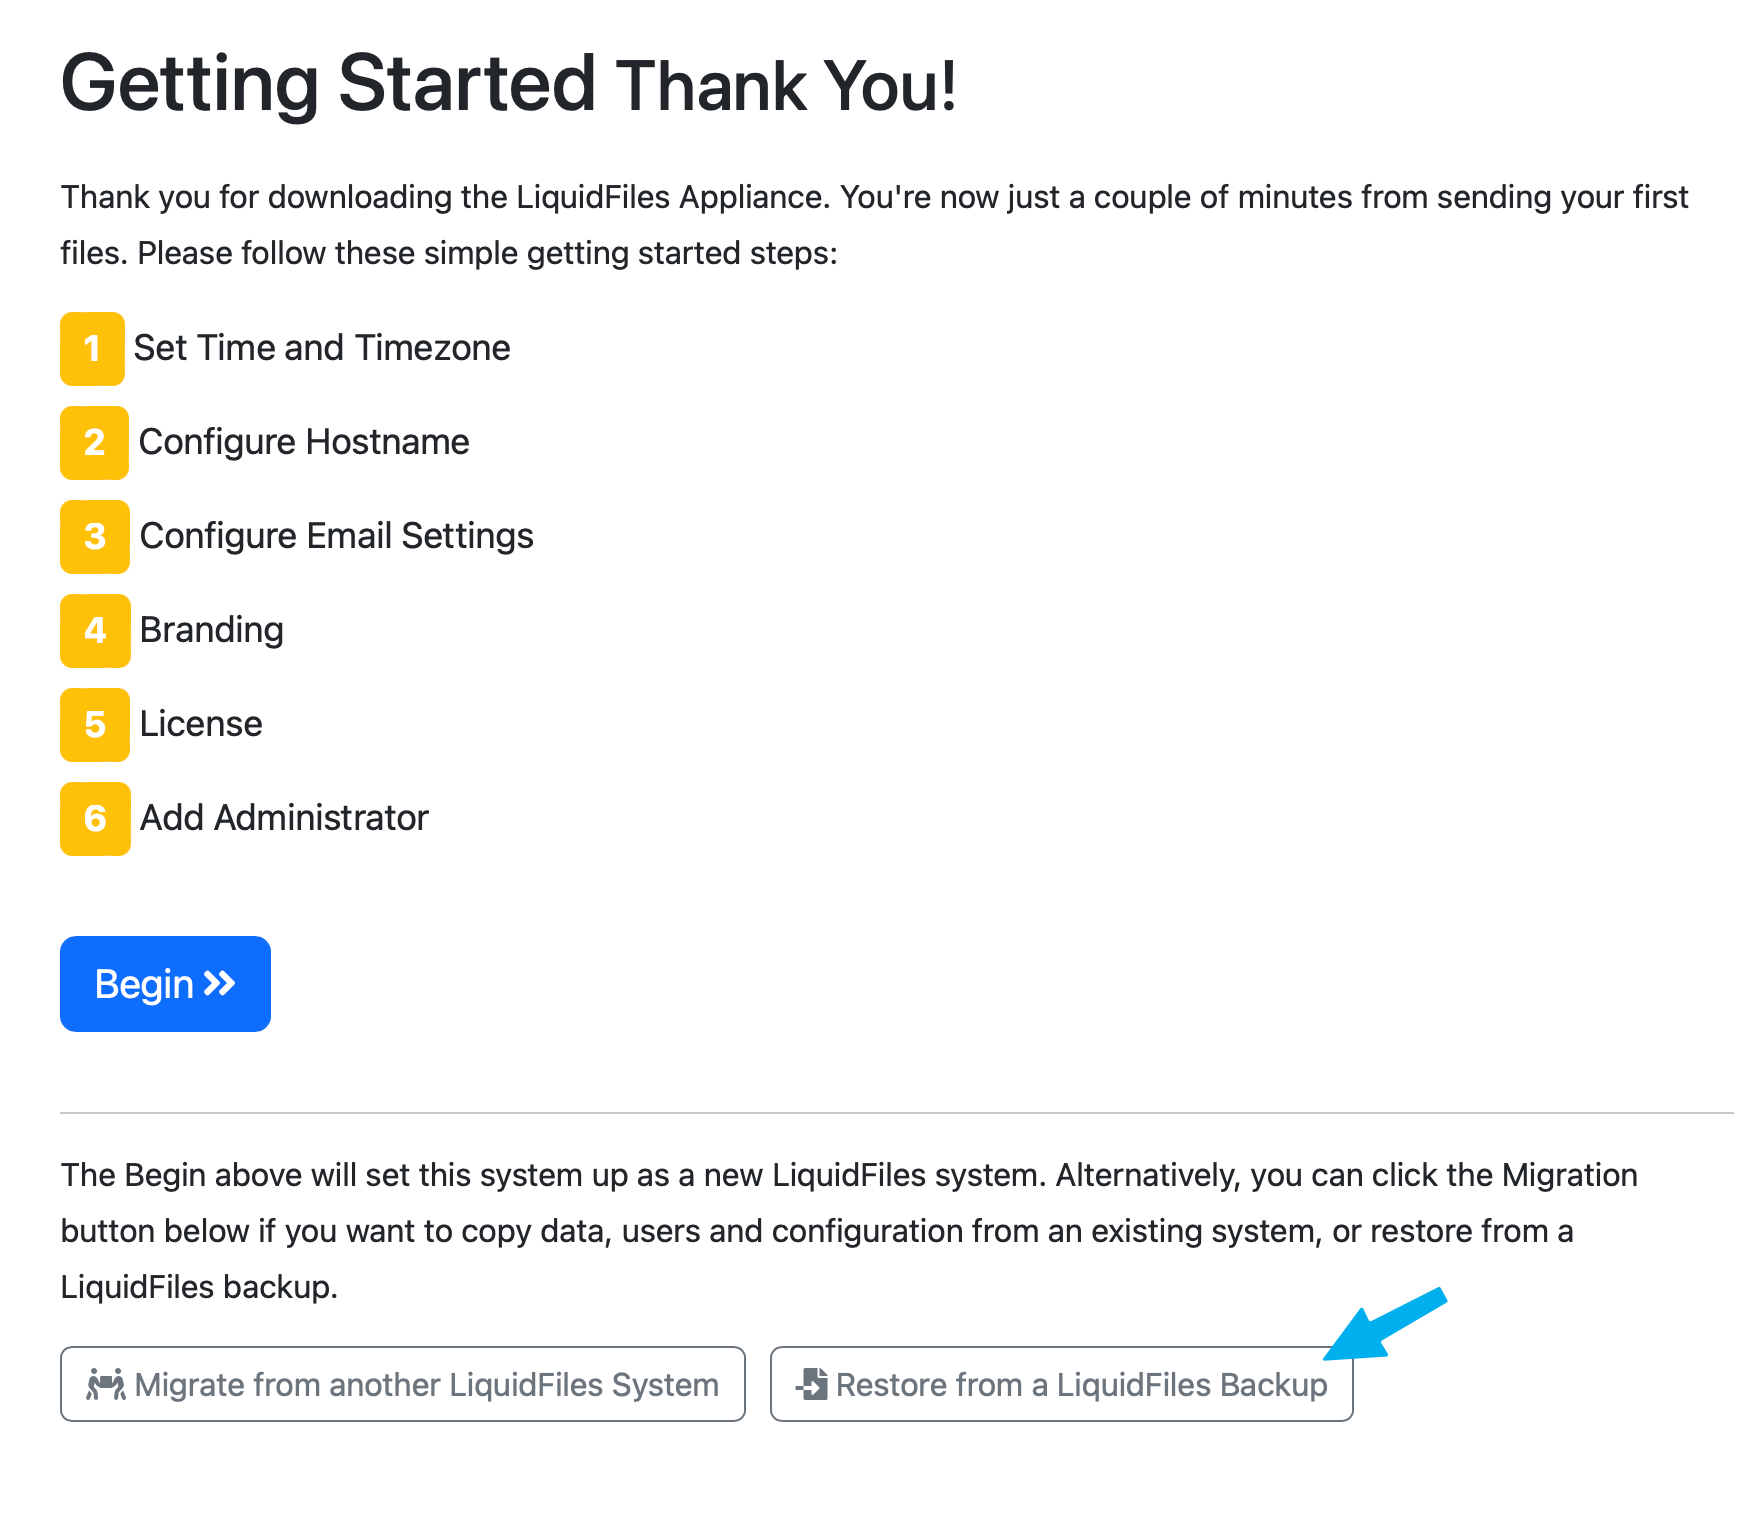
The only reason to use this method is if you're running LiquidFiles on dedicated hardware, and you want to continue using the same hardware, or if there's some reason where you cannot create a network link between the source and destination system.

Please see the Restore from Backup Guide for further instructions how to use this migration method.
