ISO Installation
This ISO installation guide is specifically if you want to install LiquidFiles using the custom disk layout option. This will enable you to define a Data disk at the time of installation as opposed to adding one after the installation has completed.
The first step after you've downloaded the ISO image is either mount it to your virtual CD/DVD drive in your VM or if you have a physical server mount the ISO image through IPMI, Drac or ILO card and boot the system. Or alternatively if you don't have any management card burn the ISO image to a DVD-rom using your favorite burning software. Then insert the DVD on the physical server and boot the system using the DVD.
When the system boots, you will see this boot screen. Please select to Install New Server (custom-storage).
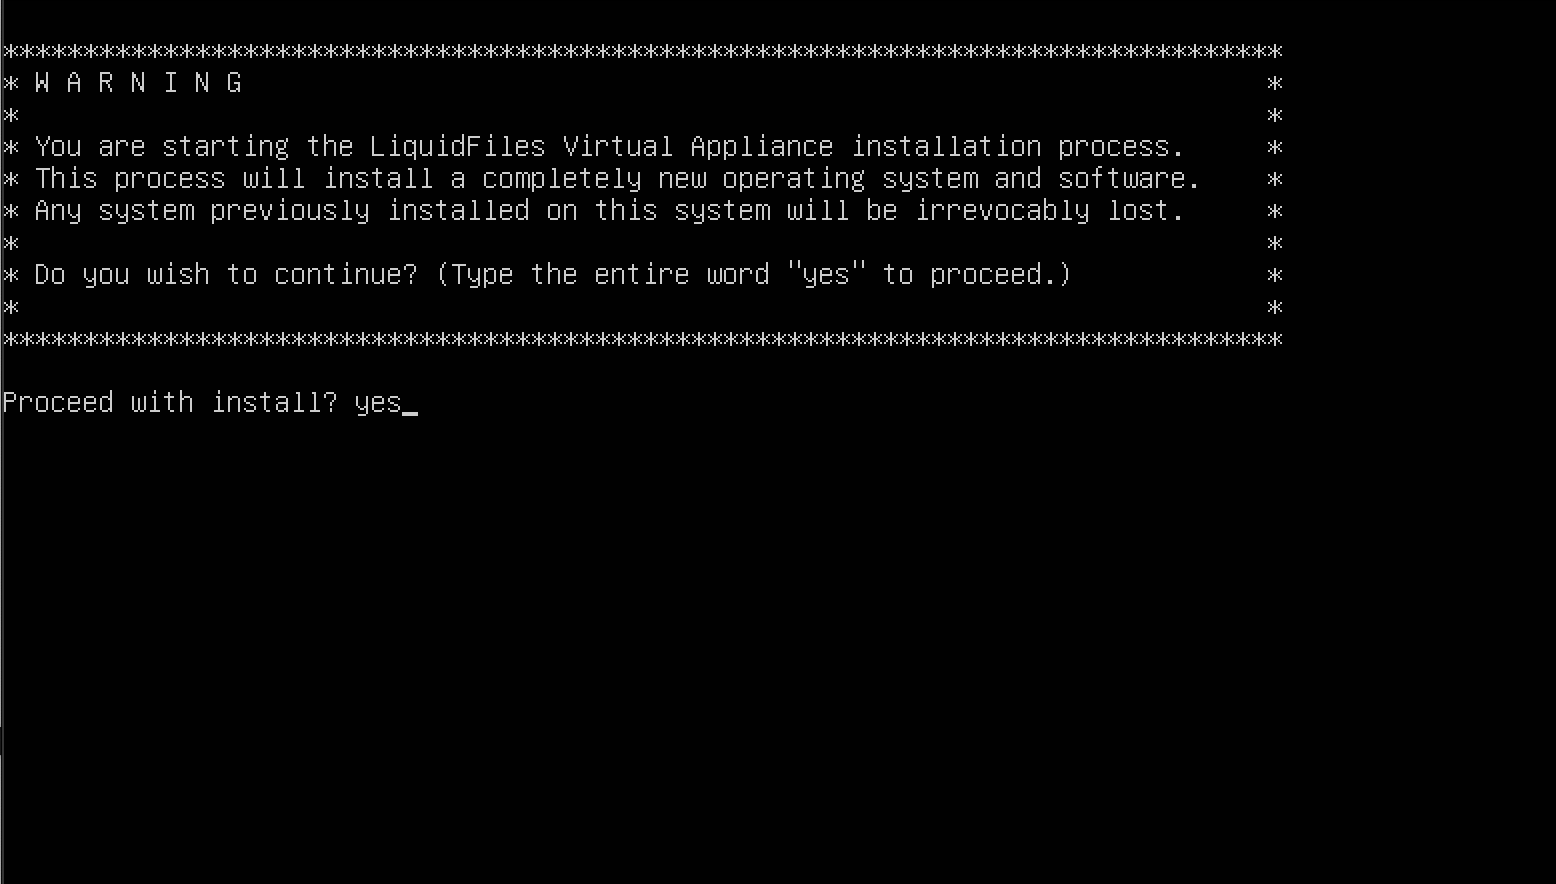
The next step is to agree to continue the installation.
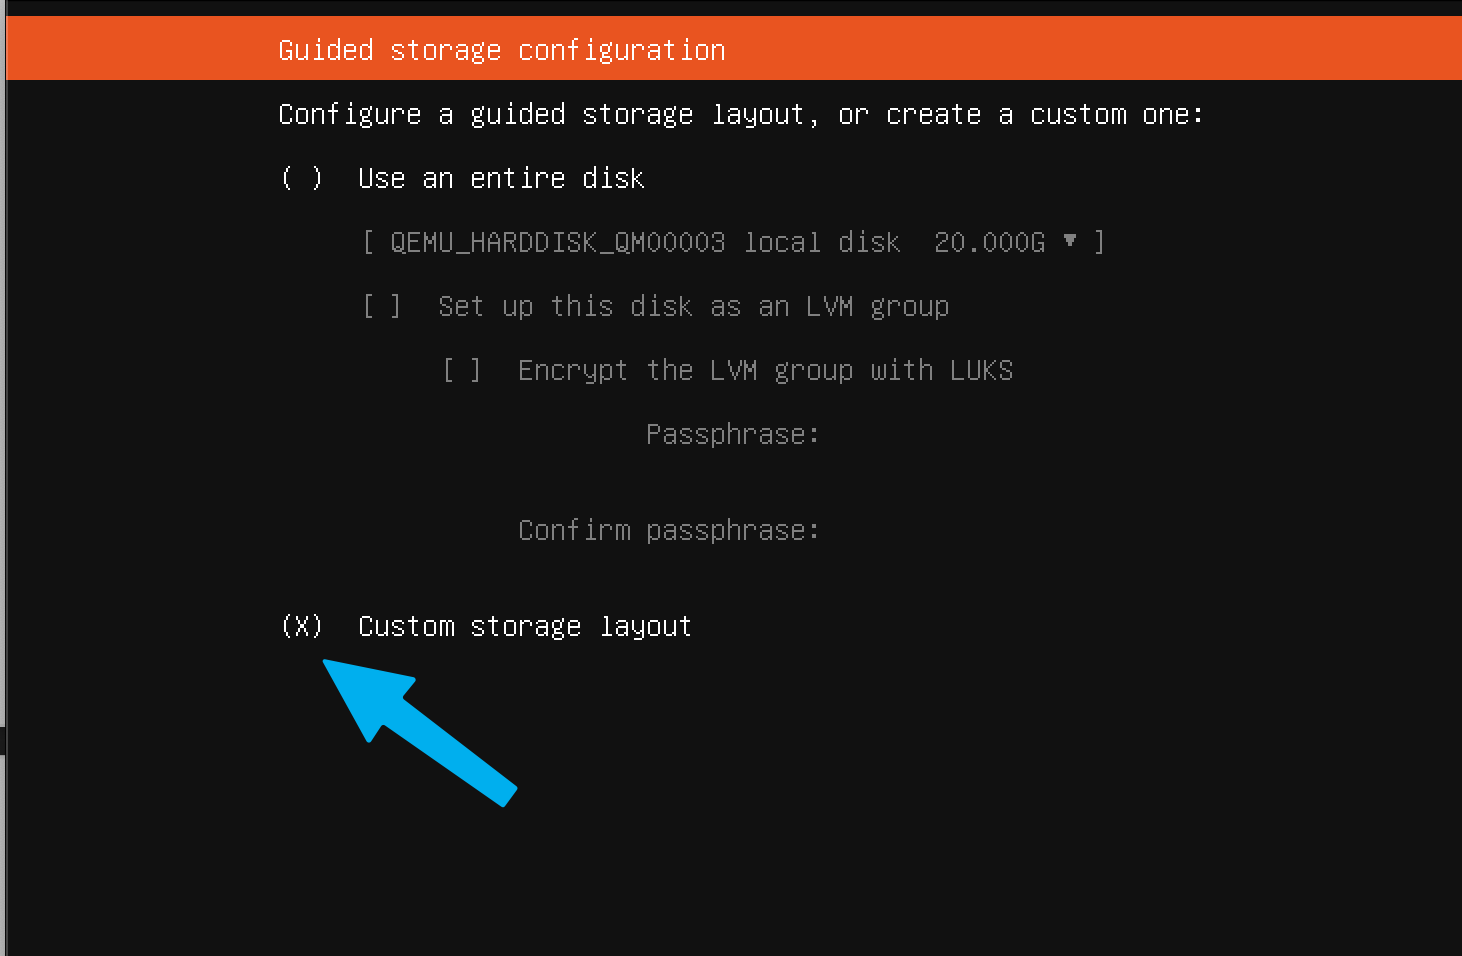
This is where it gets interesting. On this screen, please select Custom storage layout. If you want to use Full Disk Encryption, please see the Full Disk Encryption Install Guide instead.
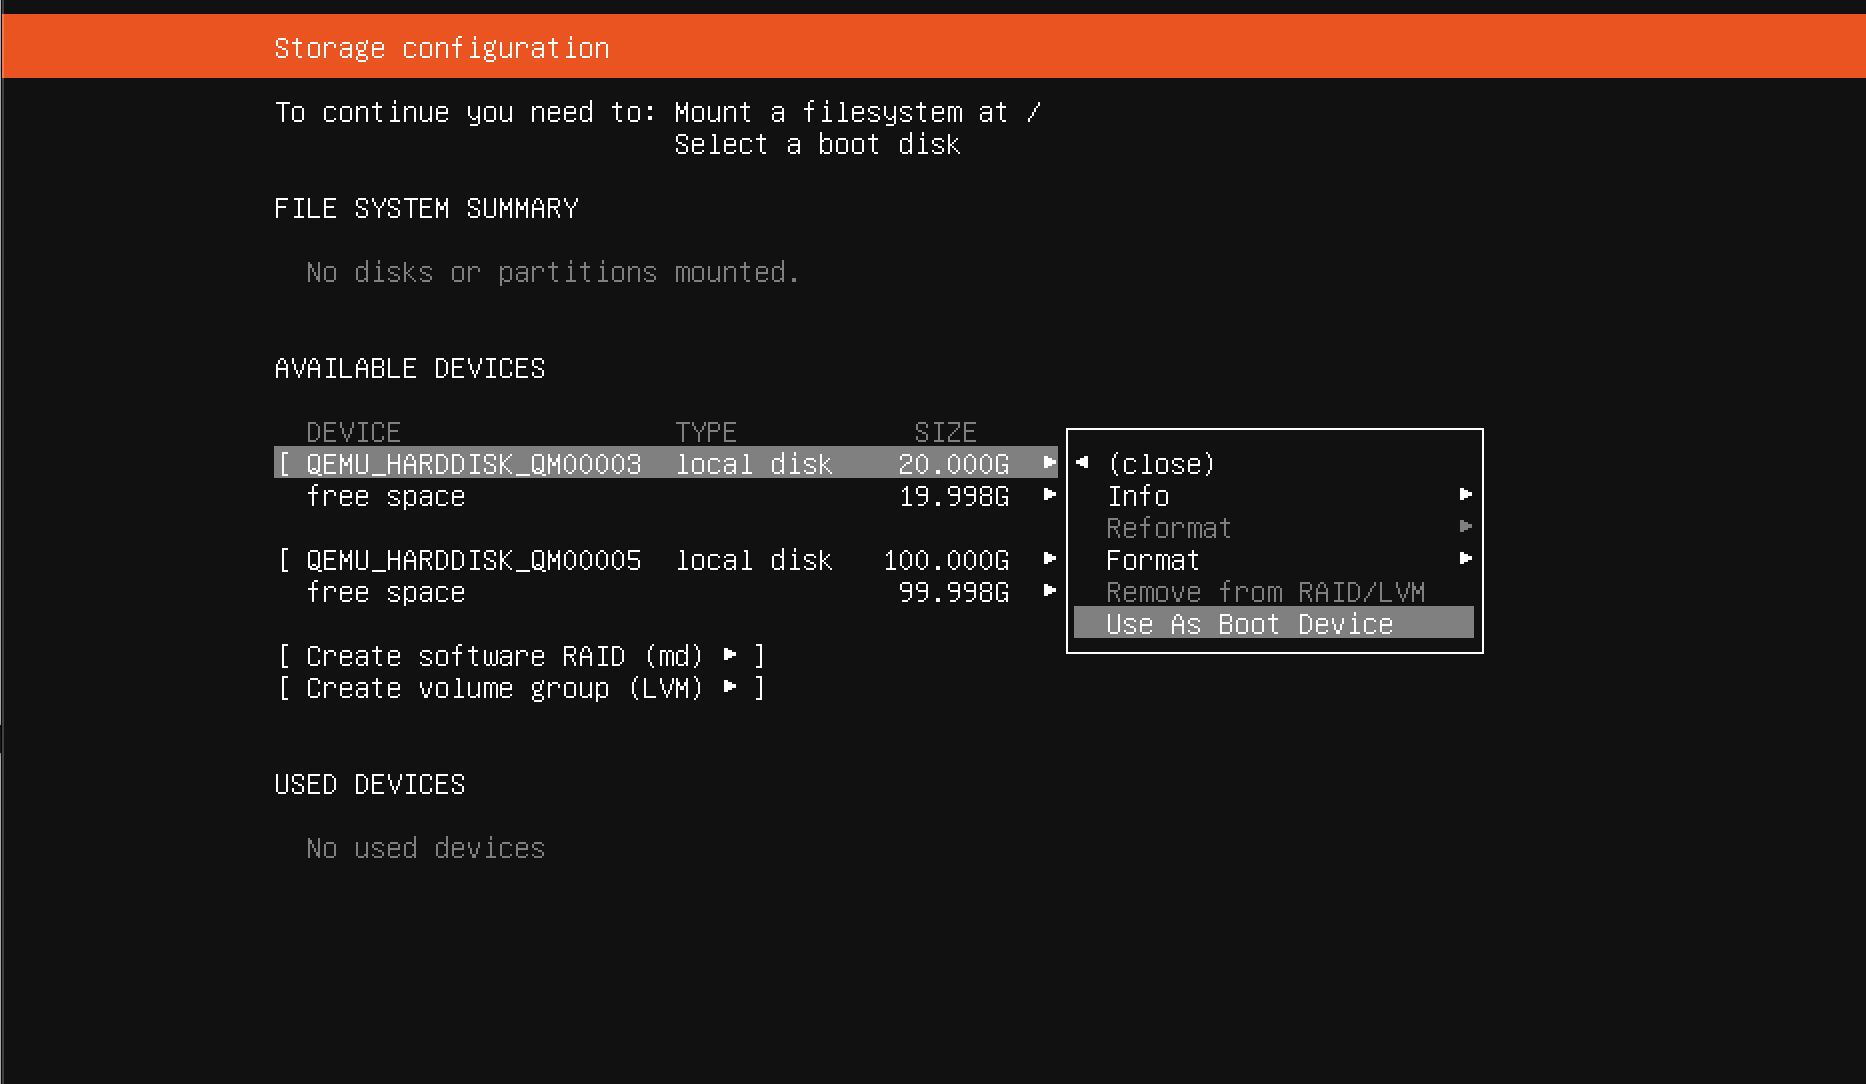
On this system, you can see that there's two harddisks, one 20GB one that we'll use for system storage, and one 100GB one we'll use for data.
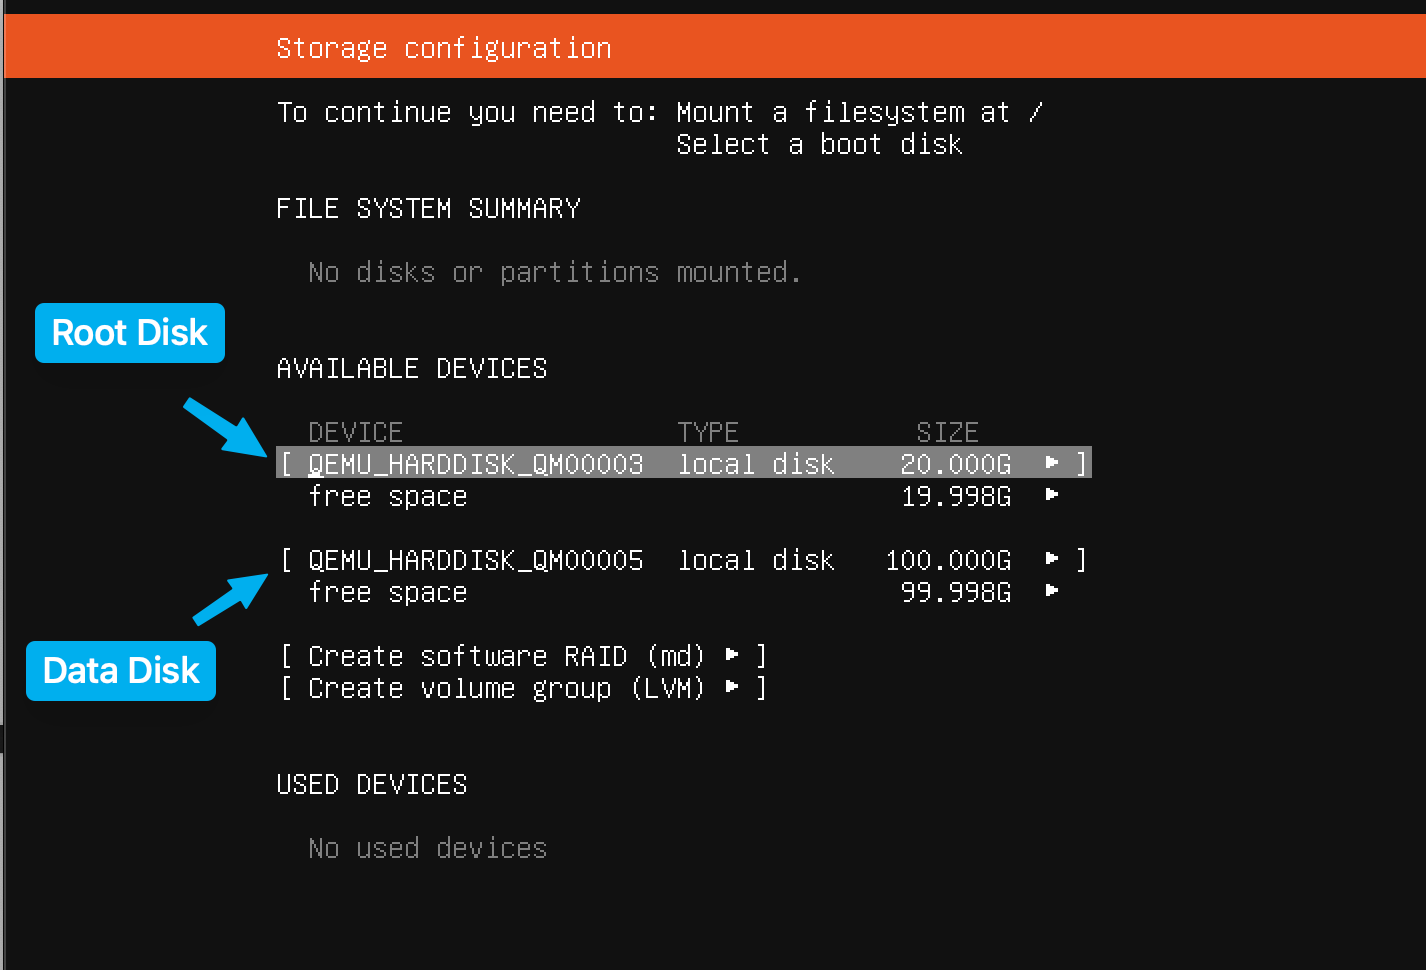
First, set the system disk to Use As Boot Device. This will among other things create a small boot partition on this disk.
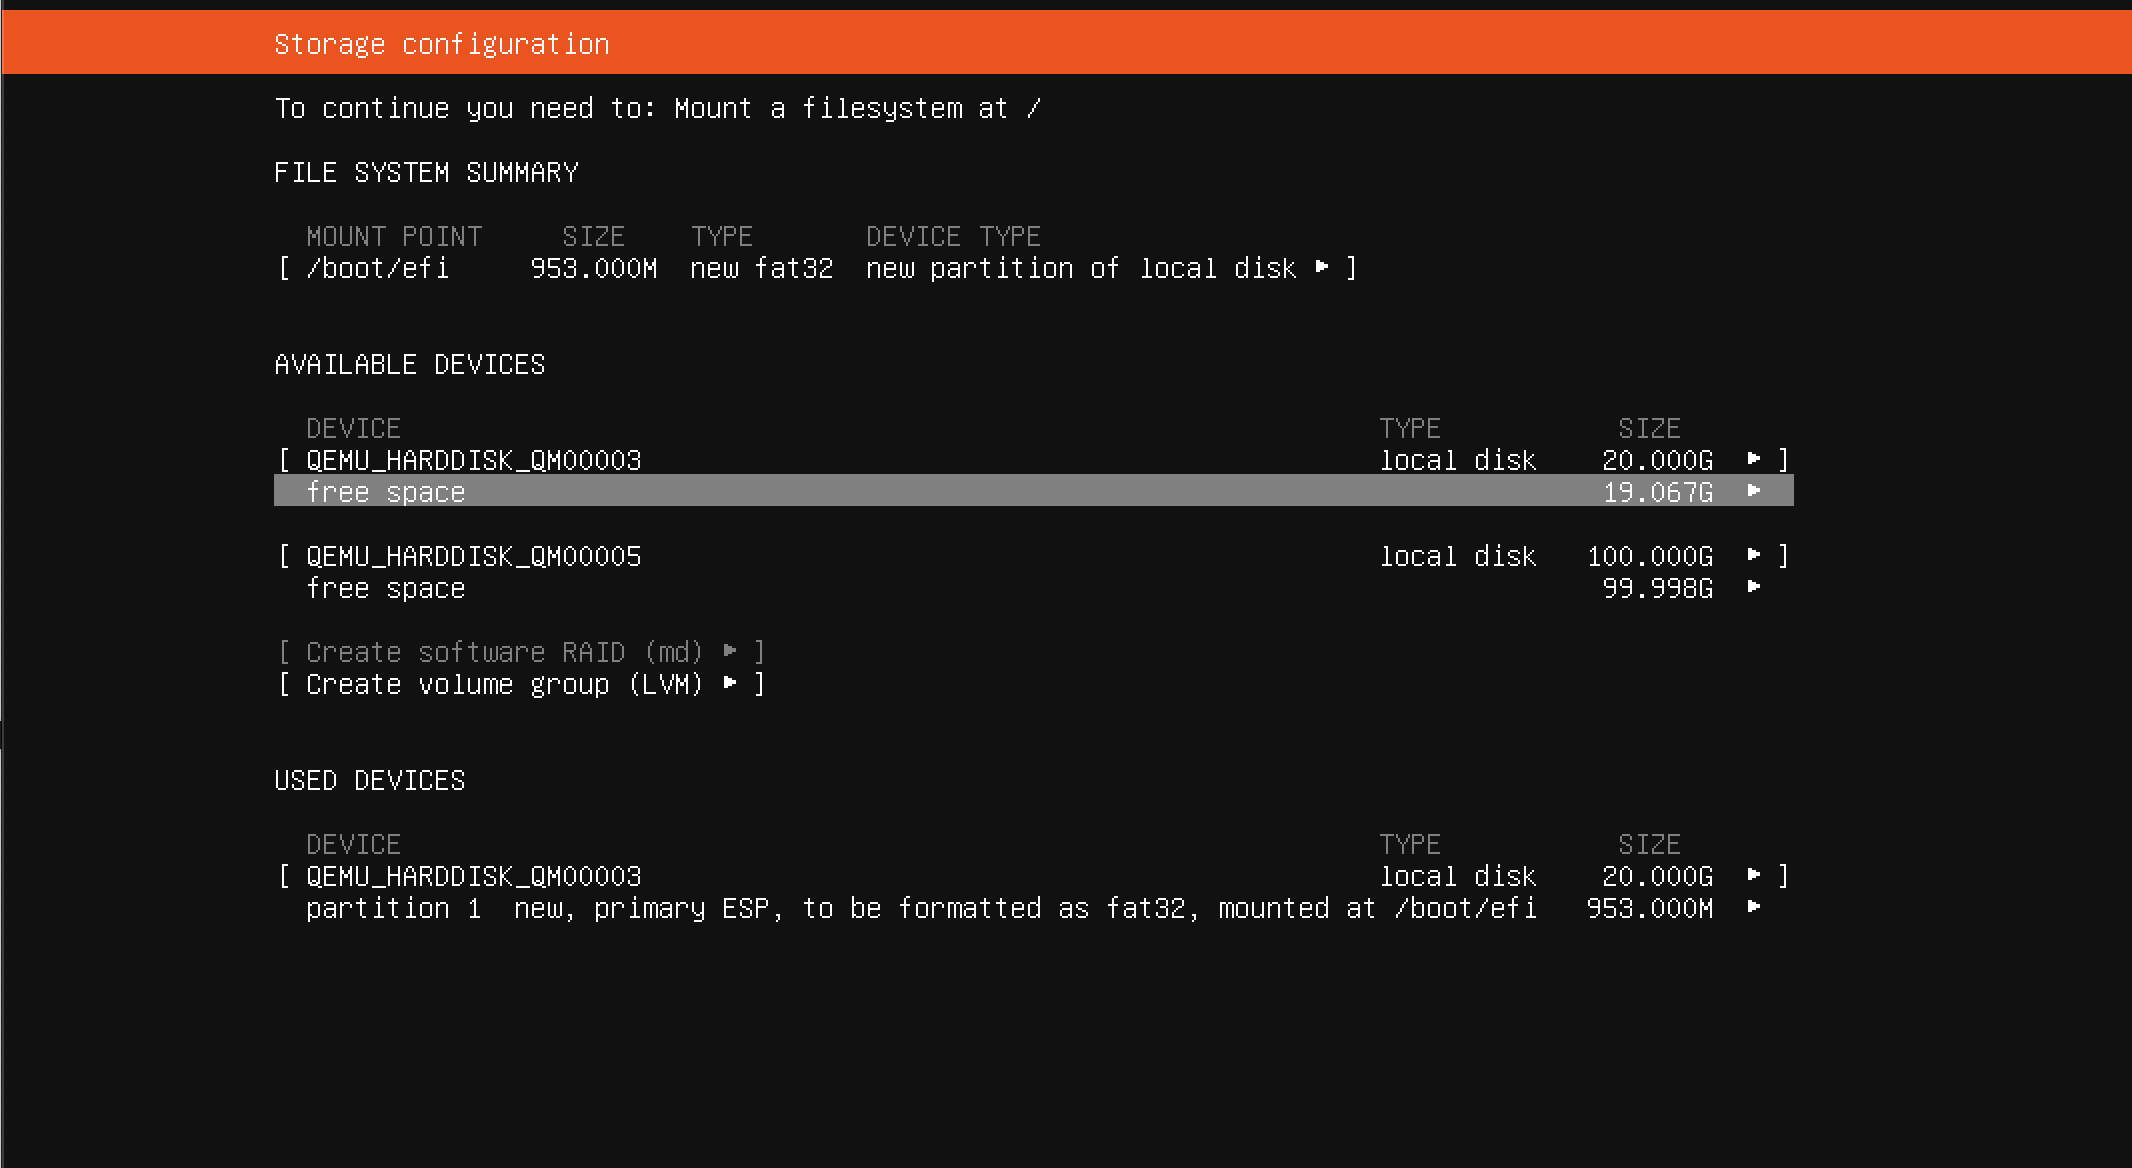
Here you can see the /boot/efi partition on at the top. We'll select to configure the rest of the Free Space on this disk.
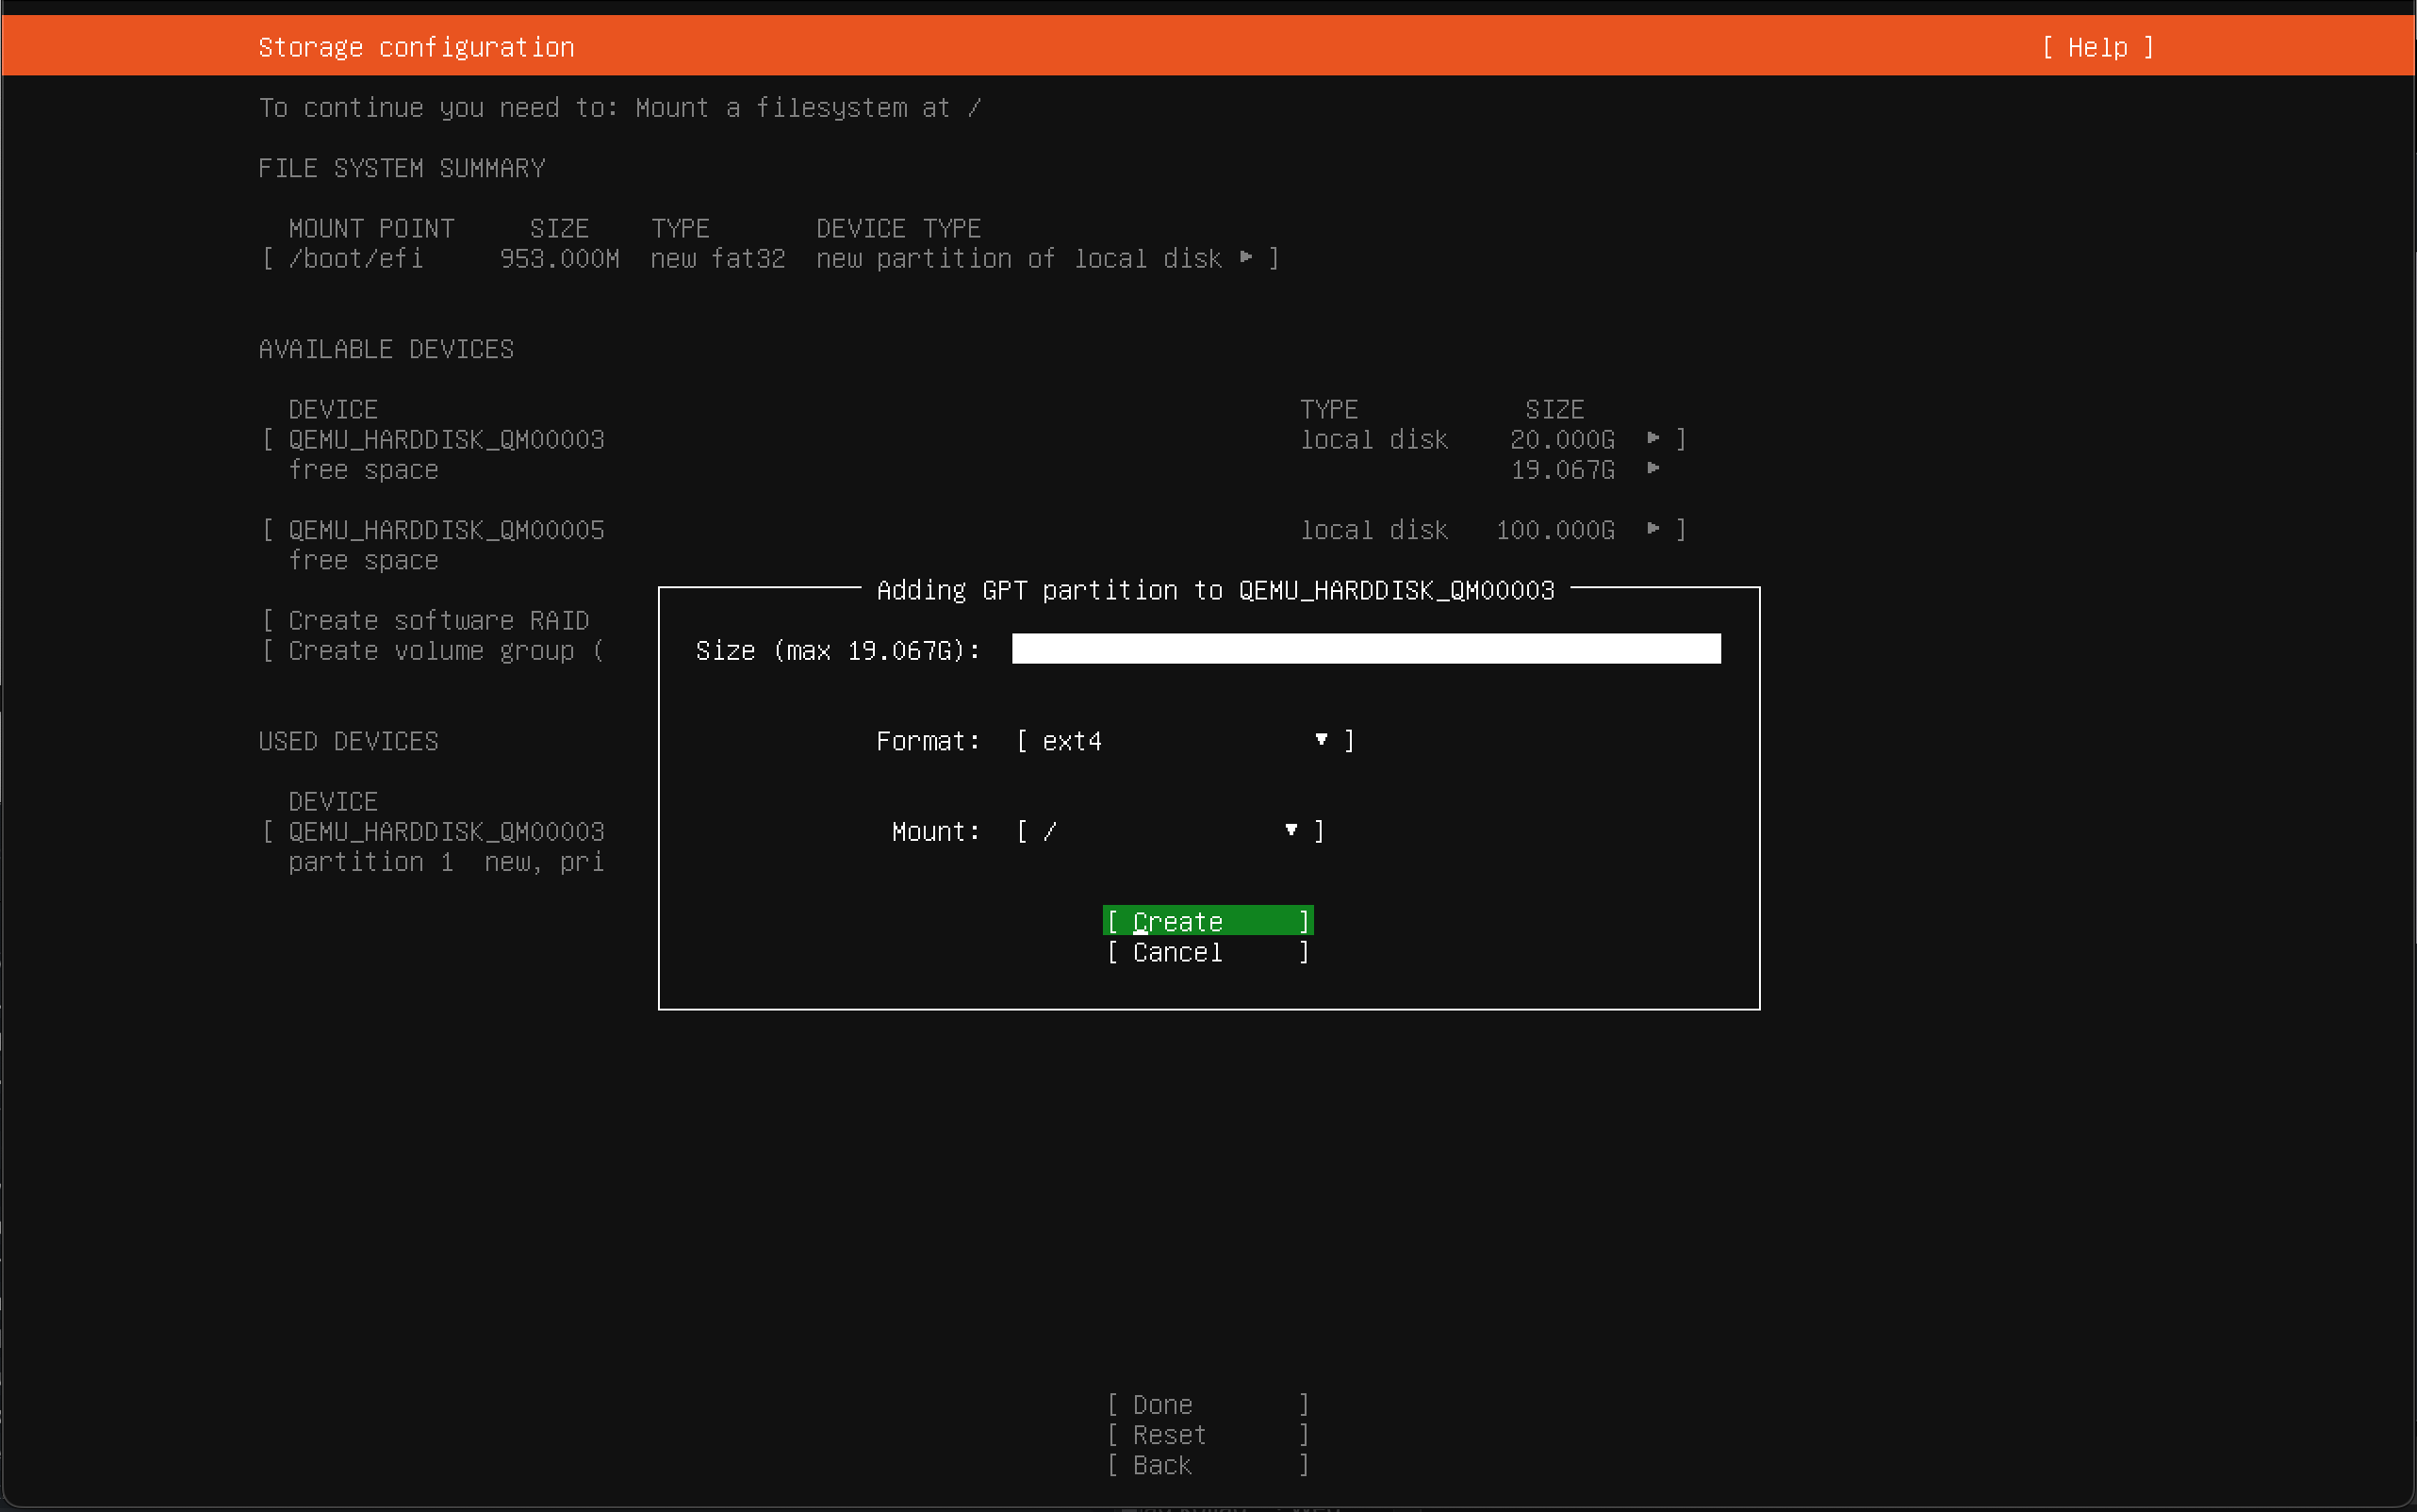
On this screen, don't set any size, so that the system will use all remaining space. We want to format the partition as ext4 and mount on /.
Moving on to the Data Disk, in this case we want to use the entire disk, so we select the disk (not the free space) and select to Format.

We again select to format this disk using ext4 and as mount point we select Other and then specify /data.

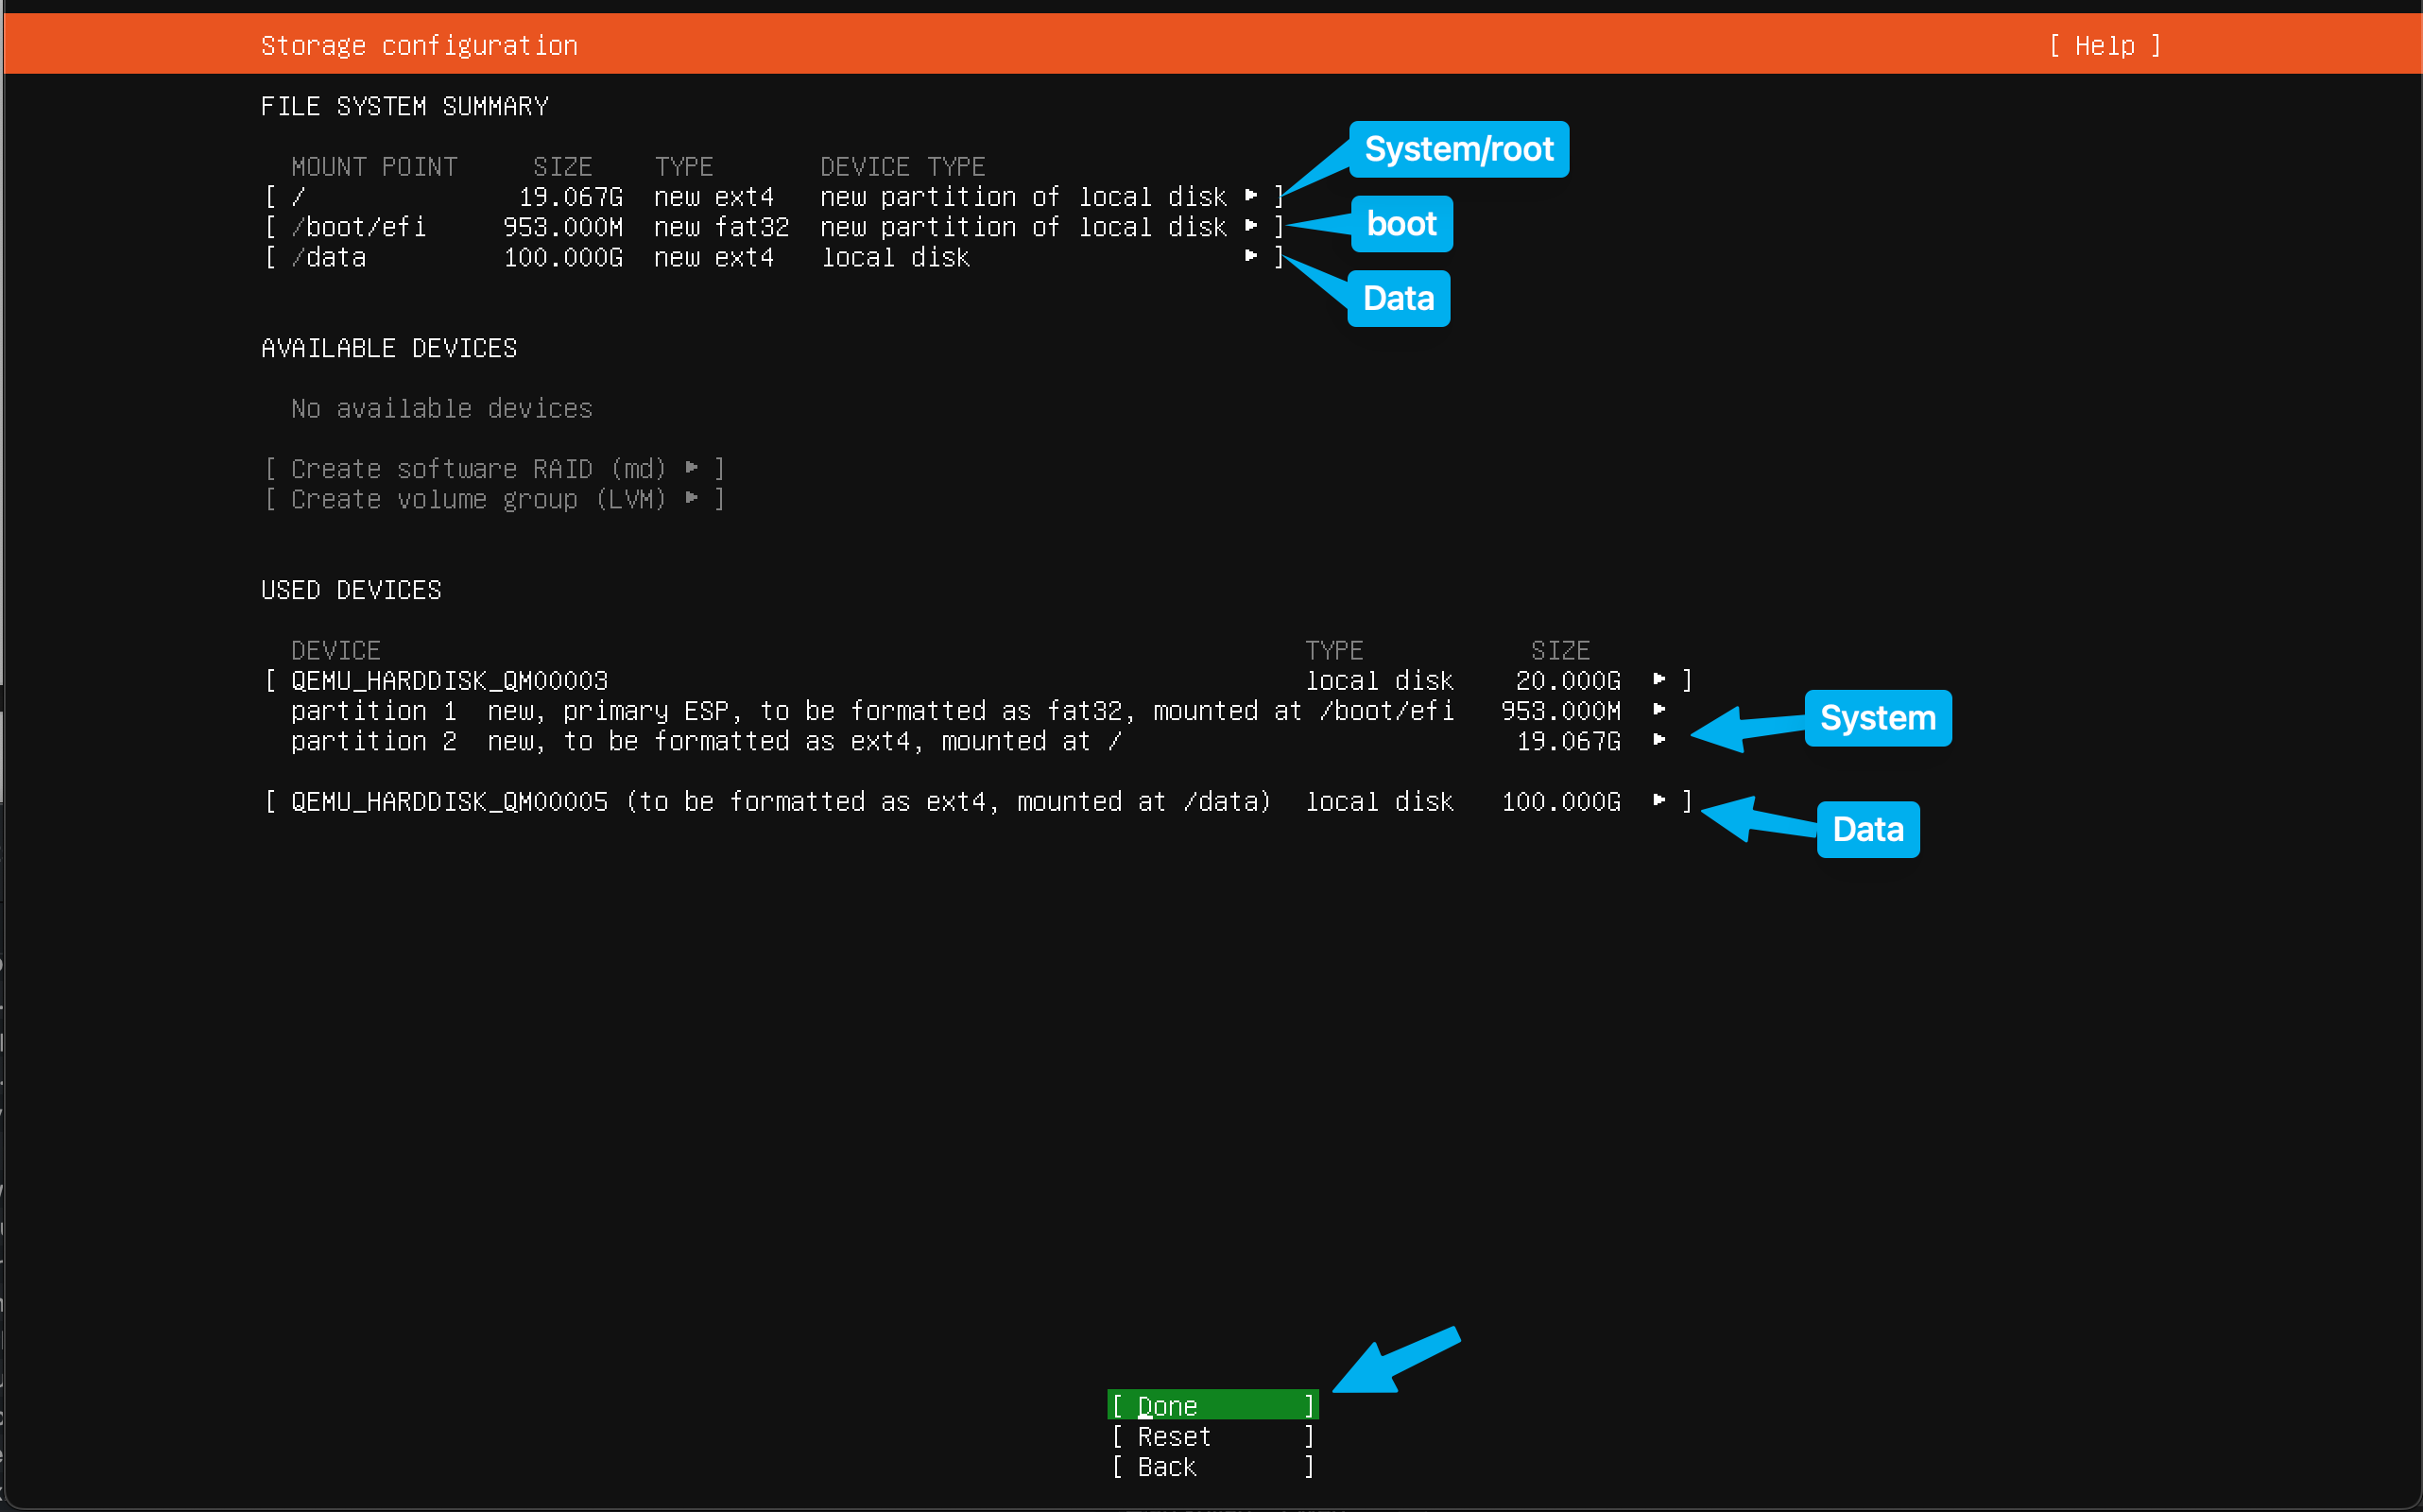
We can now see our Mount Points at the top, and our configured Hard Disks in the middle. It looks good so we select Done to continue.
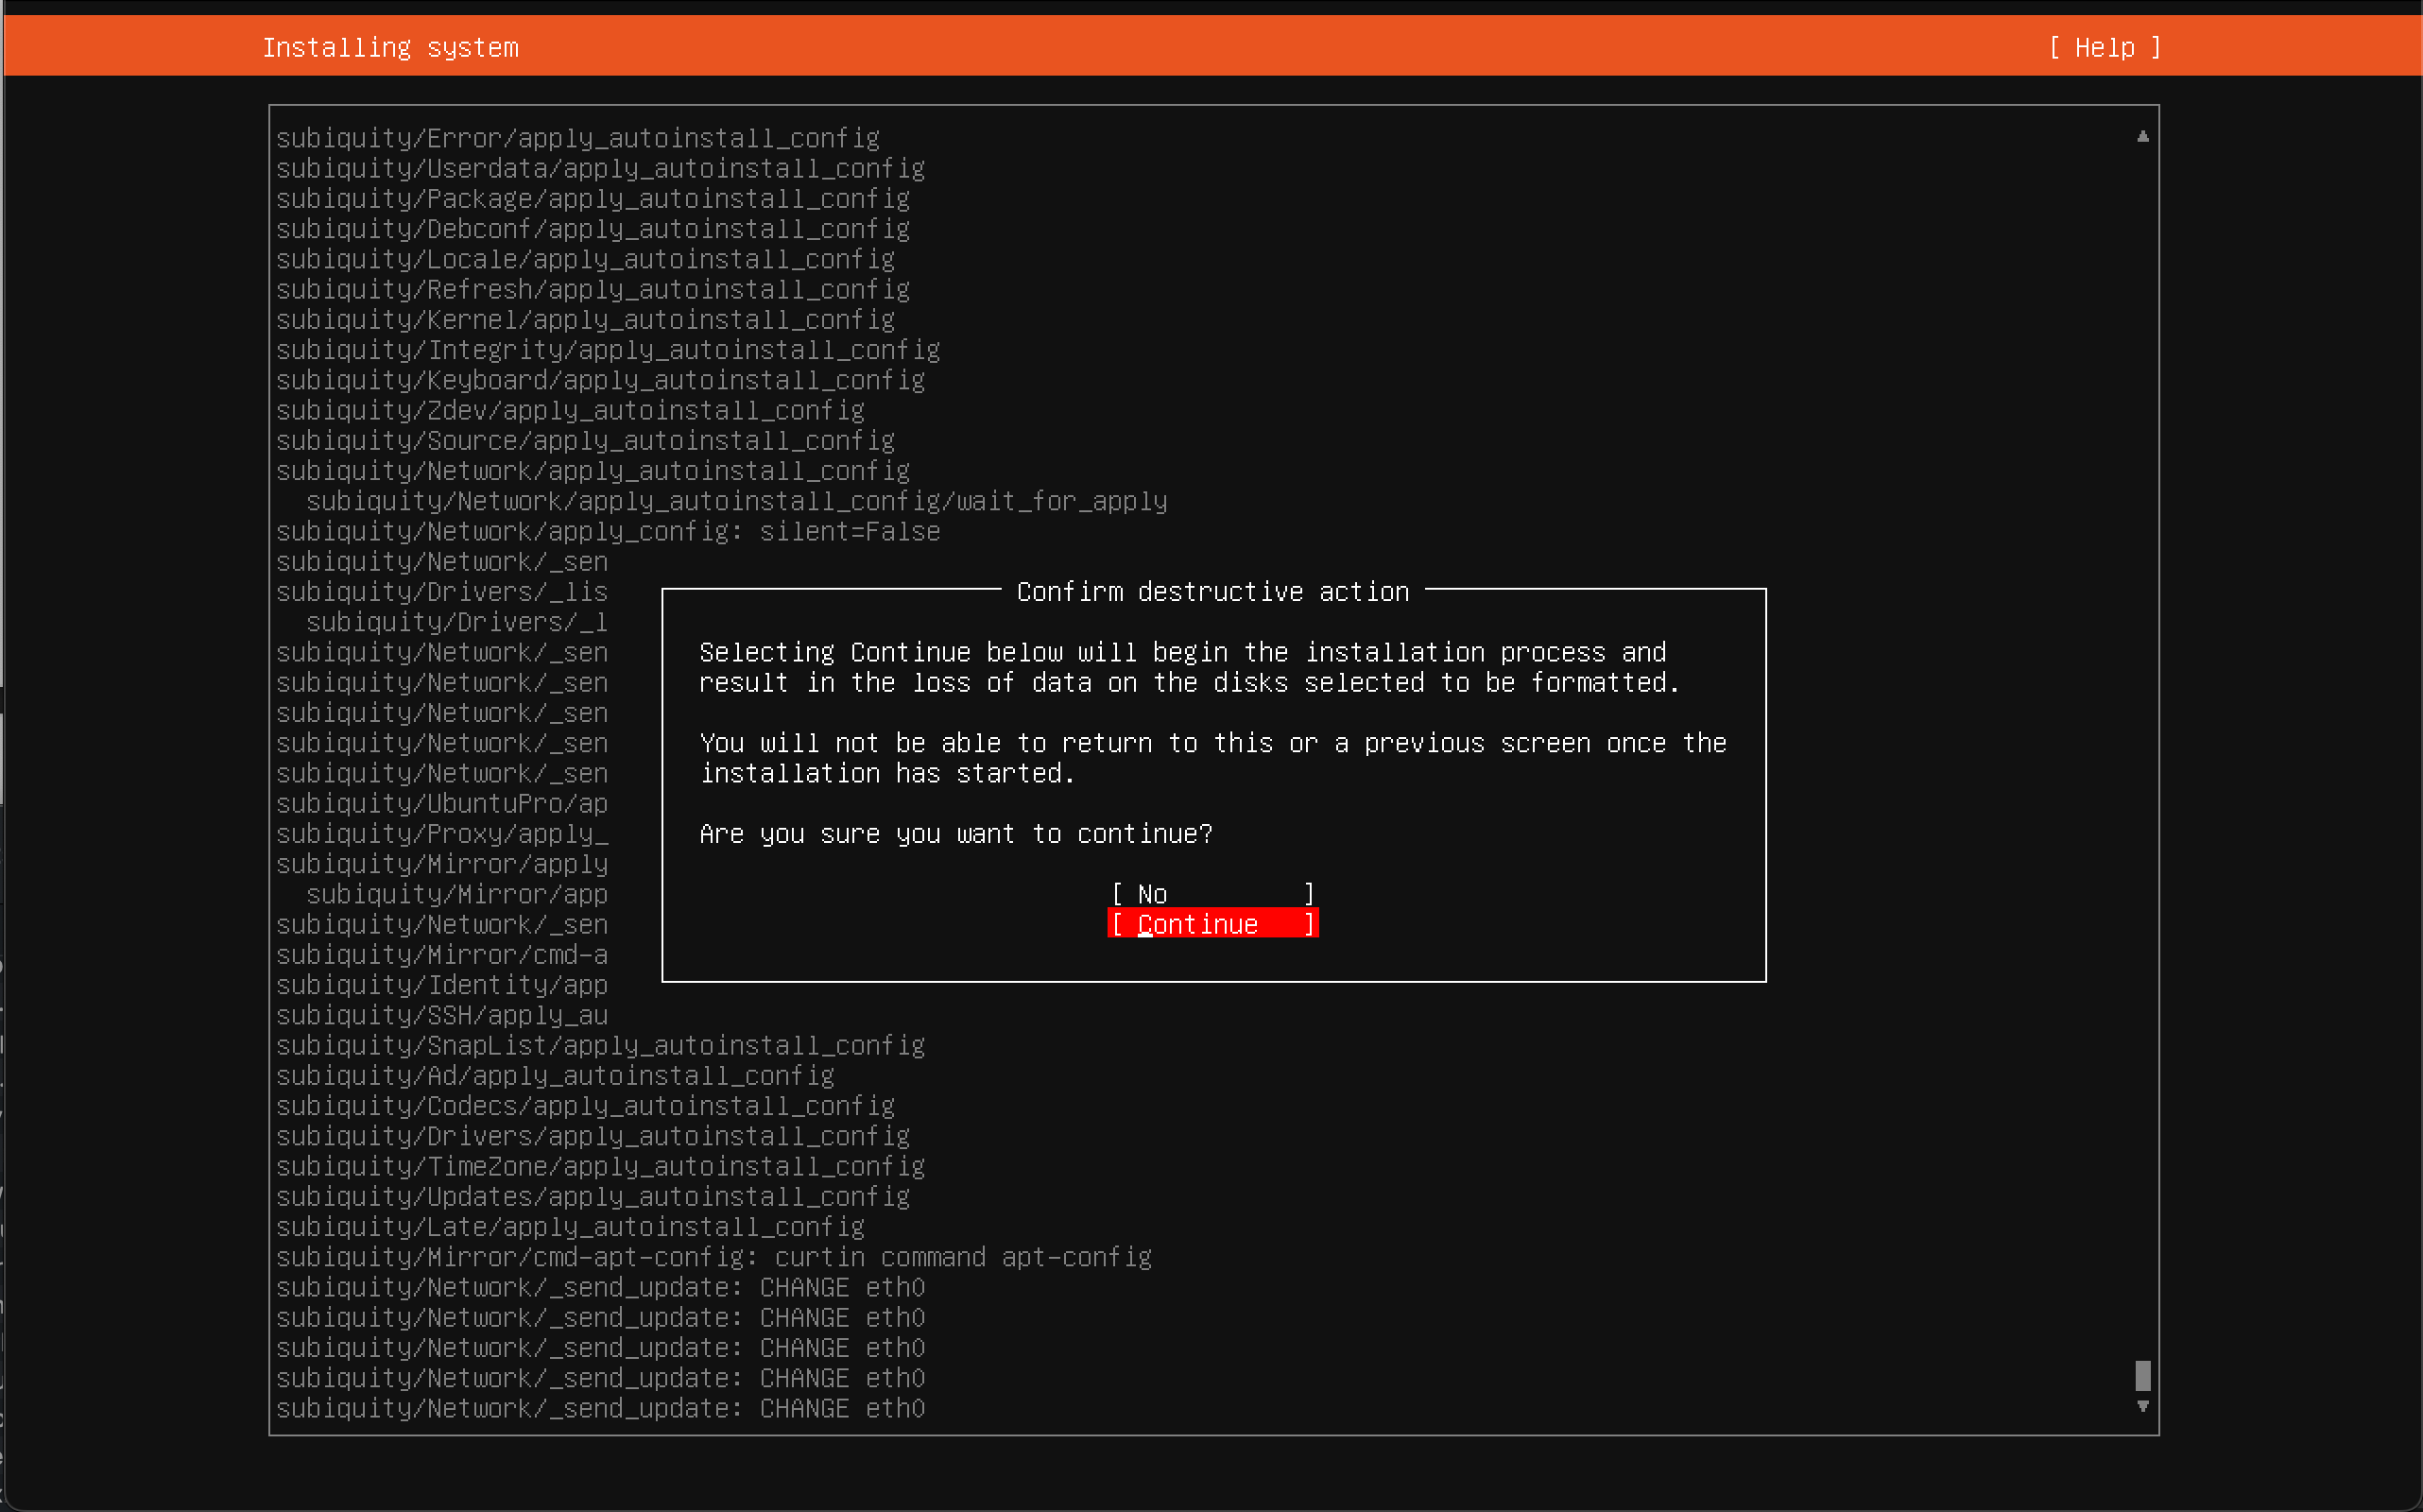
We get one final confirmation before the disks are formatted and installation begins.
The installation will then commence and take a couple of minutes, depending on system speed. It will automatically reboot when finished.
After the system has finished installation and rebooted, you'll see this screen on the console. You can see here that there's both a System (root) and Data disk available on the system, just as we've configured it.
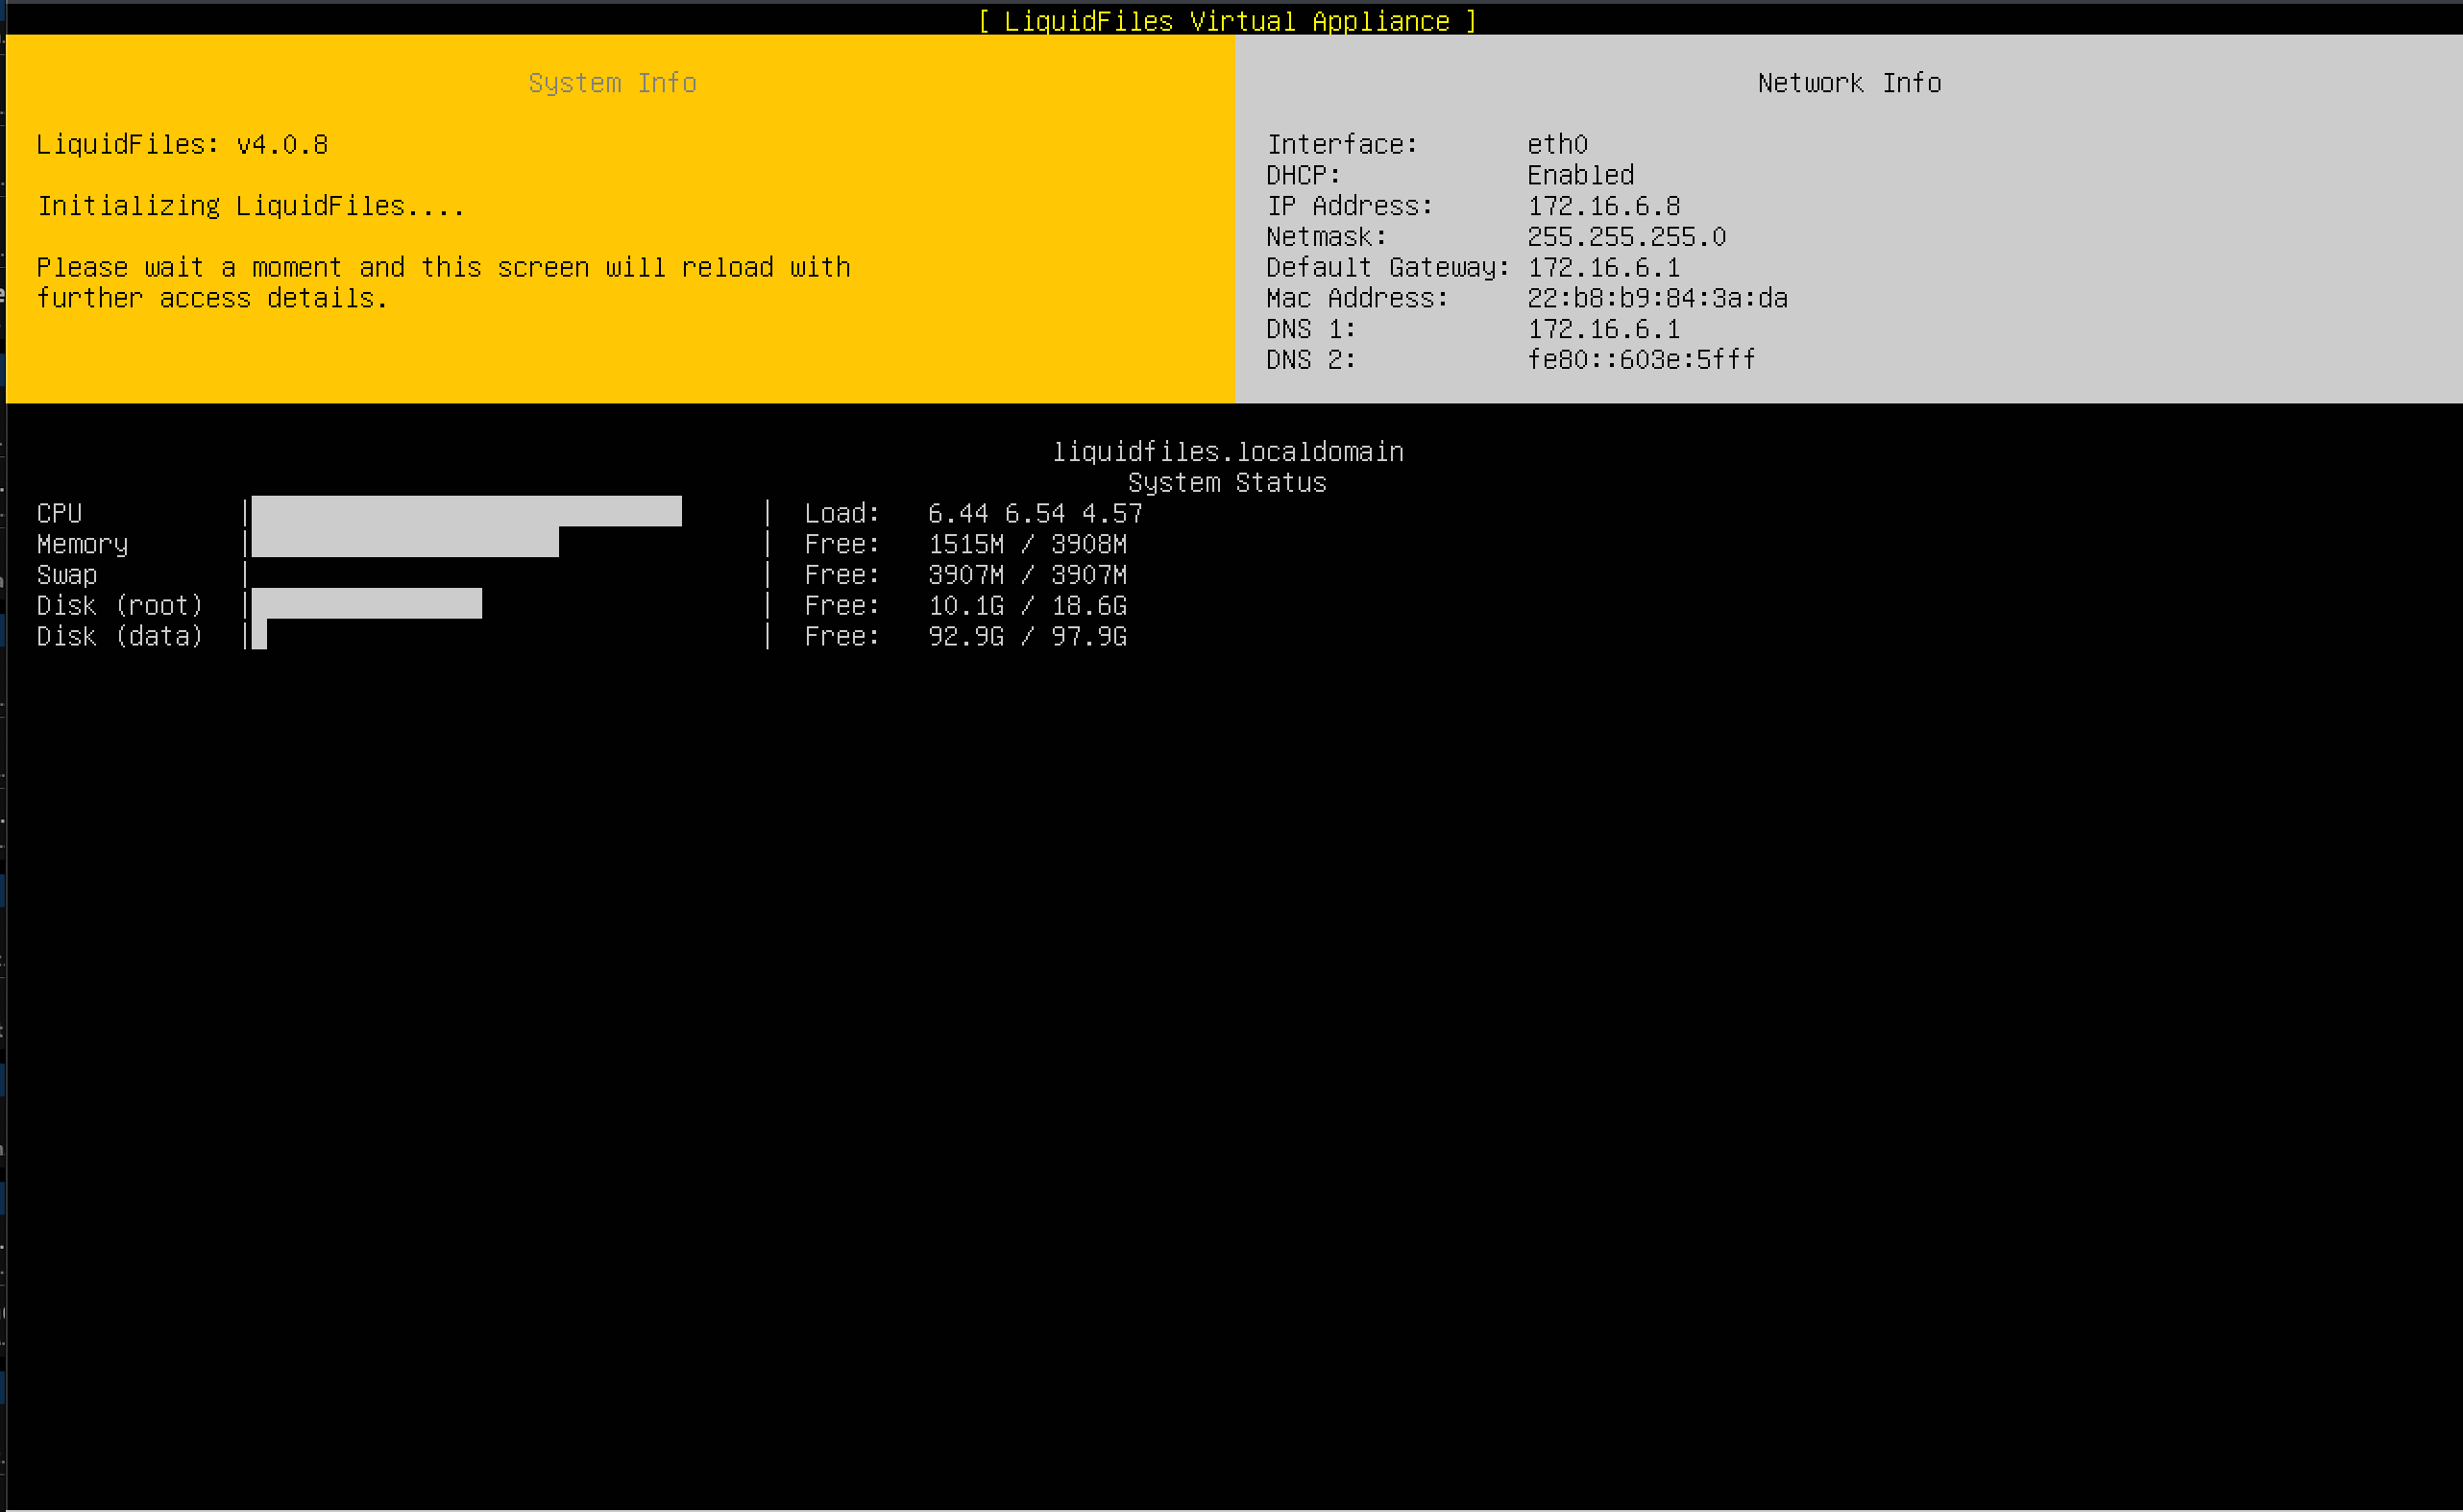
LiquidFiles is now installed and you can point your browser to the ip address listed on the screen to continue with the getting started configuration.
Once the system is installed and you've logged in with a sysadmin account, you can go to Admin → System → Data Disk, and it will show something like the following.
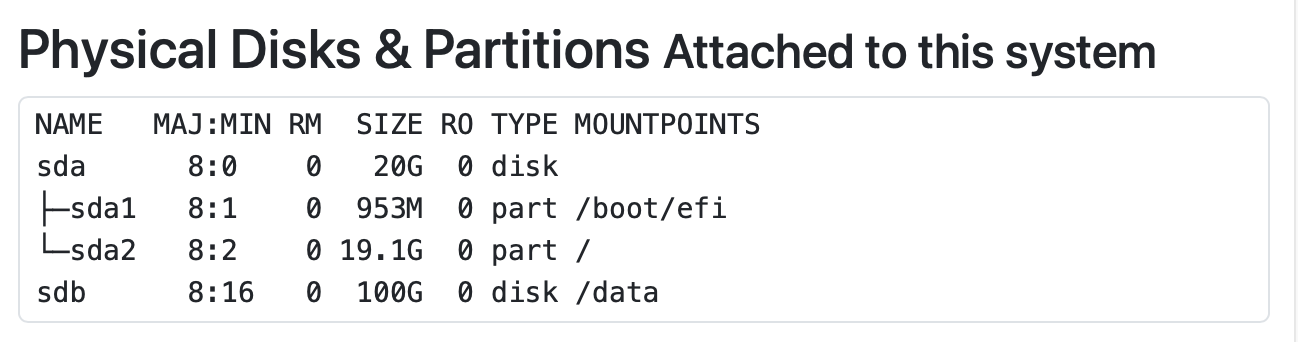
Here you can see the two disks, sda and sdb, the first one mounted and used as a System/root disk and the second used as a Data disk.