Sender & Recipient Aliases
In order facilitate acting as another user, it's possible to configure Sender & Recipient aliases.
Example use cases would be a PA sending and accessing messages for the Director they're working with, or a team of support engineers sending and receiving messages as the generic support@company.com account.
Sender Aliases
The purpose of configuring sender aliases is to enable a user to send Secure Messages as another user.
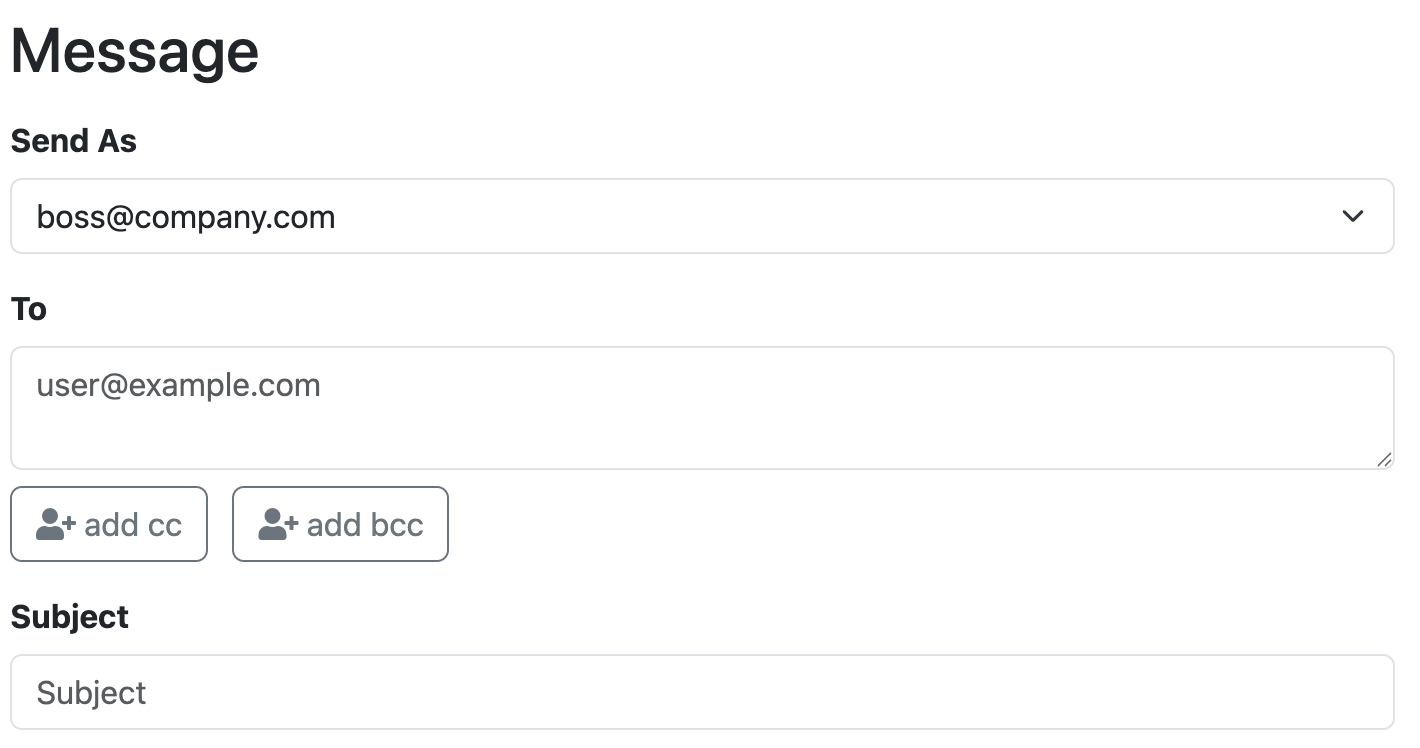
On the Message → Compose page, when configured it's possible to select which sender to send as.
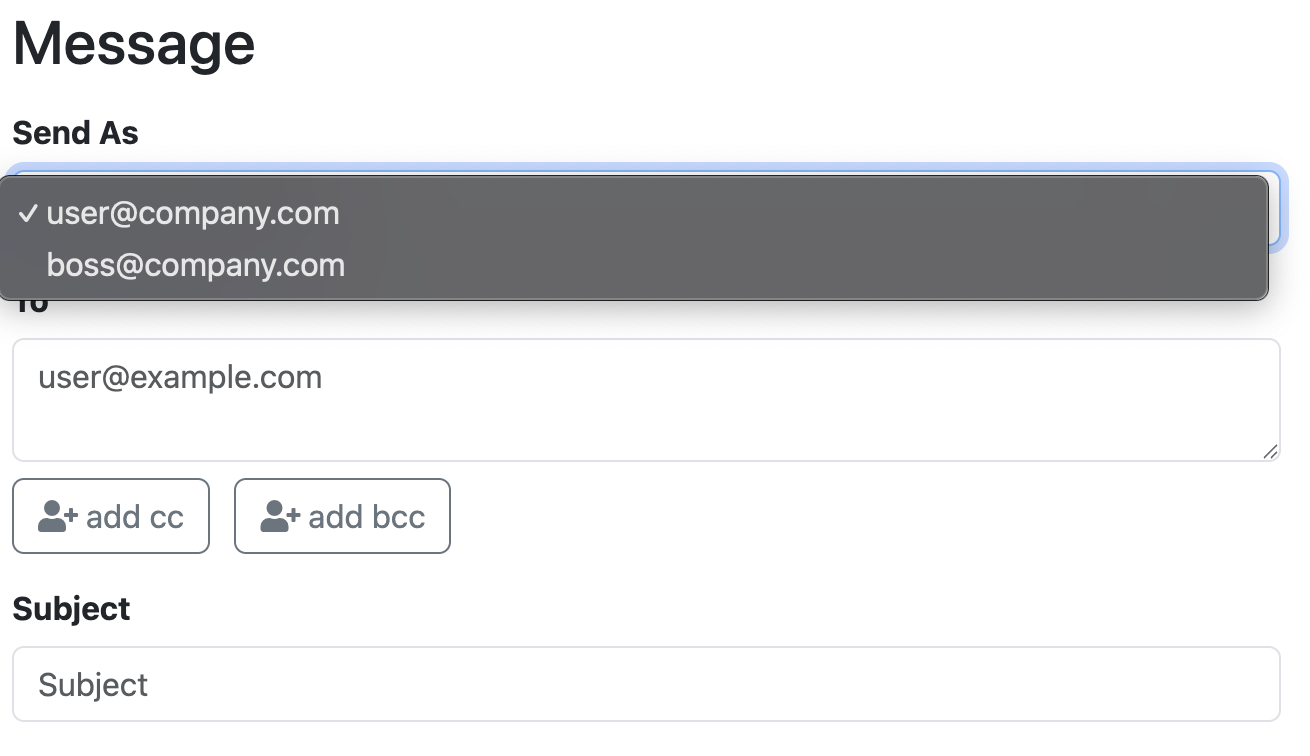
In this case, boss@company.com is selected and this Secure Message will be sent as this user.
Recipient Aliases
The purpose of recipient aliases is to be able to access Secure Messages and Files sent to another user.
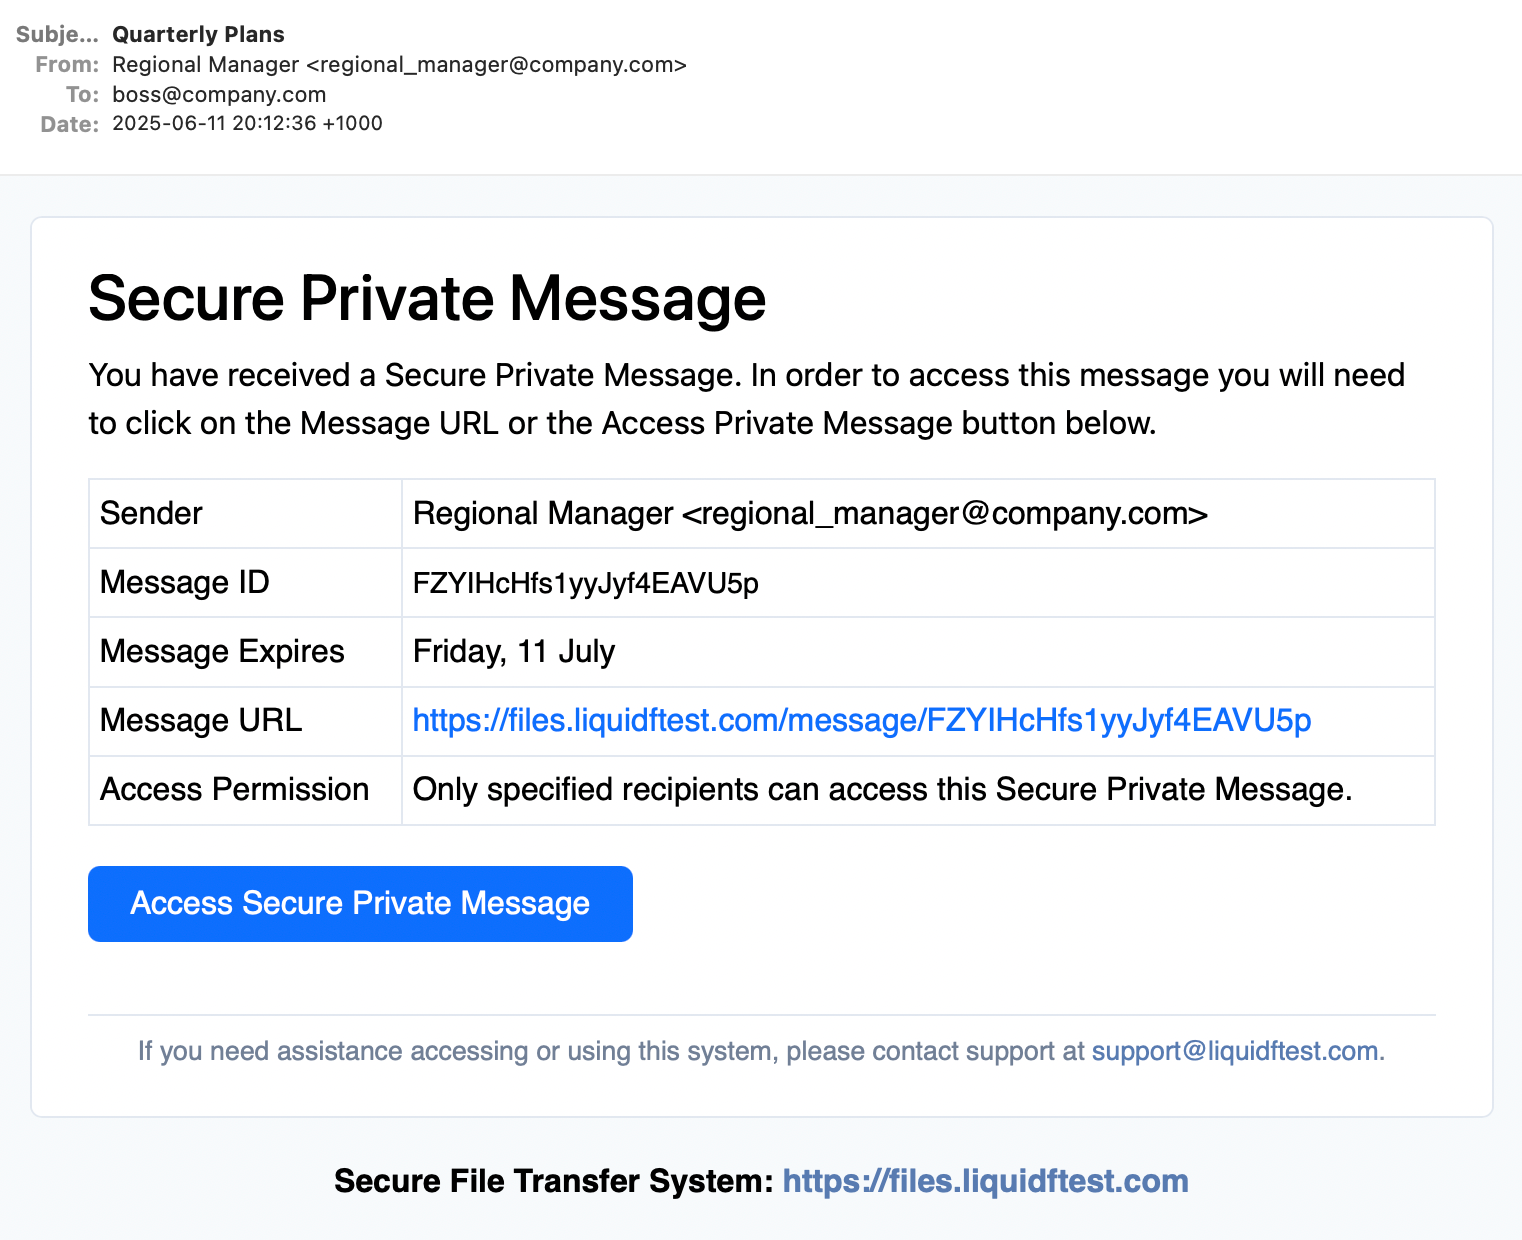
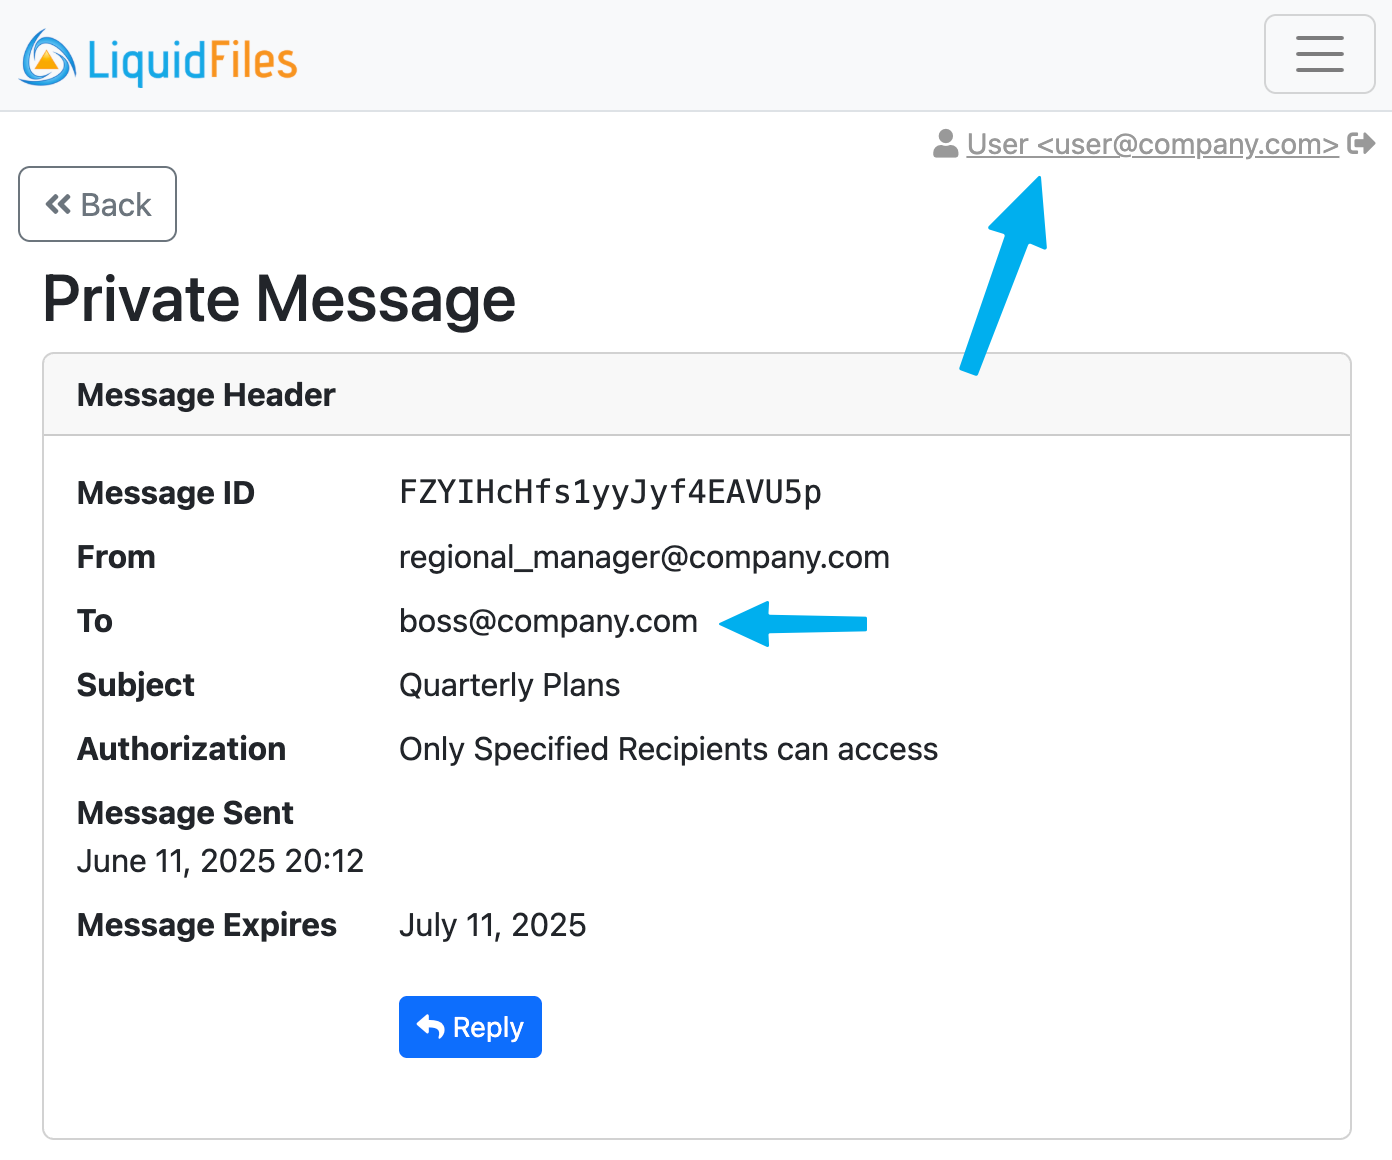
Consider the following Secure Message. It's sent to boss@company.com with the permission that Only Specified Recipients can Access this Secure Private Message.
Normally this would mean that only boss@company.com would be able to access this message, but when a user has a recipient alias with this email, they will also be able to access this message.
We'll continue this example by logging in using user@company.com.
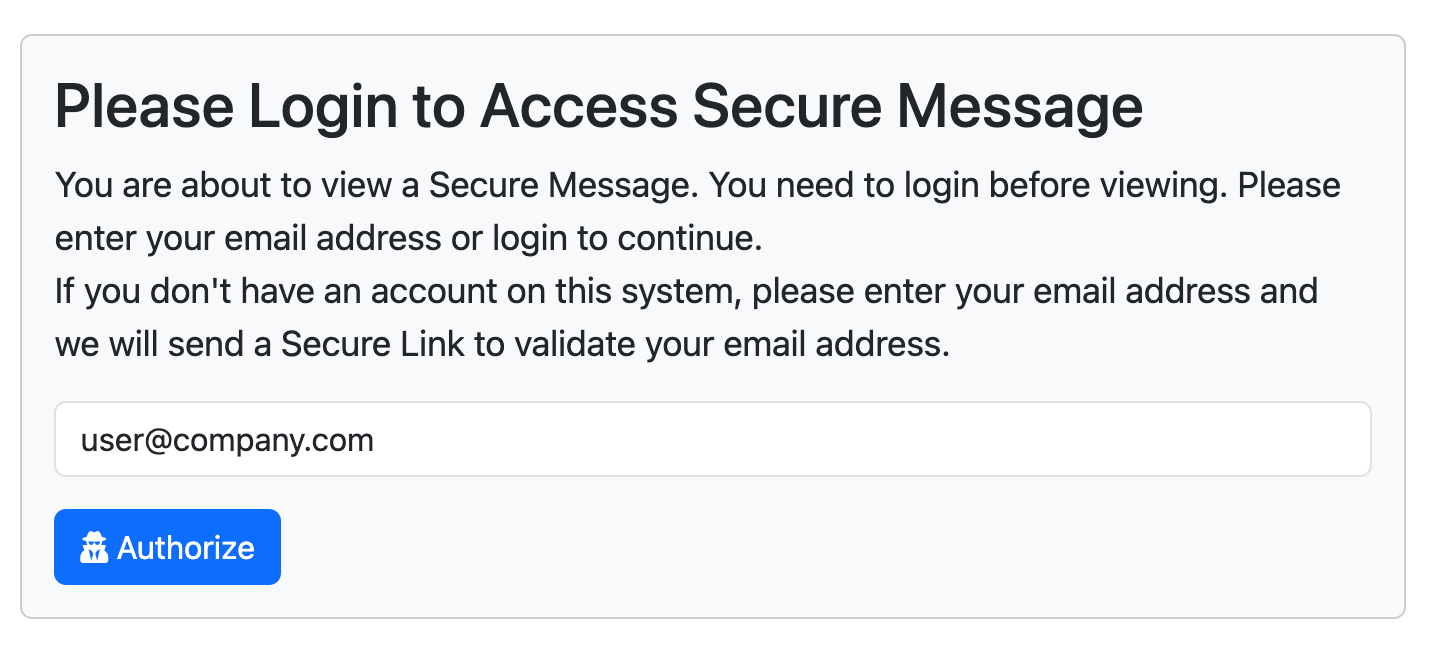
You can then see in the following screenshot that user@company.com is logged in to their account and accessing the message sent to boss@company.com.
Configuring Sender & Recipient Aliases
User Configuration
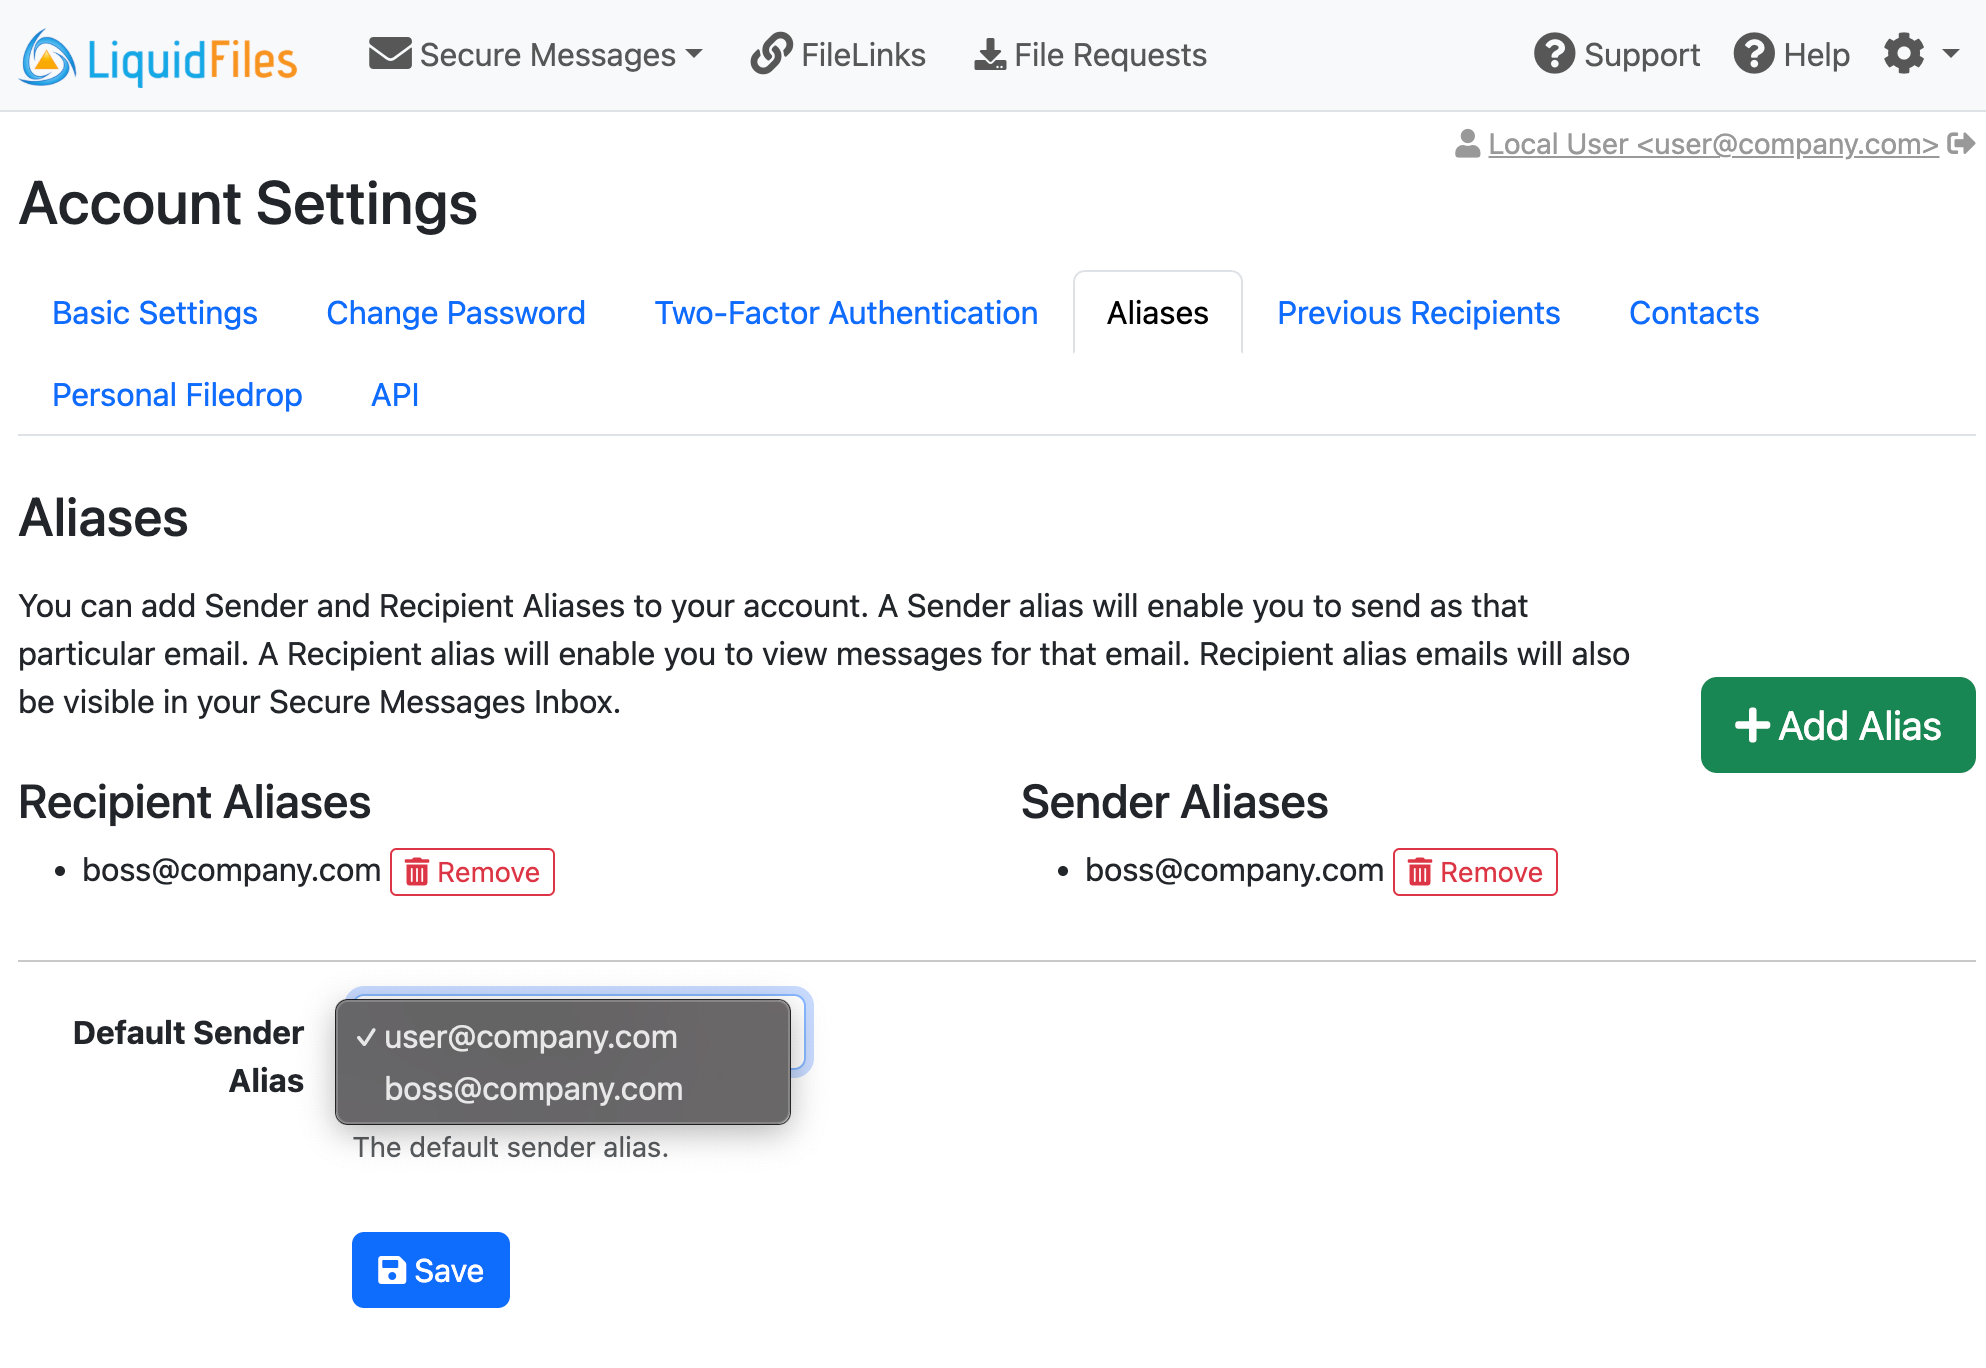
To set this up, a (local) user can request to add a Sender & Recipient alias for an email address on their own. This functionality is configurable on a per group basis. The end user configuration is available in Account Settings → Aliases.
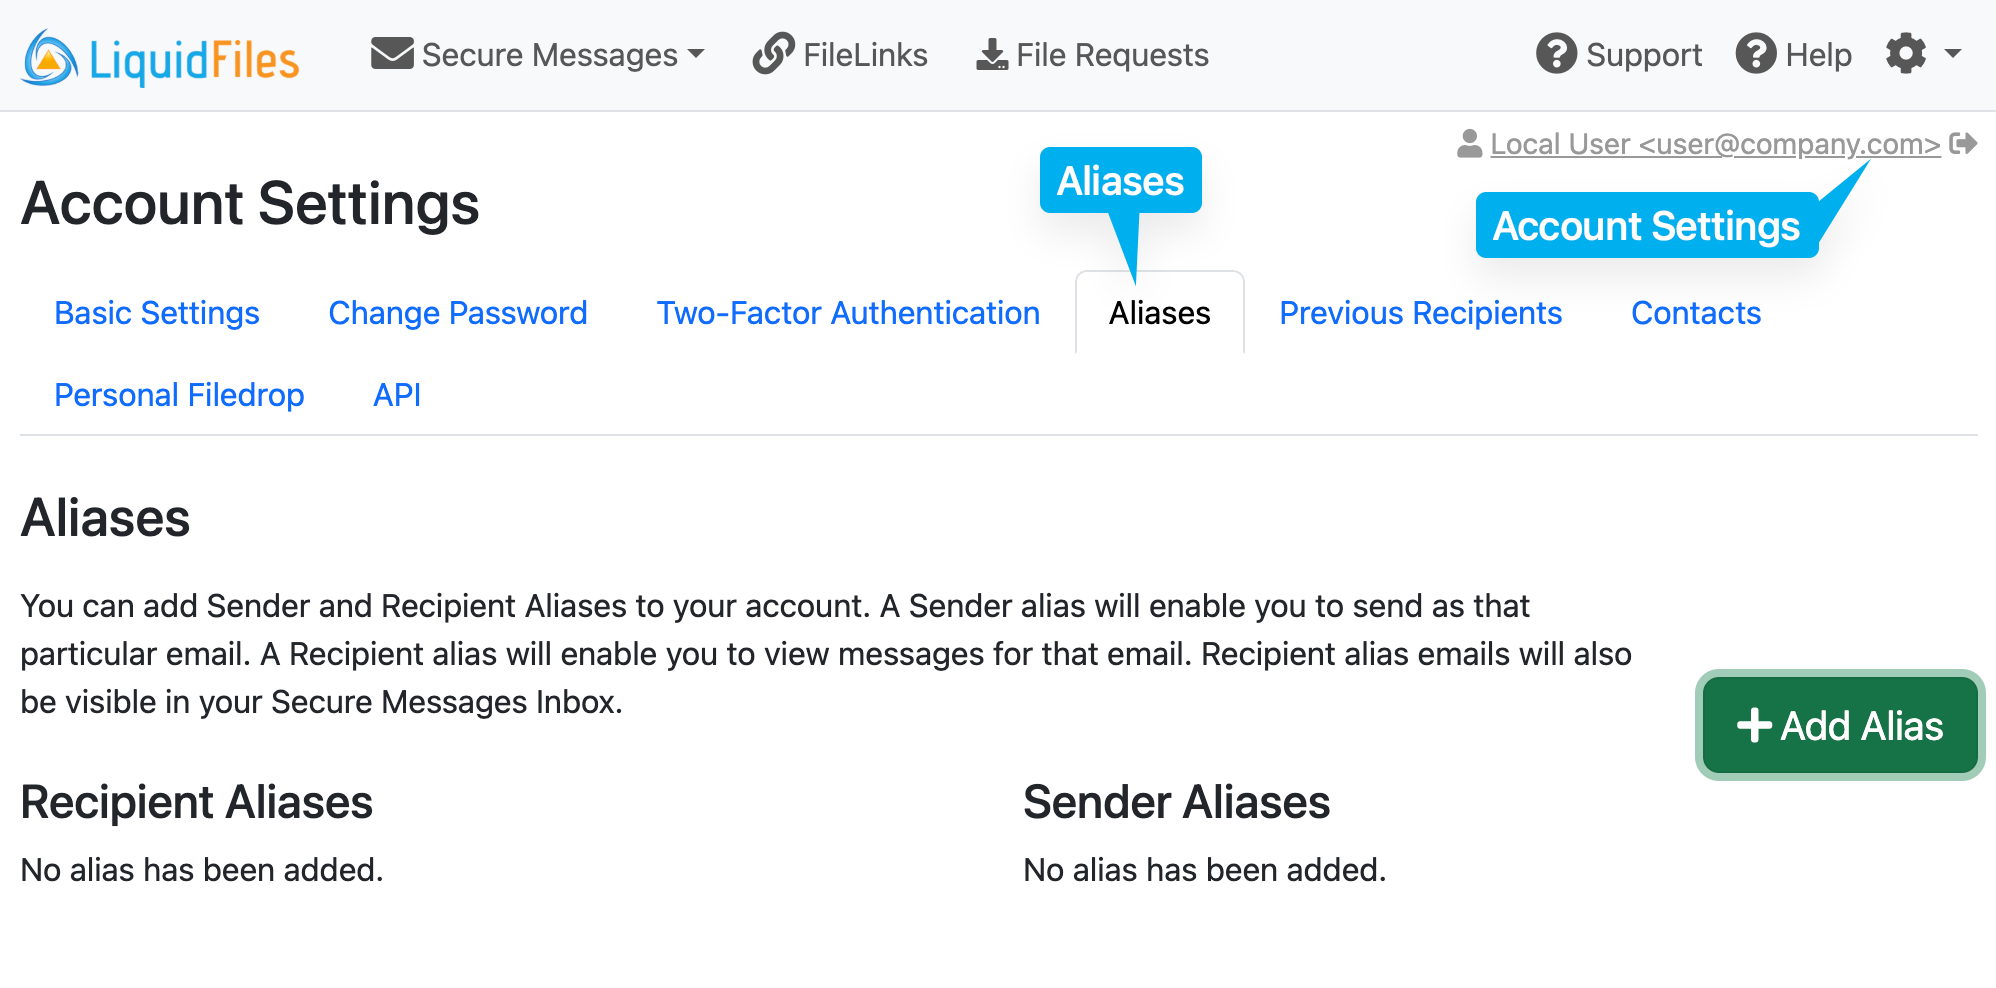
Click Add Alias and you will be presented with the following popup where you can enter the email address and request either sender alias, recipient alias or both.
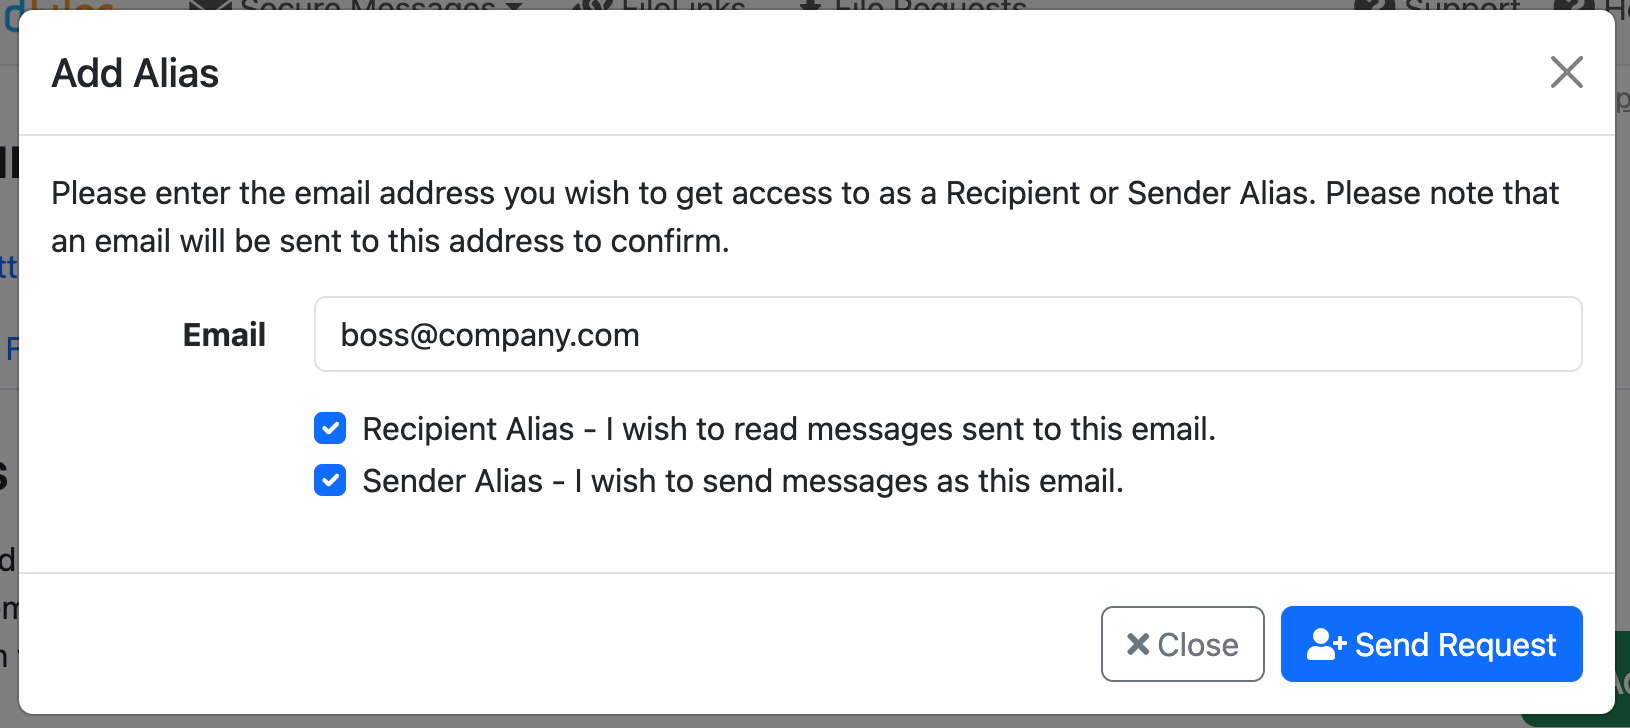
When clicking Send Request an email will be sent to the requested email requesting access.
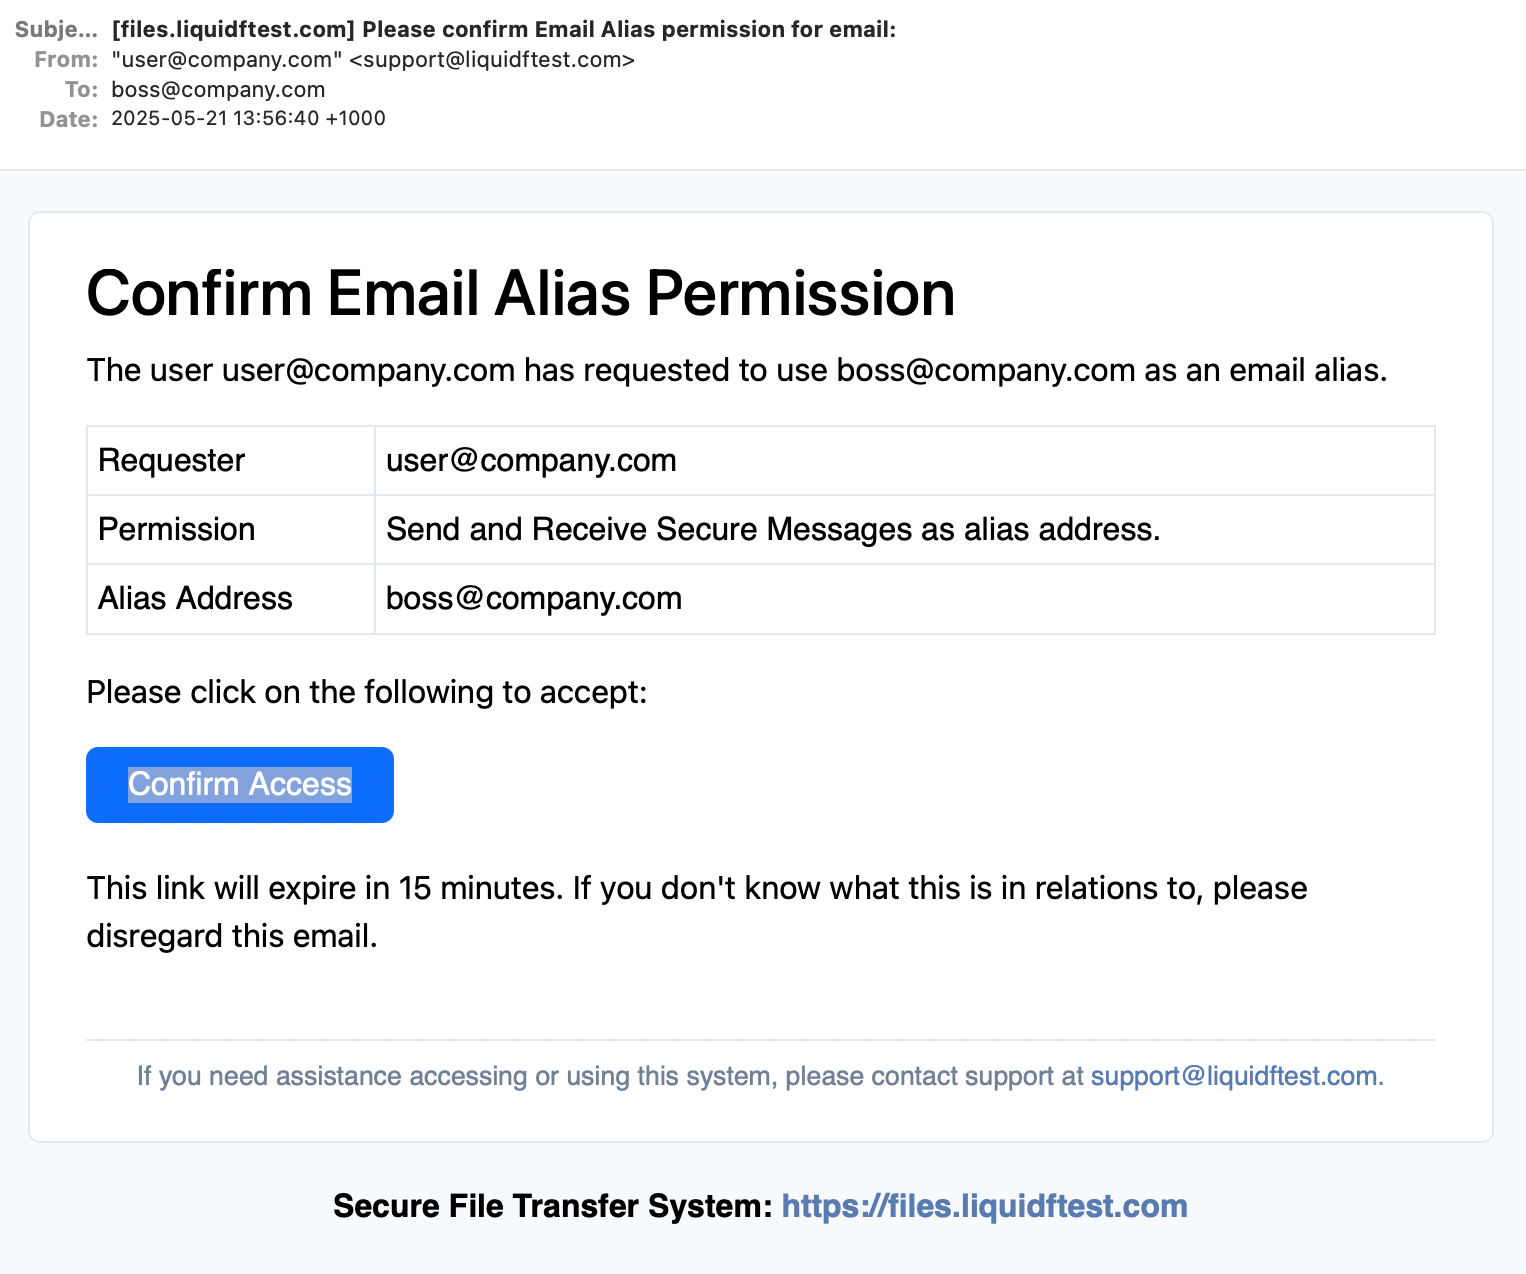
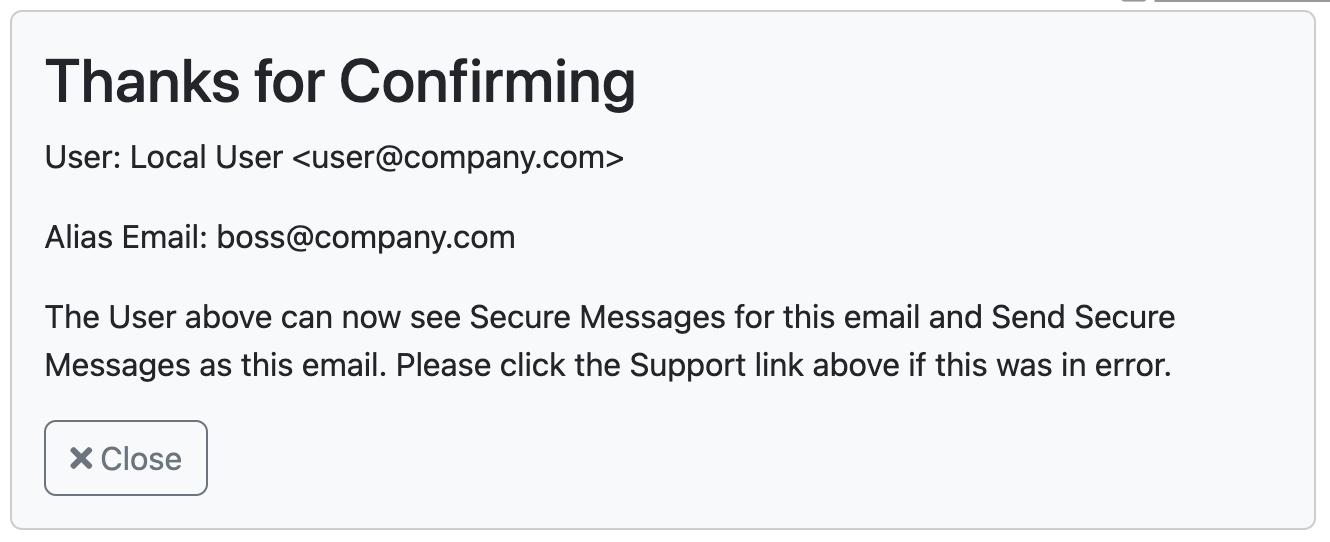
When the user boss@company.com in this case clicks on Confirm Access the following page will be shown.
Next time the user logs in and looks in Account Setting → Alias, the alias is listed there together with a setting for the default sender address to use.
Admin Configuration
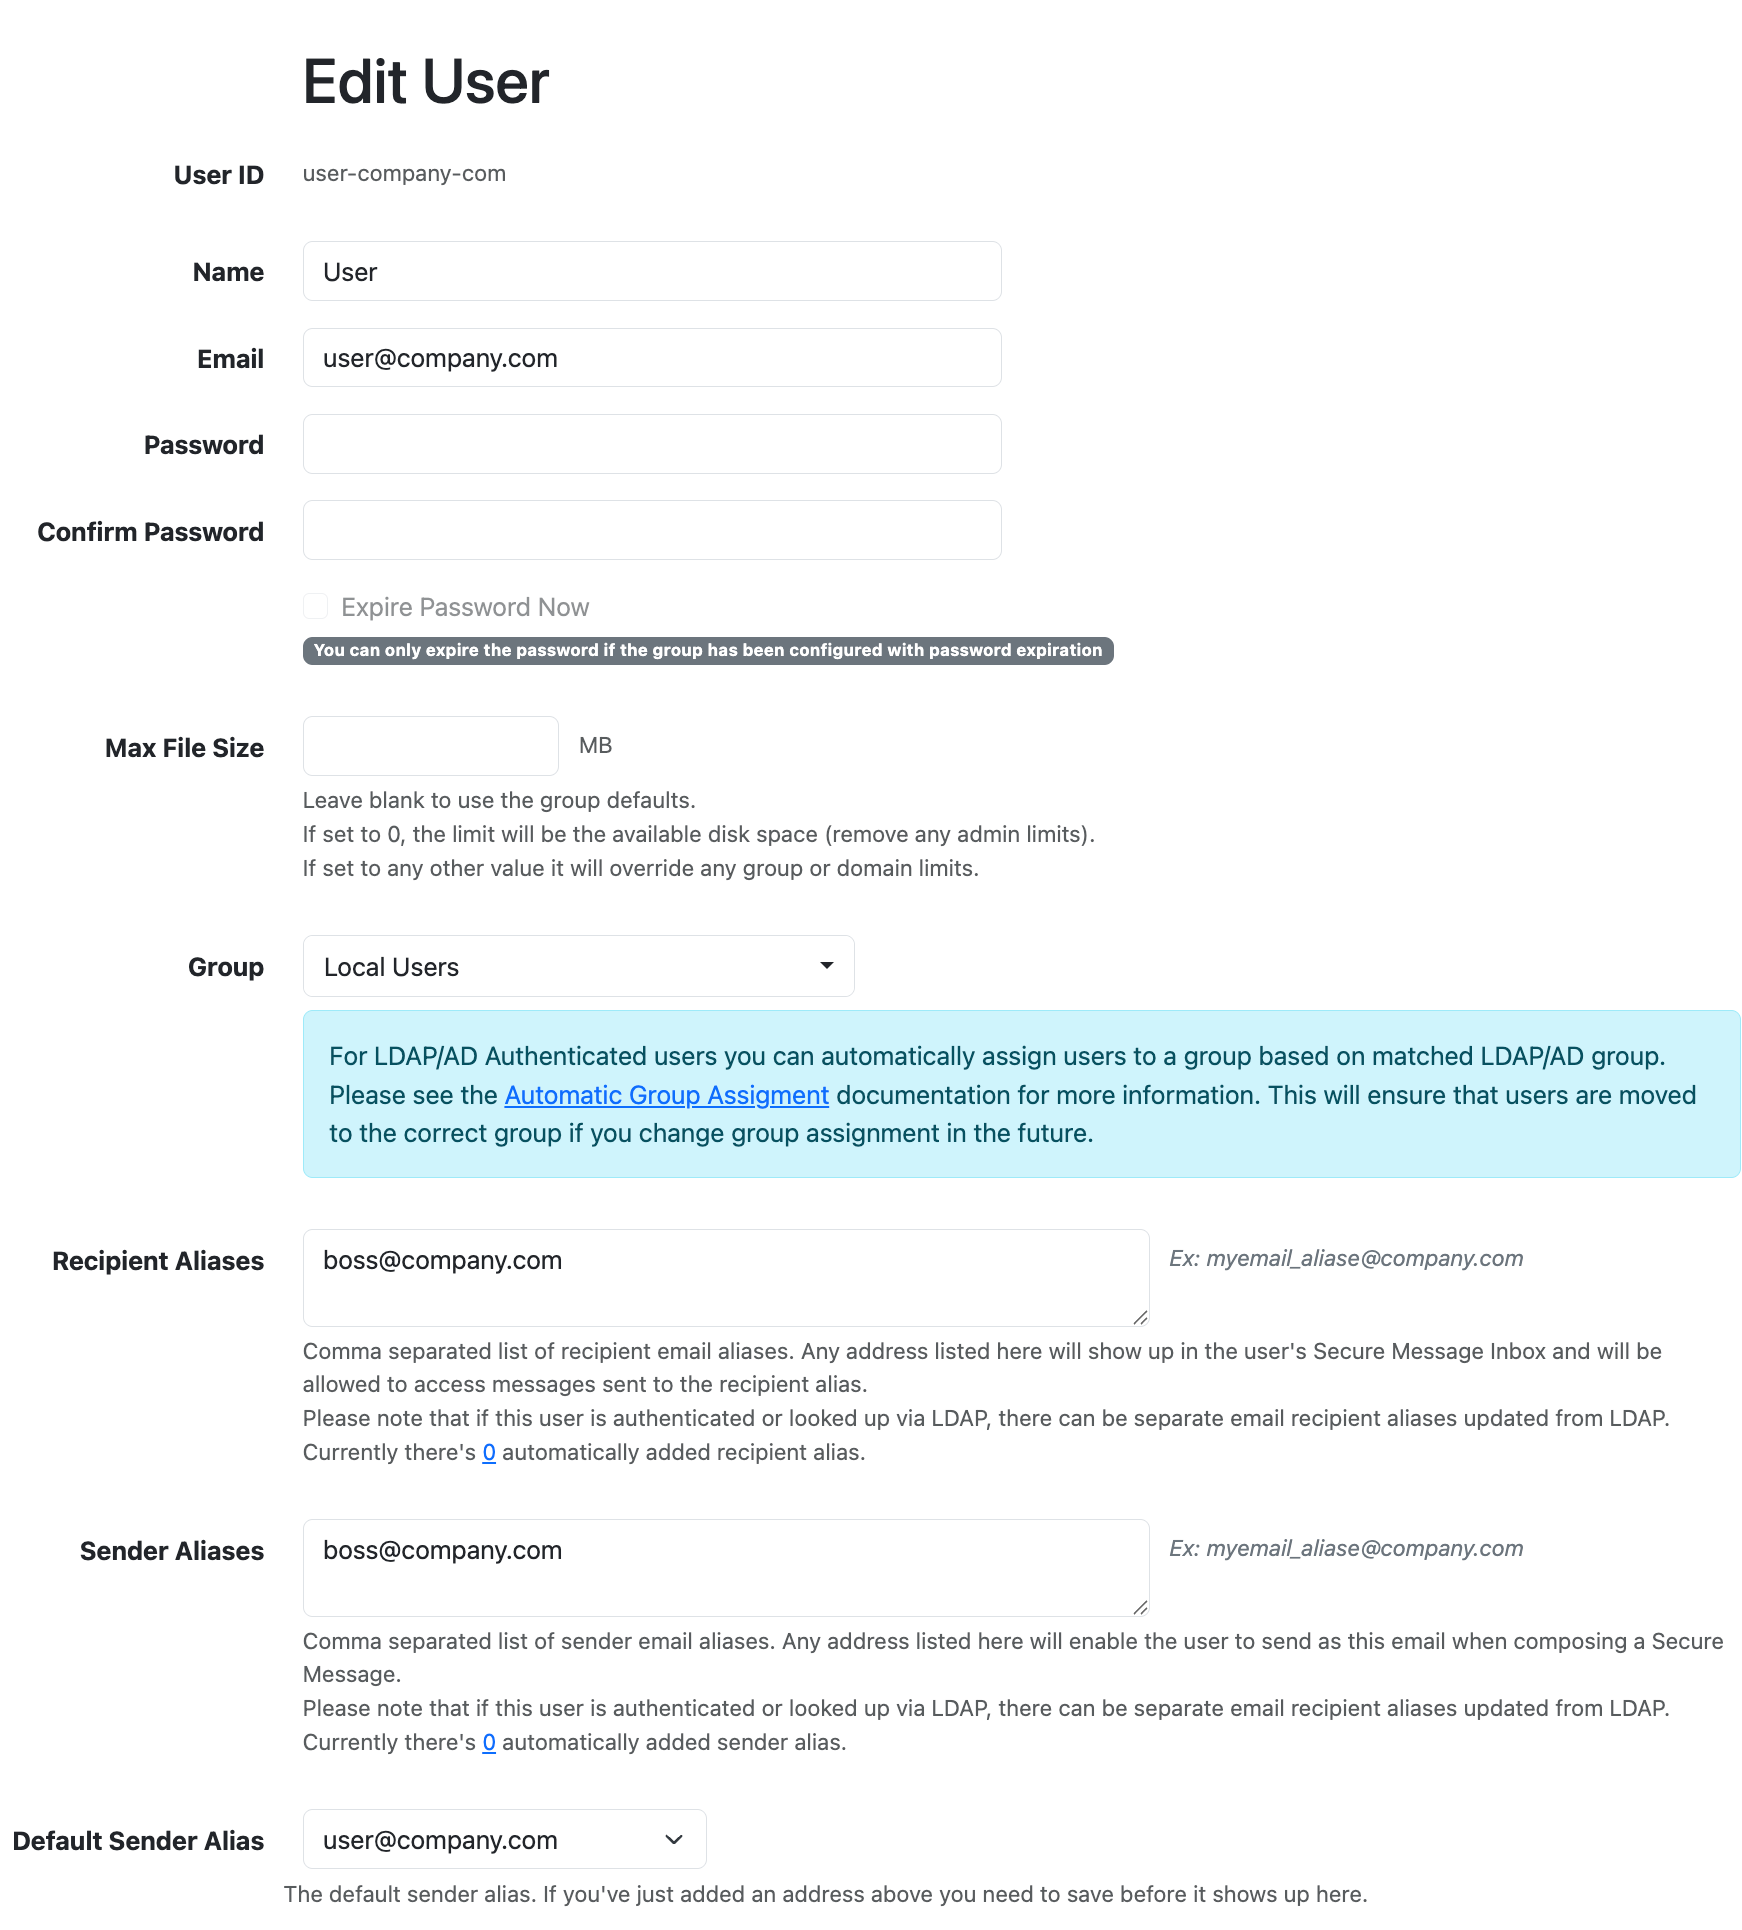
An Admin can edit Sender & Recipient Aliases in Admin → Users, edit the user in question and browse down to the Sender → Recipient Aliases section. When an Admin is configuring the user, there won't be any emails sent, the configuration is just added.
An Admin can also configure if a group of users can configure Sender & Recipient Aliases on their on. If you go to Admin → Groups, edit the group you want (Local Users), and look on the Basic Settings near the bottom, you'll see the Features enabled for this group and among them are Sender & Recipient Aliases.
